I know in my last Pool House Progress Report (which has already been since August), I said I may not do another one, hoping we could wait until the final reveal. But, here we are 😉 One delay with the awning window is causing a spiral effect with the countertops, plumbing, final electrical, trim, paint and more. Eek! And, since we still aren’t confident on the arrival date (they keep saying “possibly next week”) I thought I’d get you caught up on where things stand today. There’s been a lot of good progress since my last update!
This post contains affiliate links for your shopping convenience. You can read my full disclosure policy here.
If you’re looking to get caught up on this project or see where we started, be sure to check out these additional posts:
- Pool House Ideas & Tentative Plans
- Pool House Plans
- Pool House Renderings, Selections & Progress
- Pool House Progress & More Selections
- Pool House Progress Report
Pool House Construction Progress
When I left off last time, the kitchen cabinet had been installed and the shiplap was starting to go up! Since that time, all the shiplap went up!

And a few nights later, we had another crazy storm and water got inside because the exterior siding wasn’t complete. Whomp whomp.

So, they had to tear off some of the shiplap, drywall and insulation to get everything dried out again. Not an easy task in the heat and humidity of August! Thankfully it wasn’t anything major, and we were able to catch it before everything got primed and painted!
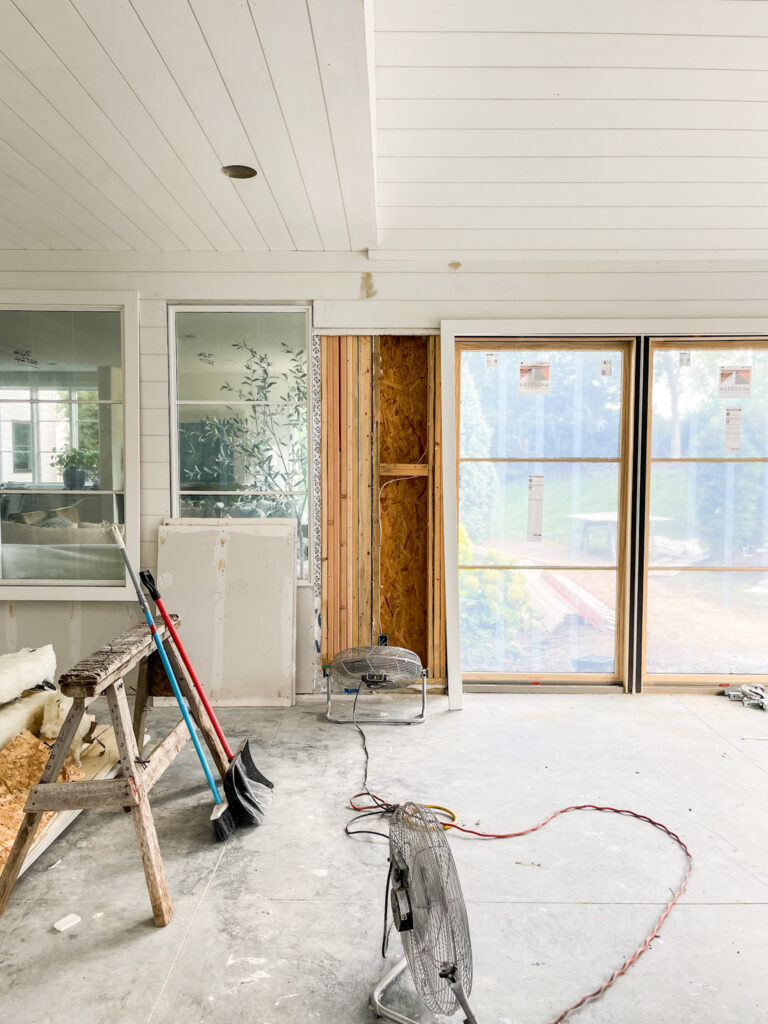
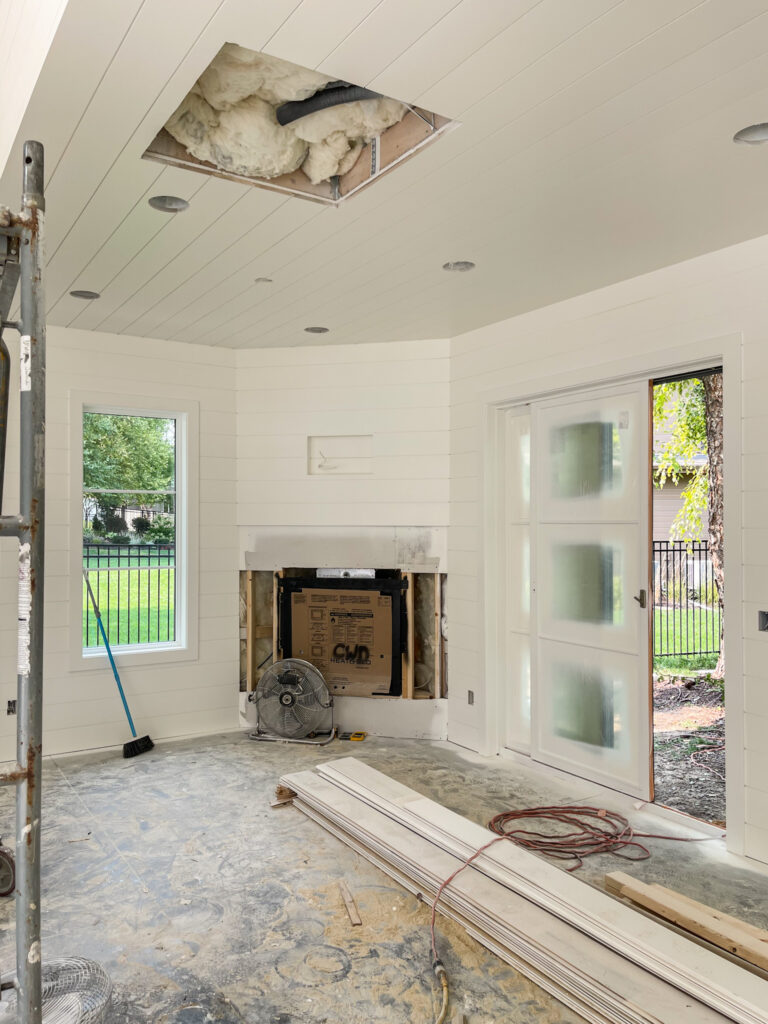
Needless to say, we all let out a collective sigh of relief once the sider came back and got everything wrapped up! Since then, we’ve had zero issues. Once the siding was done, the painter could start on both the interior and the exterior. The builder opted to fully cover our backordered window (in the area to the left, below) with siding so that water couldn’t come in there either. It looks a bit odd right now with the loose siding and battens, but it’s worked well to keep things dry inside!
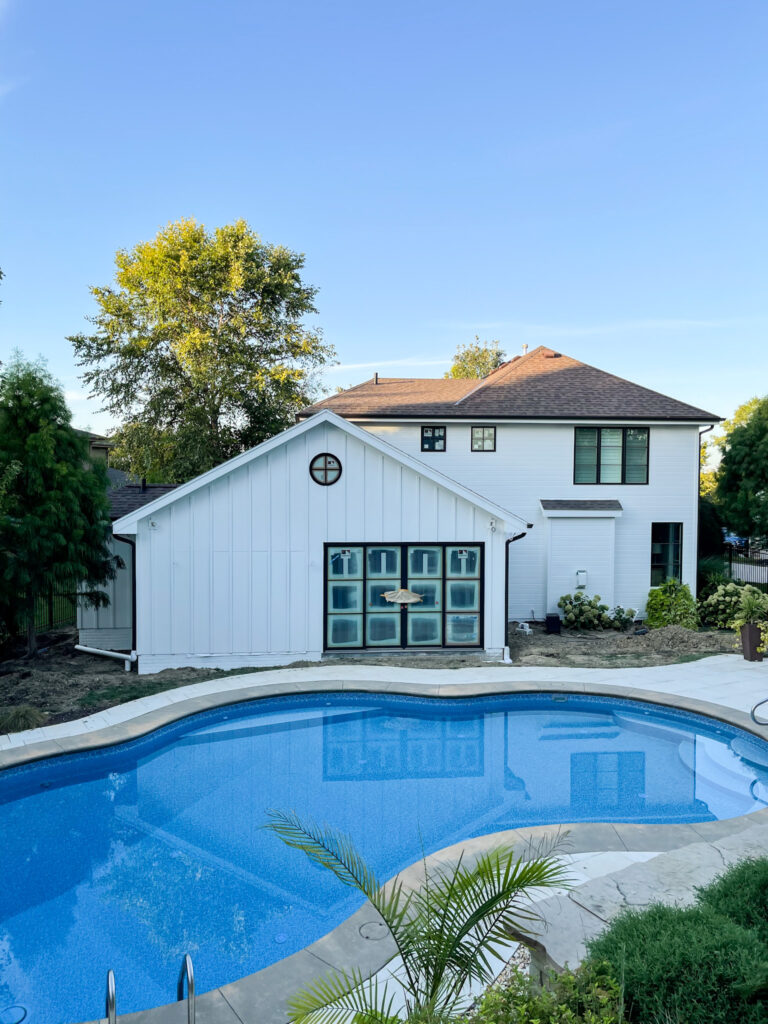
It’s always exciting to see those first coats of paint going on! The painter won’t actually do a second coat on this side of the exterior until our window comes in and they can caulk everything over here. The paint color is Benjamin Moore White Dove. You can also see in the photo below a lot of behind-the-scenes landscape work going on! Drainage is critical in a project like this with so many hard surfaces and we’re trying to run as much underground as possible.
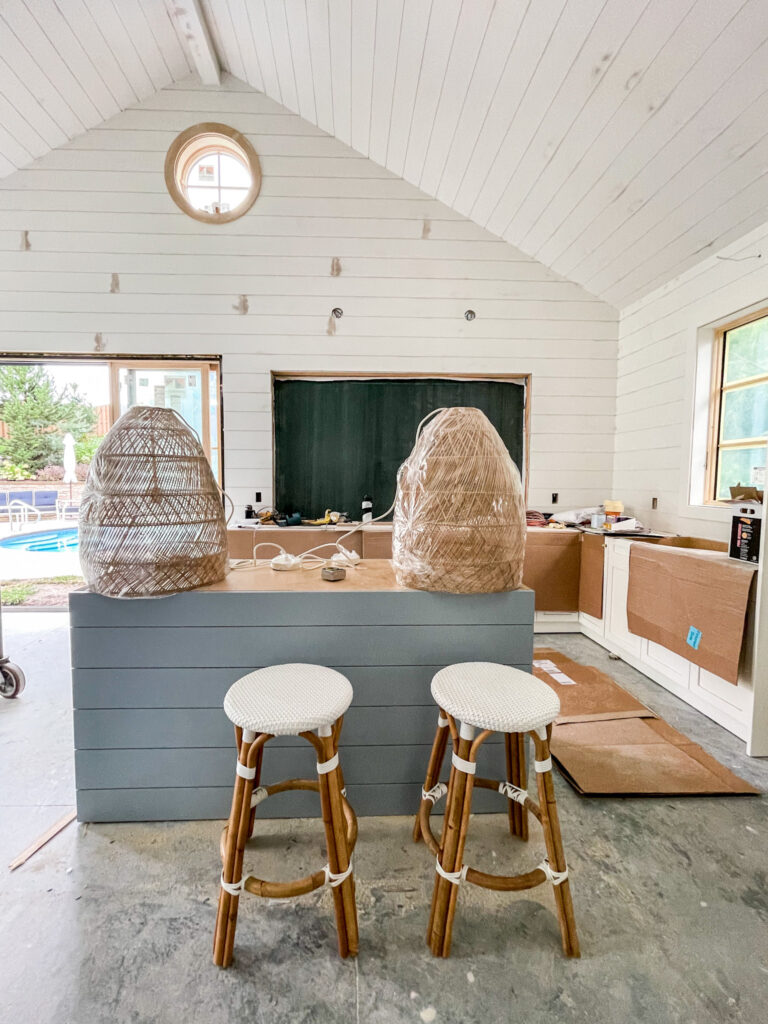
We also took a few hours last month to finalize some of the pendant light/chandelier placements. Completing steps like this always gets me super excited! Of course I had to drag my counter stools out to see how they looked with the basket pendant lights!
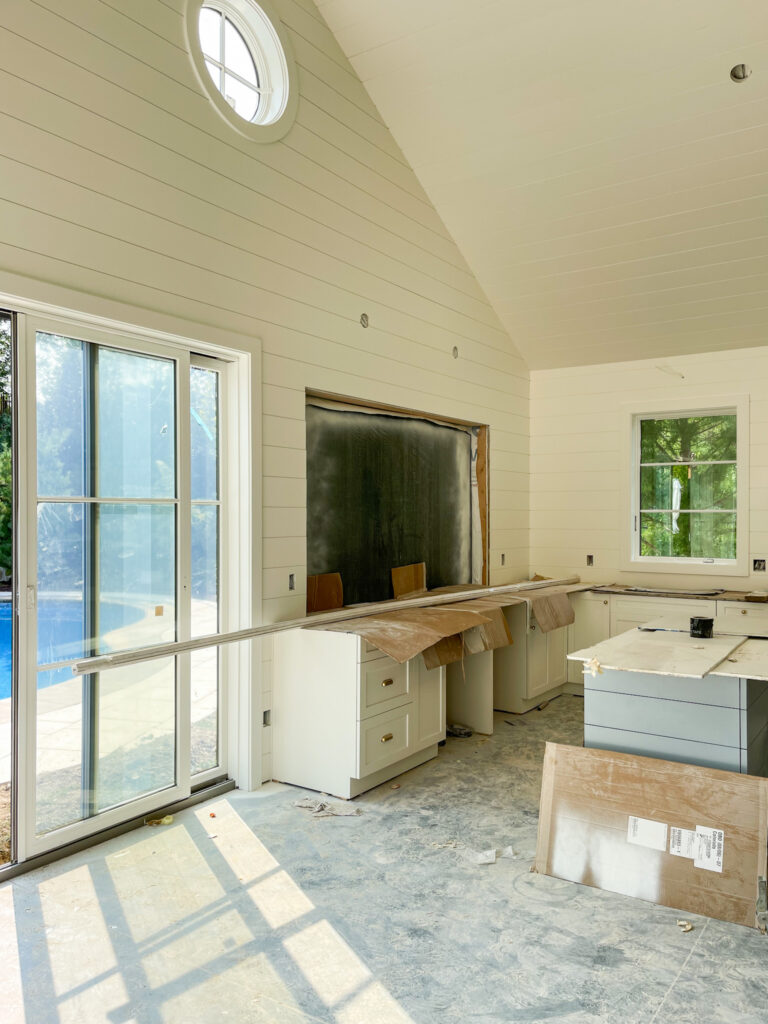
And man oh man, did things feel good when that first coat of paint when on! I’m using Benjamin Moore Simply White in this space, as well, like we have indoors. Since it’s a pretty warm white, it will help things to not feel too stark once the summer sun is shining through all those windows and doors!
Here’s the other side of the room with that first coat of paint. This was in the evening, so the warmer tones are even more exaggerated, but I’m so happy with this selection!
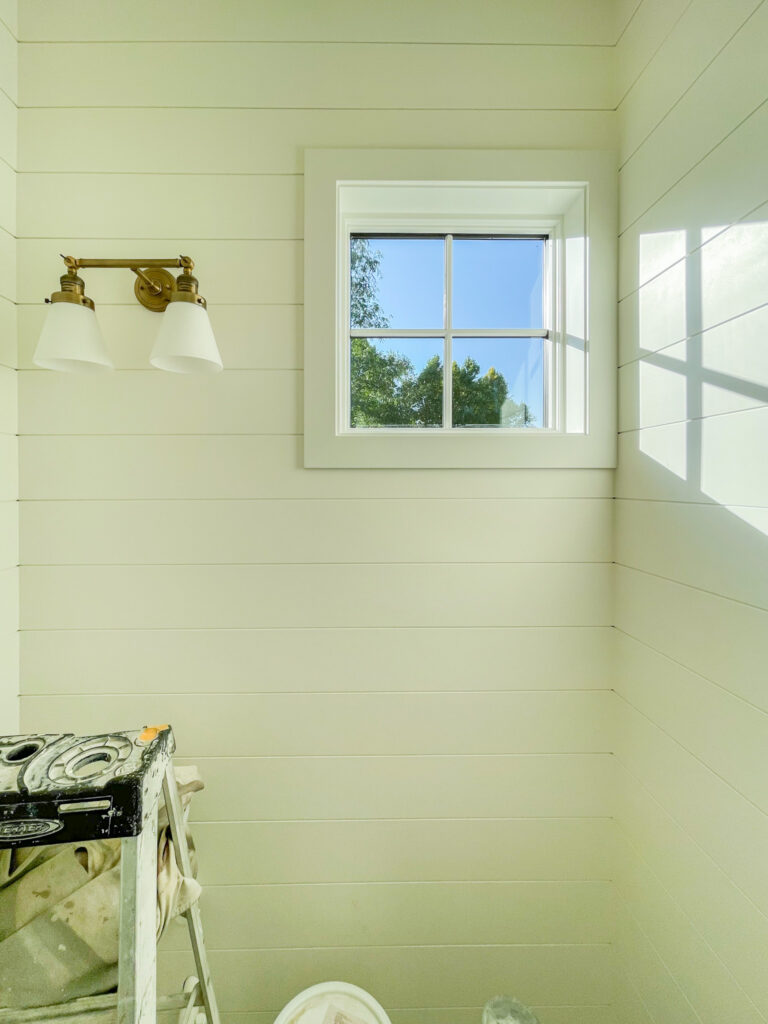
When the painter took both layers of vinyl off the west side windows, I literally almost cried tears of joy! It was so fun to see the new views! The exterior vinyl is still on all the other windows so it will be another fun step when we finally peel all of that off!
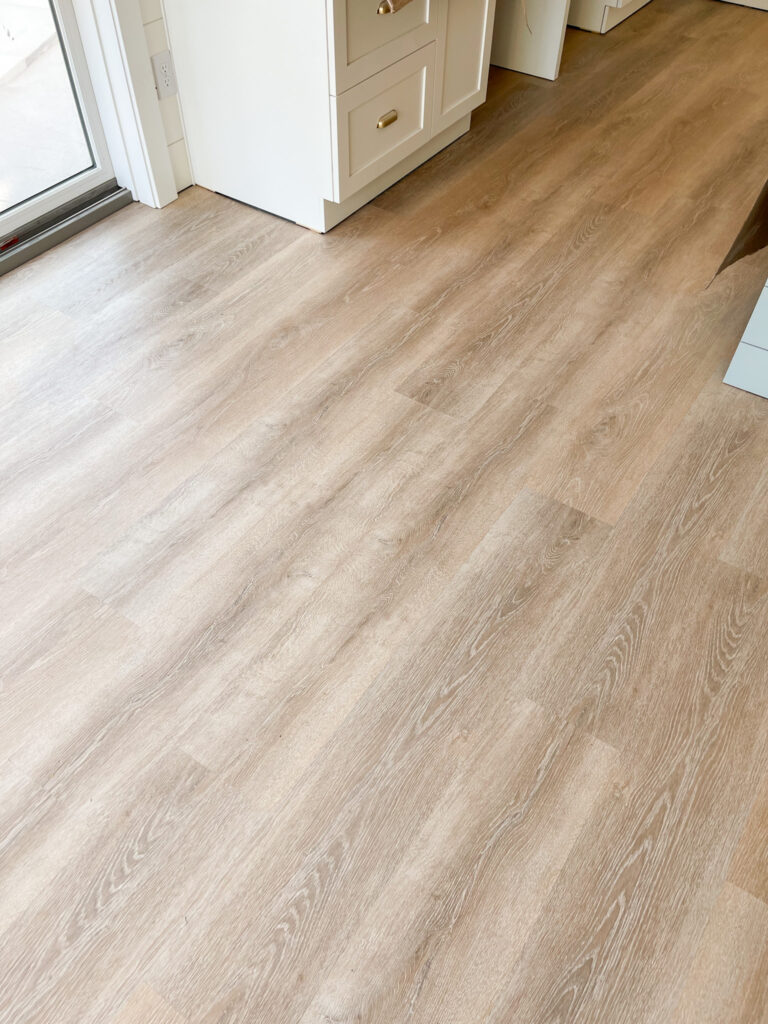
Then, we got floors! We went with these LVP floors and love how they turned out! Despite the heavy traffic in and out of here the past few weeks (with very dirty floors) they seem to have held up well without any scratches!
Side note: the dead has since been removed by the landscapers. Hallelujah! They also got most of the pool deck extended up to the house.
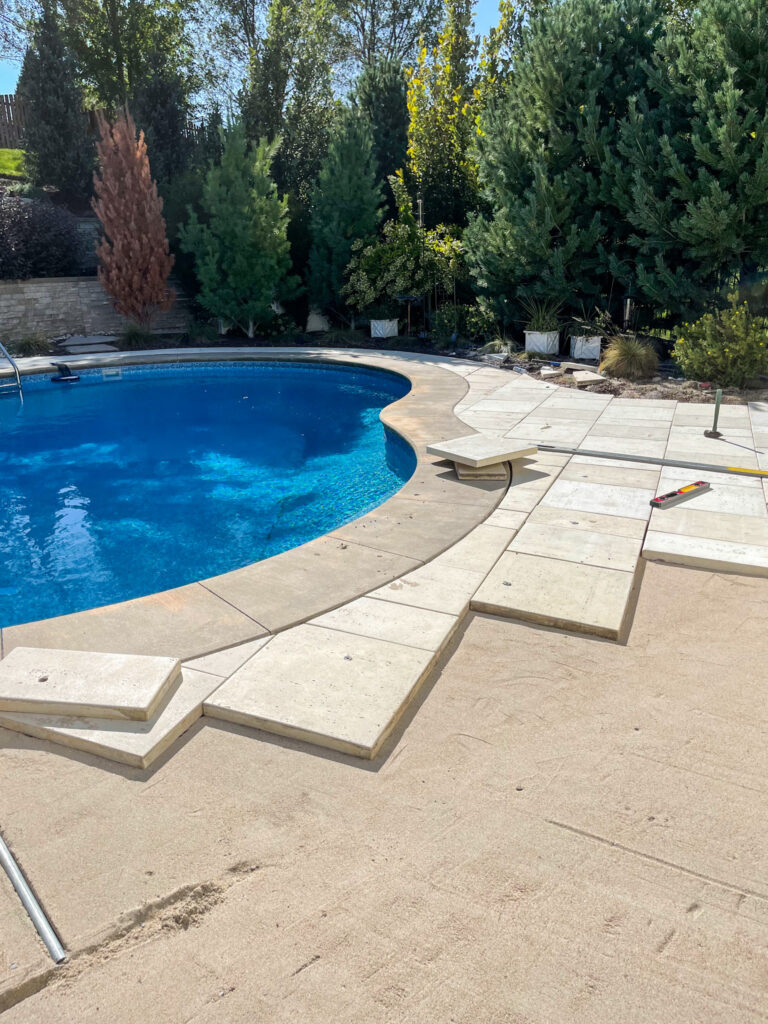
You can see on this side, rather than leave any grass, we created a little sitting area to perhaps add a small conversation set down the road. This image was shortly after the pavers were placed, but they still had to be cut down and shaped.
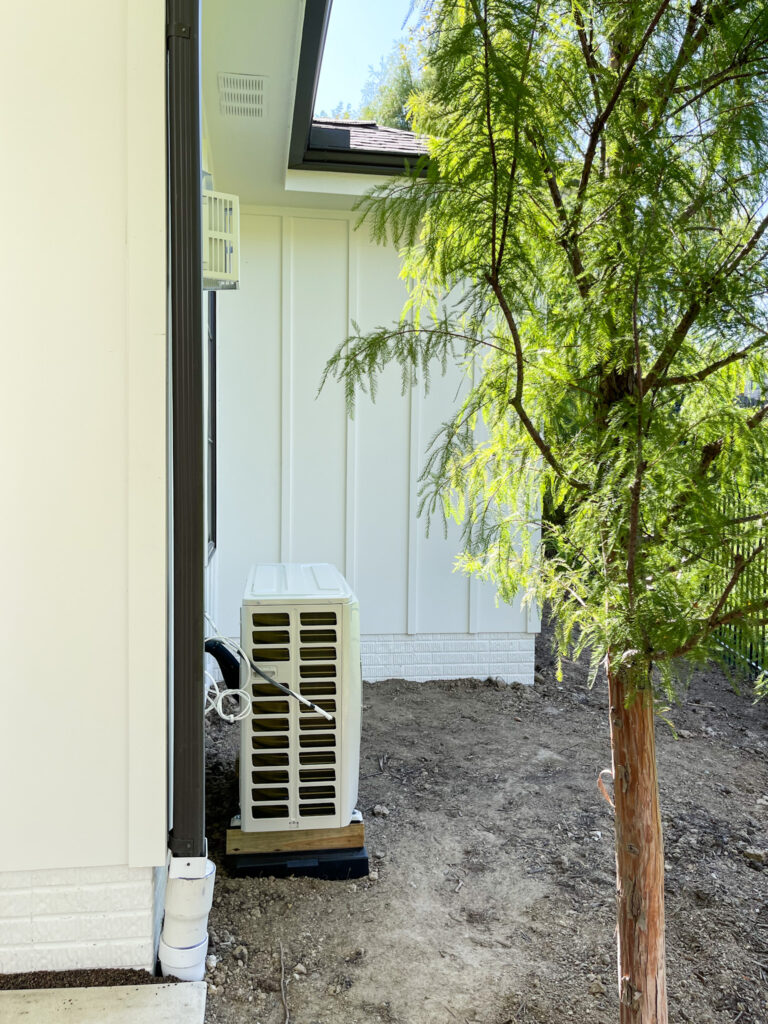
Our mini split (HVAC) unit has also since been installed. Here is how the unit looks on the exterior.
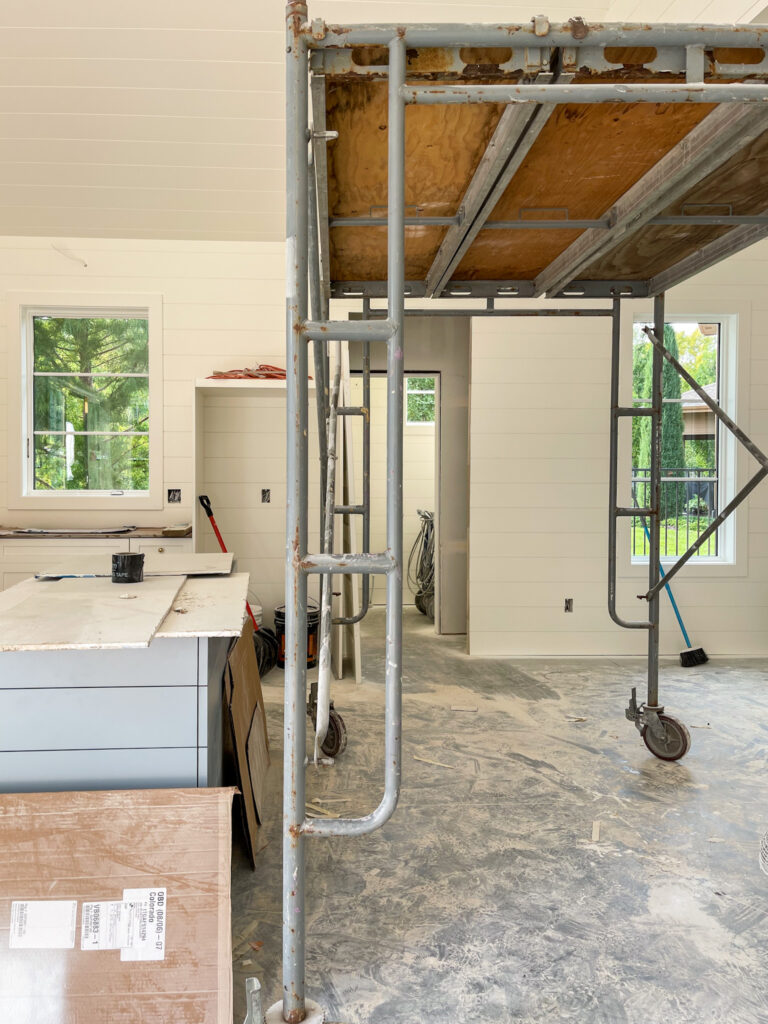
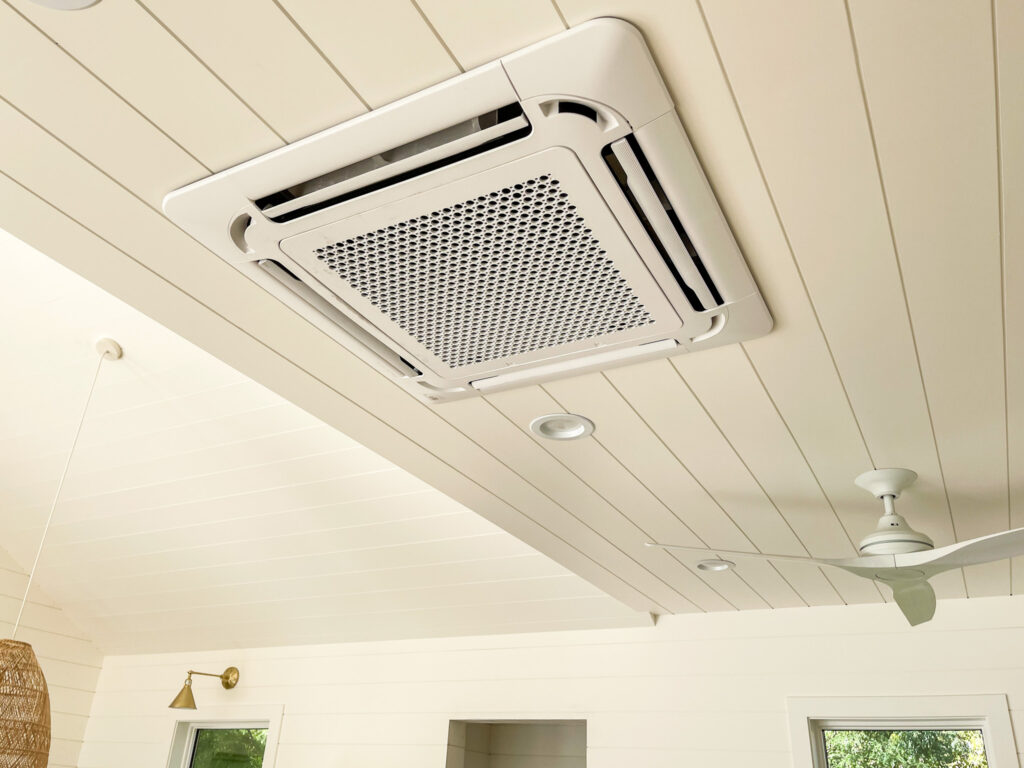
And then here is what you see on the inside. It will provide both heating and cooling so that we can use the space year round. We opted to go with this ceiling unit in lieu of a larger and longer wall-mounted unit.
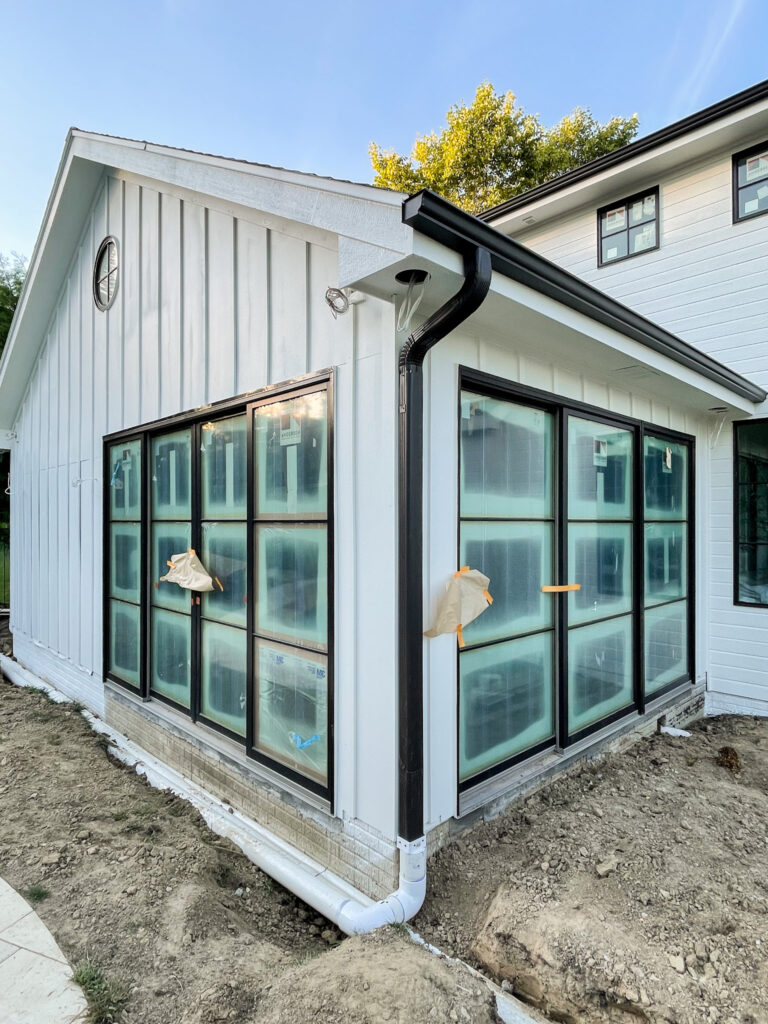
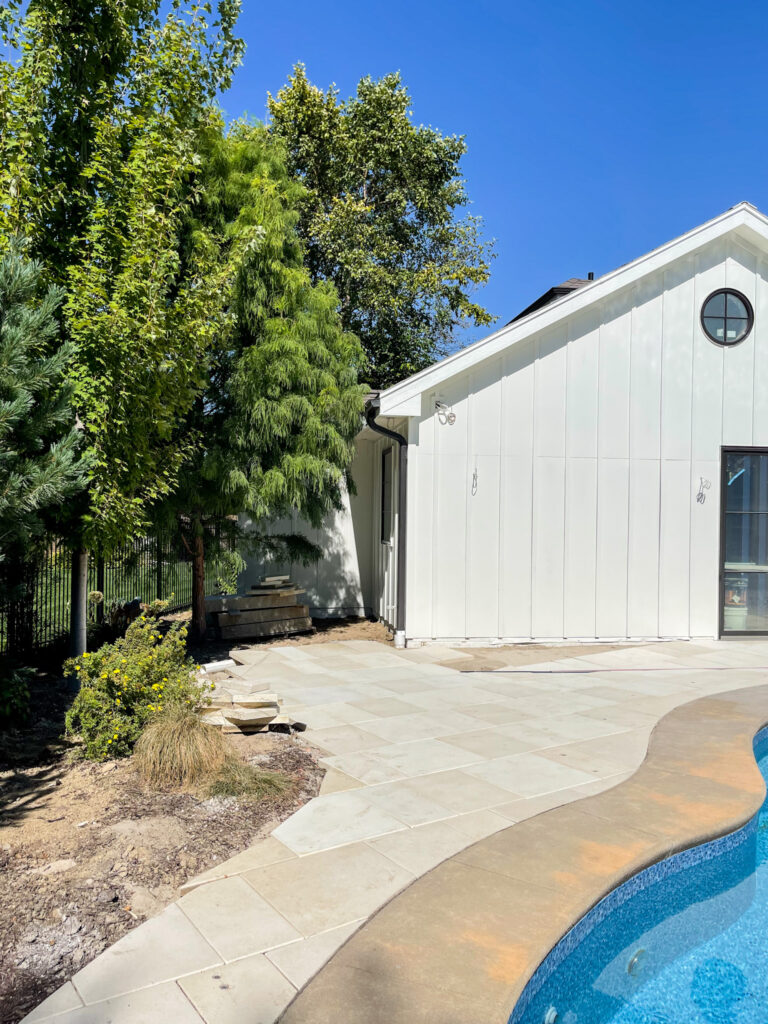
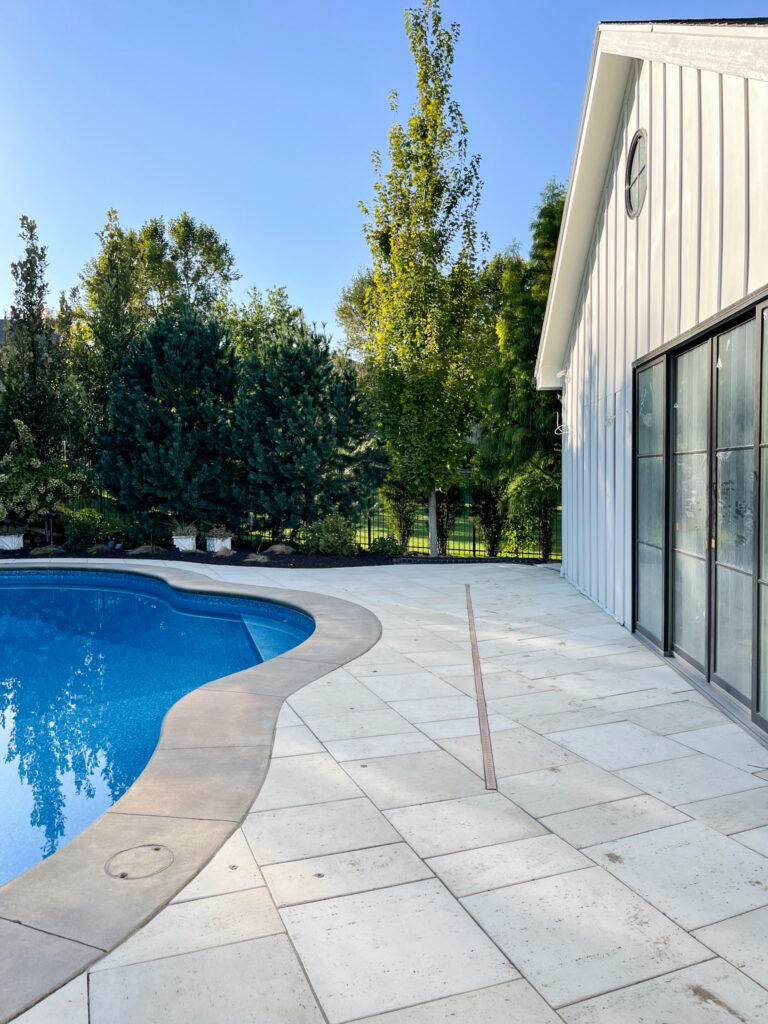
Here’s how things look today on the exterior. The landscapers had to order a few more pavers to wrap things up.
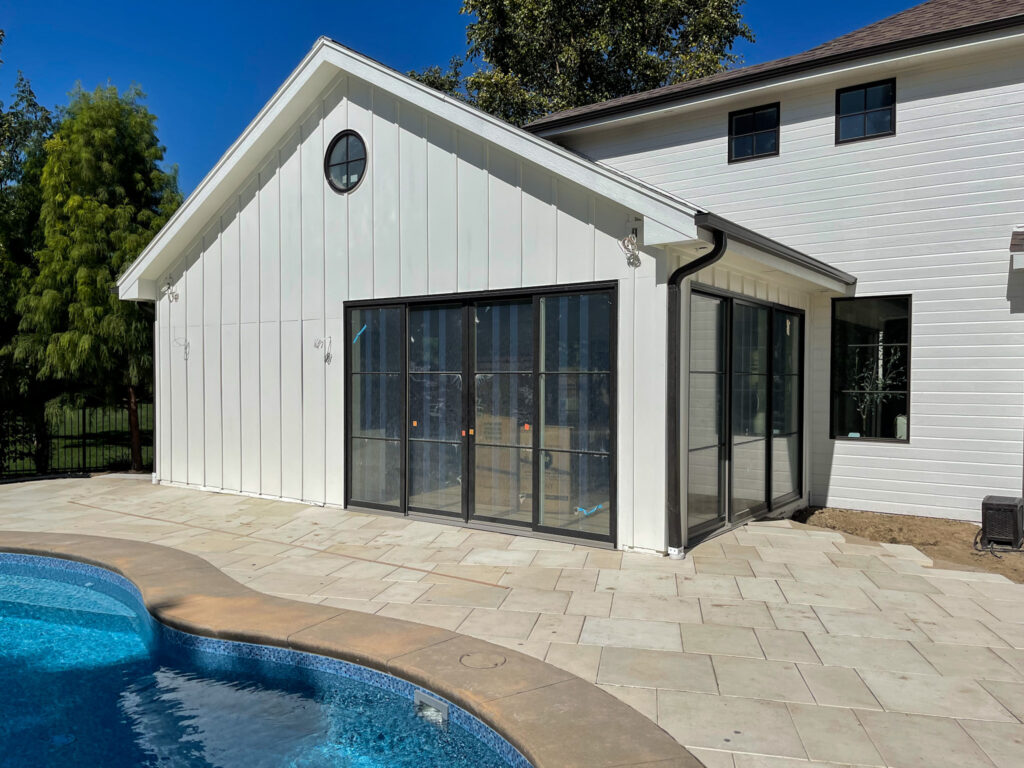
If you look closely, you can also see our channel drain that runs between the pool and the house. This will help dry things out, both for storms and when we have a lot of wet bodies out at the pool.
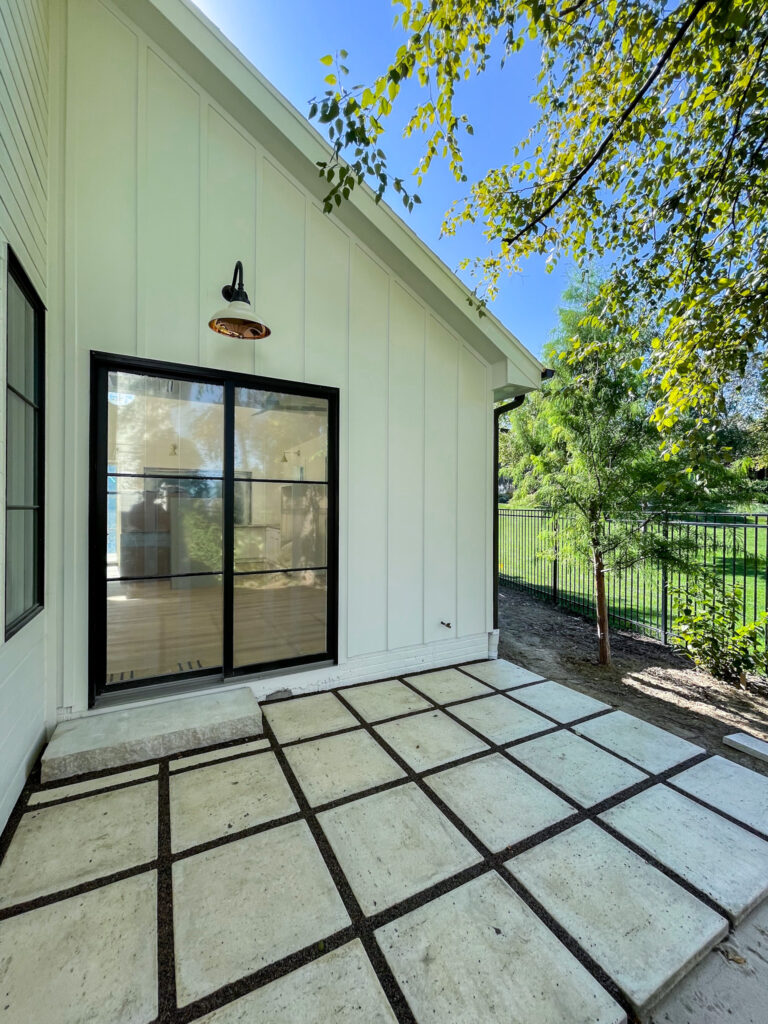
On the other side, the landscapers were able to use some of our old pavers from the old checkerboard path to carve out this mini patio. I’ll have to get more details and photos from them on the fill between each paver. But essentially, it’s a bunch of small stones mixed with something that creates a rock hard surface. We’re planning to place our grill to the right of the sliding door, so we wanted to ensure it was a truly solid surface over here. All of the pavers are square, I just had my wide-angle on to capture the full space.
A few weeks ago, the cabinets we ordered for the tiny hallway storage nook were installed. Apparently I failed to get a picture of it, but it’s off to the middle right in the image below (but had tape on it to protect from paint). It’s basically a five or six foot tall cabinet that’s about 18″ wide, topped with another cabinet about three feet tall. It will be great for storing our stick vac, wet vac mop, and other cleaning supplies we don’t want in the kitchen.
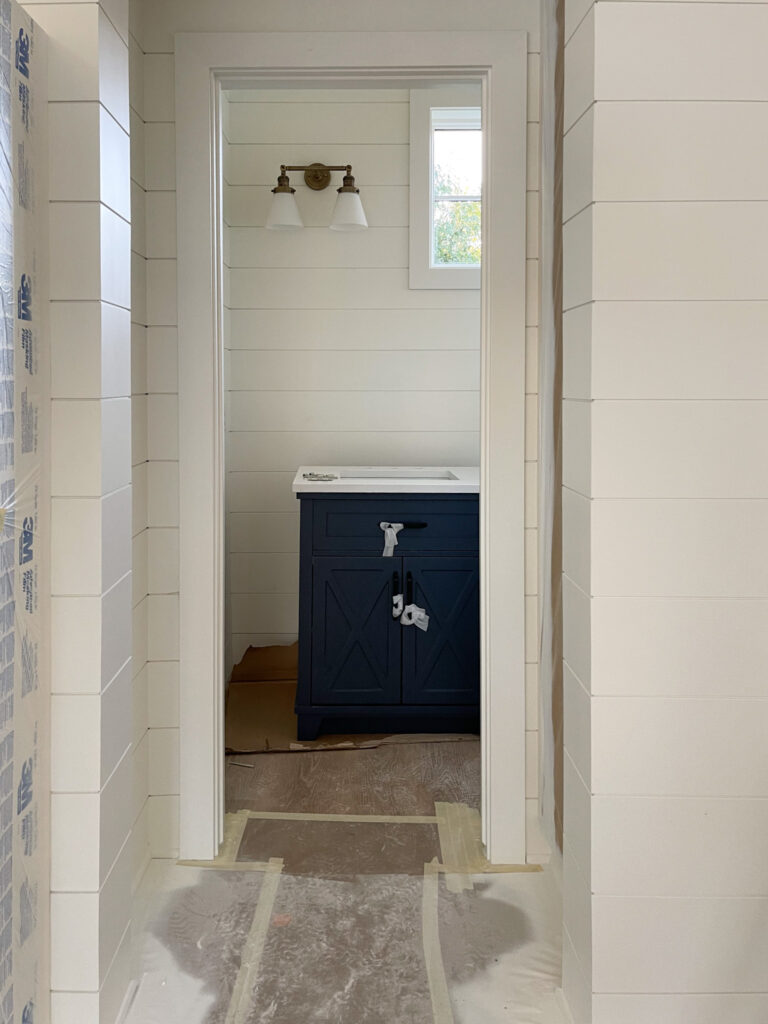
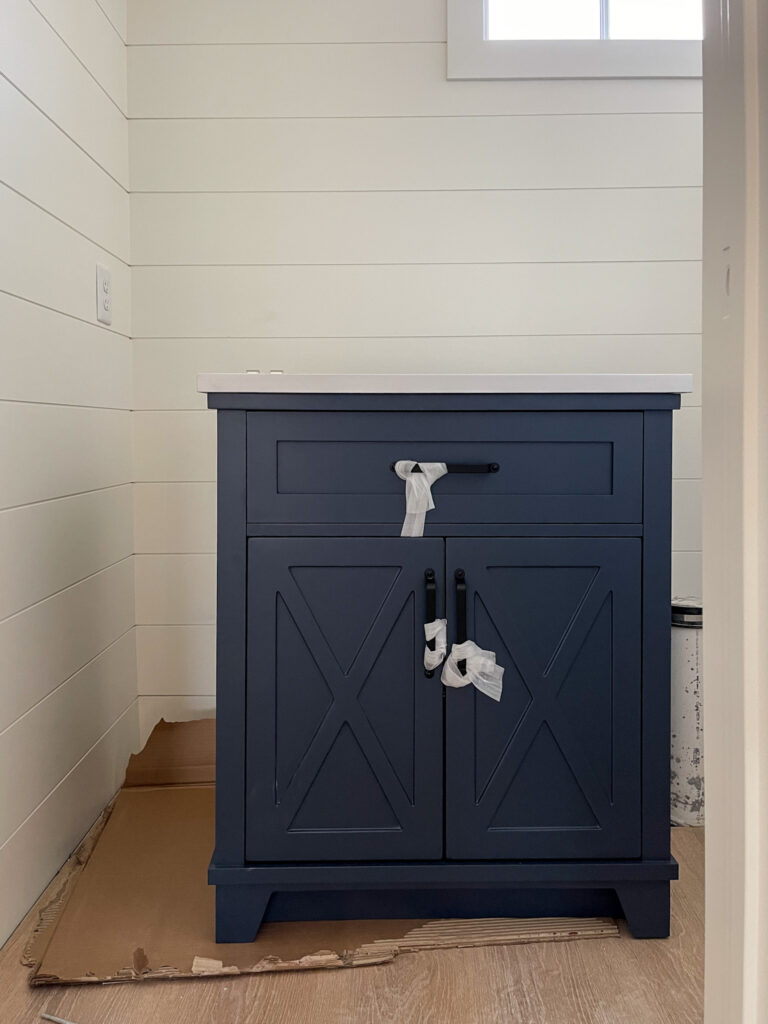
And yesterday, we opened the vanity and moved it loosely into the bathroom. I still plan to replace the hardware, but I’m loving how it looks so far! The color is definitely more of a true navy than the stock photo indicates, so I was really excited to see that! It’s one of the few vanities I found that is closed on the floor and doesn’t have drawers (our pipes have to run up through the floor). I’ll be using this mirror that we already own above it.
Pool House Finishes & Furniture
One of the most exciting updates since my last progress report was the addition of many of the light fixtures! We only have power to a handful of them right now, but it’s so fun to see them up and how they coordinate and work together.
The Moravian star light below is still missing one of the arms (it arrived broken from transit), but I already love it so much!
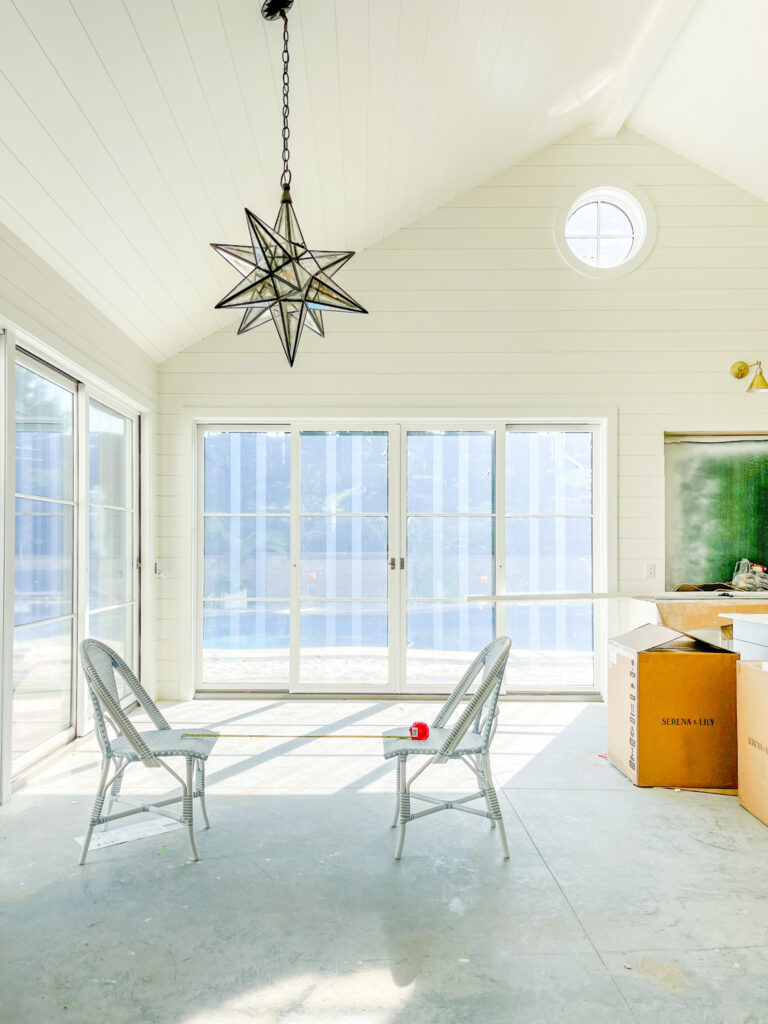
SOURCES: Moravian Star Light | Outdoor Bistro Chairs | Star Sconces
These Star Sconces that we have over the kitchen sink and the bar window are another favorite!
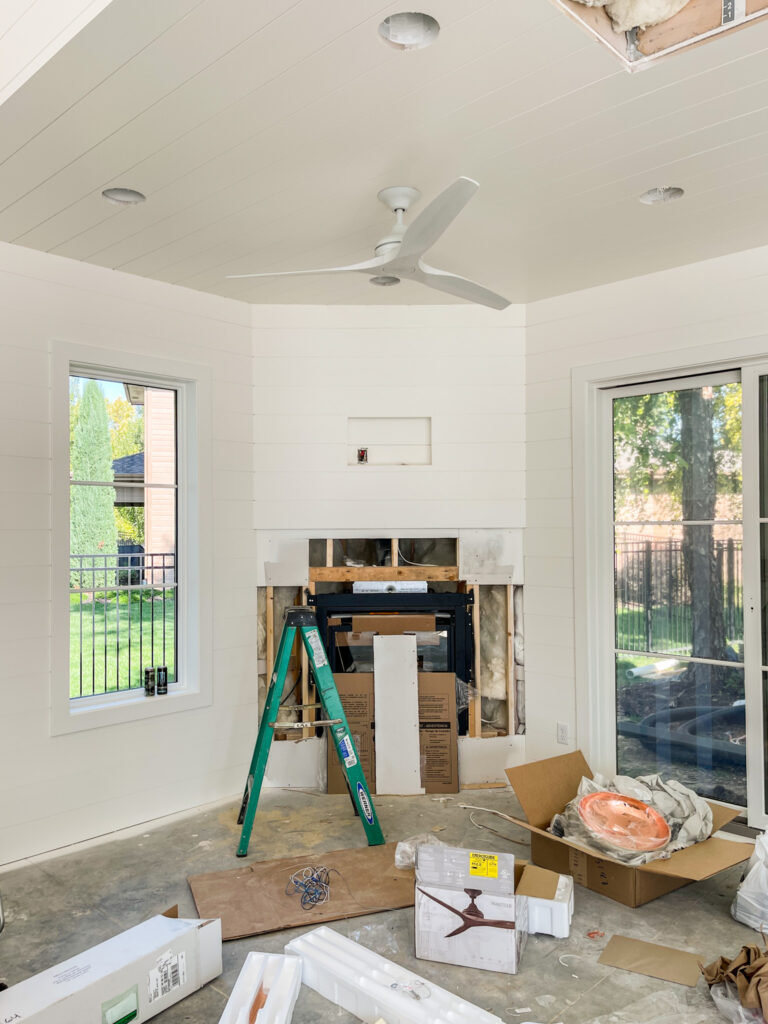
And despite the fact I don’t love ceiling fans, I decided to add this one to the space. I’m happy with how sleek it is and I’m glad I opted for an option without lights to keep it as minimal as possible.
In the bathroom, I went with this fixture. It’s so cute in the space, and I love the milk glass style shades.
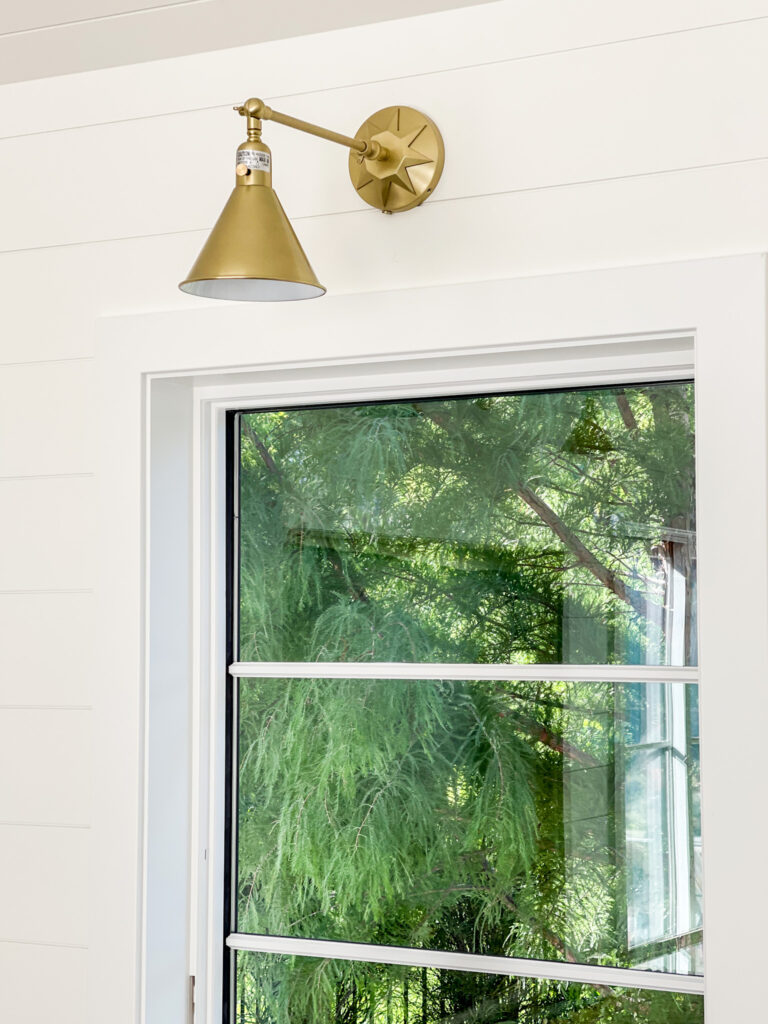
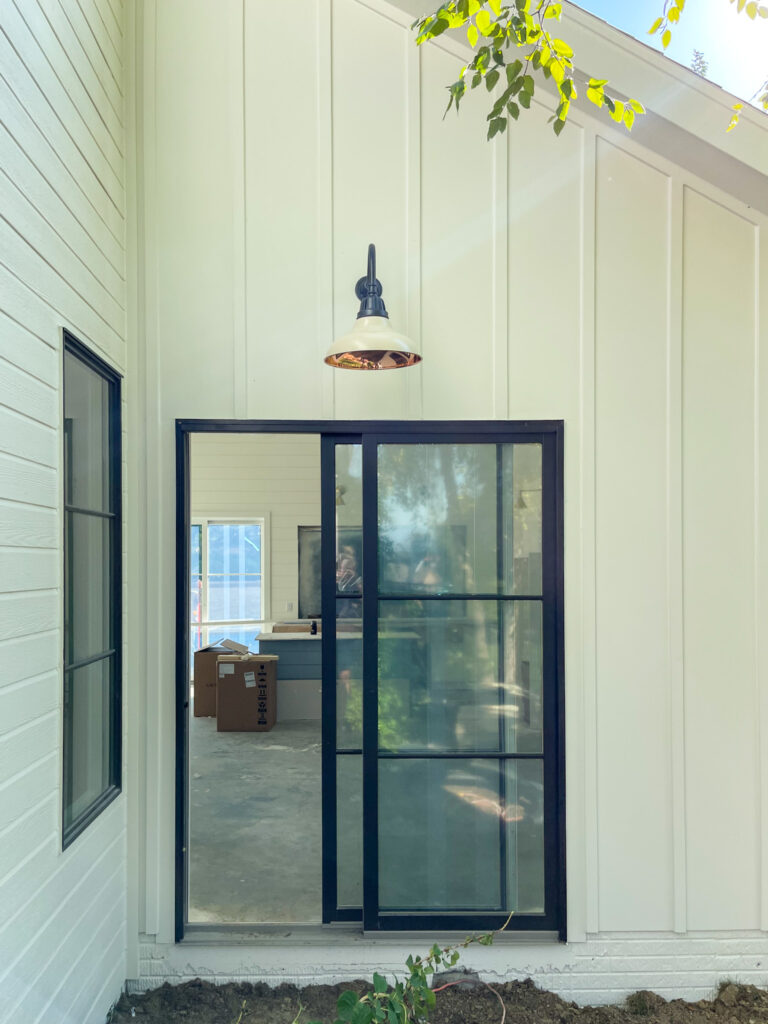
I then had Kurtis help me design a gooseneck sconce for this exit from the pool house. It felt a bit to “cream” when it arrived, but now that I see it against the BM White Dove, I think it totally works! And the copper underside is a total gamechanger. We love it so much!
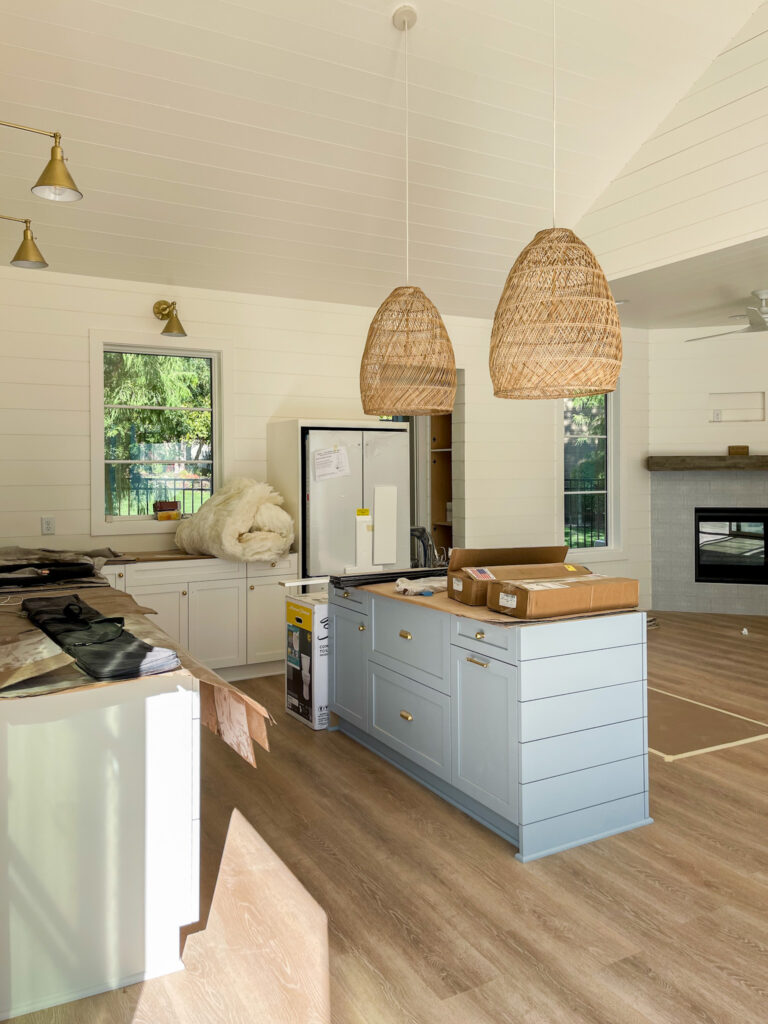
This past week, the electricians finally hung my pendant lights. I love them so much and think they’re perfect for the space!

Our appliances also arrived after a few months of backorders. It actually worked out in our favor so we didn’t have to store them! We went with this fridge and then two of these under counter beverage fridges. We’re keeping them as wrapped up as possible until the countertops and plumbing go in! You can also get a better look at the island in the image below. It will have a 10″ overhang on the backside for the counter stools. As a reminder, we used these cabinet knobs, bin pulls and handle (on the trash can drawer).
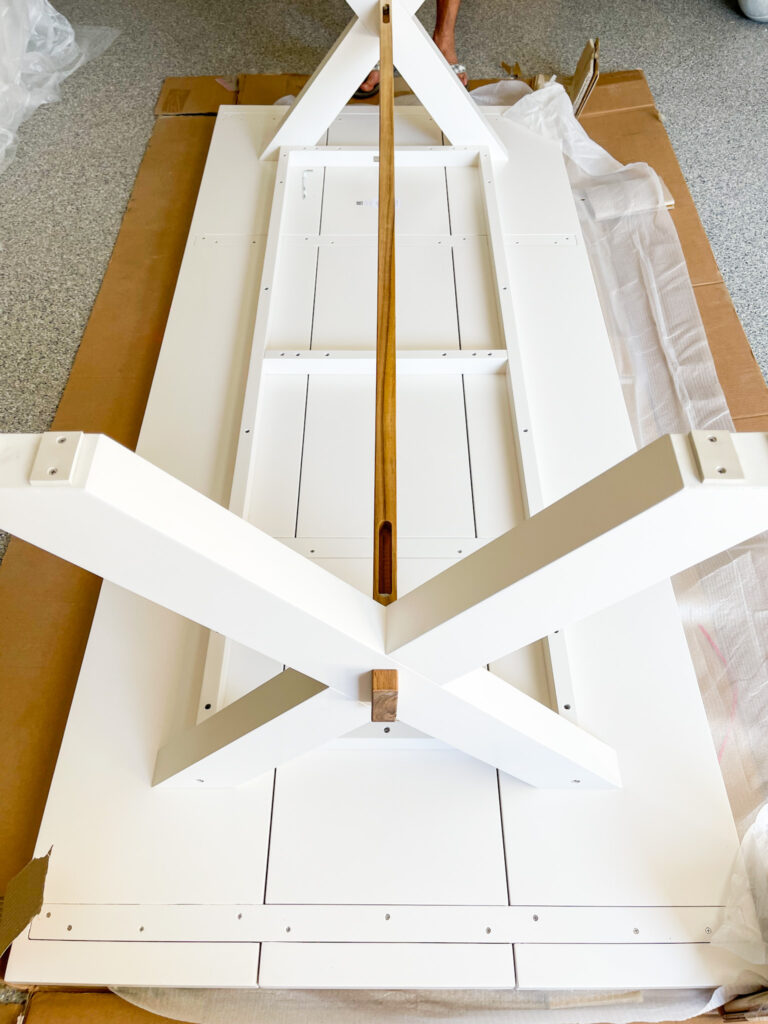
Shortly before Kurtis and I left for Florida, we assembled the dining table for the space. It is an absolute stunner and I’m so happy with it! I love the painted white wood with the natural wood support. It also has a slightly slimmer profile, which makes it perfect for this space and allowing traffic to flow, while not giving up extra seating! It comes with white glove delivery, but we had asked them to leave it in the box a month or so back when they delivered it, since it took up less space in the garage. I’m thinking I may sneak it out to the pool house yet this week. I’m dying to get some photos of some of the spaces while the pool is still open. The rest of our furniture is either in our garage, basement, or office, and it’s all just begging for it’s new home!
I took this next image at the completely wrong time of day, but here you can see how the fireplace tile and grout looks in daylight. We’re really happy with how it, along with the floating shelf mantel, turned out!

We’ve officially reached the point where we are ready for construction to be done. Our builders, BlueStone Custom Home Builders, have been phenomenal to work with. But I think everyone just reaches a point where you want people out of your house and things to go back to a sense of normalcy! I don’t say any of that to complain at all, but rather to normalize the construction process! It can be frustrating and exhausting along the way, but it is almost always worth it in the end! We’ve had it fairly easy with this project, since most of the work didn’t have to be completed inside. If you’re ever planning to embark on a renovation in the future, just know it’s completely normal to have those feelings!
Fingers are crossed extra hard that our window is completed early next week! Until that occurs, we’ll keep pushing the reveal until the space is finalized. But hopefully it won’t be much longer!
If you would like to follow along on more of my home decor, DIY, lifestyle, travel and other posts, I’d love to have you follow me on any of the following:
Pinterest | Instagram | Facebook | LTK
disclosure: some affiliate links used
Love your new pool house! Know you’re ready to have the construction process over! How long has the construction taken, from the first shovel dig to now? We want to add on to our home, which will involve much of the same process you’ve gone through. We’re getting bids now, and the timetables from different contractors aren’t similar. Could you give me a good estimate of how many months it has taken to add the pool house?
Thanks Susan! It’s been a lot of fun but we’re definitely ready for a finished space 🙂 Our project officially started the first week of June. I believe if the backordered window hadn’t been delayed, we would have wrapped it up late September or early October. Still hoping we can have it done by the end of the month. Based on personal experience, I would probably double most timeframe estimates – especially in today’s environment where things are so delayed. If you have all product on hand, that could certainly help speed things up. I hope that helps!
Hi Sarah – everything looks so great in the pool house! I love your lighting choices and how they tie together. Those little brass star sconces are super cute! It’s fun to see progress updates, and I’m sure it’s most thrilling for you!
Thank you Erin! It has been a lot of fun watching things unfold and take shape!
Hi can you share the name/model of your mini split heat system and if you are happy with it? We are putting one in our addition but I wasn’t aware of the ceiling option! Thats great.