Sharing a step-by-step tutorial to create 3D room designs that are useful for room makeovers, design tweaks, renovations, new builds and more!

Admittedly, AI freaks me out a bit. But, there have been some really fun advances lately as it relates to design. You may also remember my fun tutorial on How to Make AI-Generated Action Figure Kits. Well today I’m coming to you with something much more useful, and equally as fun (at least in my mind)! I’m going to share how to create 3D room renderings from design boards and mood boards!
Some time last year, I spent a lot of time looking into various AI options to help with room designs. After many hours, there wasn’t really a solution at the time that would do what I wanted it to. And trying to modify results got really tricky. So I kind of punted.
But the latest version of ChatGPT is very impressive. It’s not perfect, but there are so many advances, I felt like it was definitely time to share a tutorial for you!
This post contains affiliate links for your shopping convenience. You can read my full disclosure policy here.
How to Create a 3D Room Designs in ChatGPT Using a Mood Board
What You’ll Need:
- A ChatGPT account. There are free versions, but I prefer the paid option because it has more offerings/abilities and returns results more quickly.
- A mood board or design board image (JPEG or PNG). I make most of mine in Canva, PicMonkey or Photoshop but you could use any app or program that can save in those formats. I have an old tutorial here that may give some guidance (even though the interface has since changed).
- A clear idea of the room type (e.g., living room, kitchen, bedroom).
- Optional: Specific style notes, architectural features or furniture details you want to include.
Step-by-Step Instructions to Create 3D Room Renderings
Step 1: Upload Your Mood Board
- Open ChatGPT and begin a new chat. I’m not going to jump into the basics of ChatGPT since there are tons of tutorials out there and the interface can change over time. But it’s a super simple process.
- Click the + icon to upload your mood board or design board image.
- In your message prompt, say something like: “Please create a 3D rendering of a [room type] using this mood board as inspiration.” Example: “Please create a 3D rendering of a coastal living room using this board. Include light blue-gray sofas, a jute rug, white wood ceiling beams, and a woven chandelier.” I’m always nice to the robots, because I’ve seen enough movies and read enough books where I know what happens to you if you’re not 😉
Step 2: Add Room Details
To get an accurate rendering, include:
- Room type (e.g., bedroom, bathroom, kitchen).
- Key features (e.g., windows, ceiling beams, fireplace).
- Color scheme or materials (e.g., “white oak floors,” “brass fixtures”).
- Furniture types (e.g., “sectional sofa,” “round dining table”).
💡 The more specific you are, the better the 3D output will match your vision.
Step 3: Review the AI Rendering
ChatGPT will generate a realistic 3D rendering based on your mood board and description. It will appear directly in the chat.
You can now:
- Review the layout and style.
- Ask for tweaks: “Please change the chandelier to a rattan style” or “Add a pair of white armchairs by the fireplace.” Please note: the more tweaks you request, the stranger your image can get. I’ve actually found it helpful to sometimes start from scratch with a new prompt that includes the additional changes you want. Otherwise, it randomly starts adding or changing things you never asked to be changed once you start asking for too many updates.
Step 4: Refine the Room
This step can be repeated until you’re happy with the image. You can refine elements like:
- Furniture placement
- Wall treatments (e.g., wallpaper, shiplap)
- Color accents
- Lighting style
💬 Example:
“Can you make the rug a natural jute and move the chairs to face the fireplace?”
But again, the less iterations, the less likely things will start to get wonky.
Step 5: Save Your Design
Once you’re happy with the rendering, right-click the image and save it for your design presentations, mood boards, or contractor references.
💡 Pro Tips
- You can create multiple versions: “Make one more version but with a stone fireplace.”
- Use ChatGPT to style other rooms in the same home for a cohesive design.
- It works beautifully for coastal, modern, boho, or traditional styles—just specify your theme.
Example Prompt to Copy:
“Here is a mood board for a coastal bedroom. Please create a 3D room rendering based on this. Include a light blue slipcovered bed, woven nightstands, a beaded chandelier, white oak floors, white bedding, and a light jute rug. The room should feel bright, relaxed, and airy.”
3D Room Example Using the Prompts
By using the exact prompt above, let’s apply it to this old mood board I had on hand from when I was designing our bedroom.
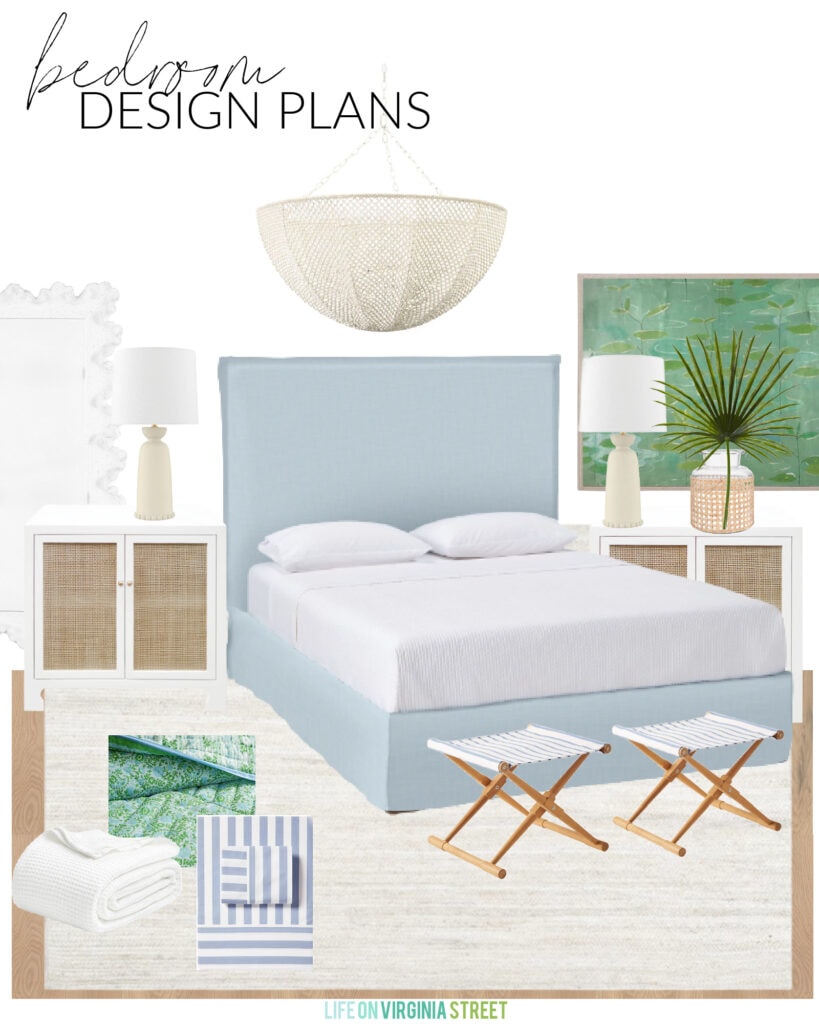
SOURCES: Bead Chandelier | Blue Linen Bed (look for less here) | Nightstands (look for less here) | Reversible Quilt | Striped Sheets | Waffle Knit Blanket | Lamps | Cane Wrapped Vase | Faux Fan Palm | Woven Rug | Striped Stools | Coral Style Mirror | Artwork
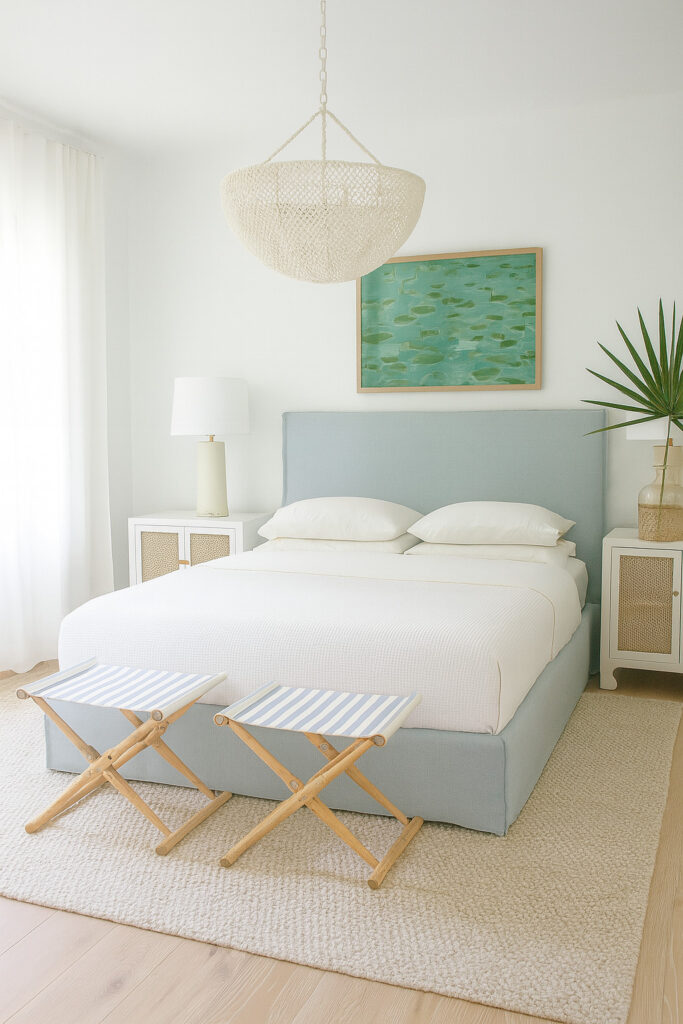
And here’s the rendering ChapGPT gave me. It’s basically our exact bedroom. In fact, it’s so close I’m borderline wondering if they’re plagiarizing my own site!
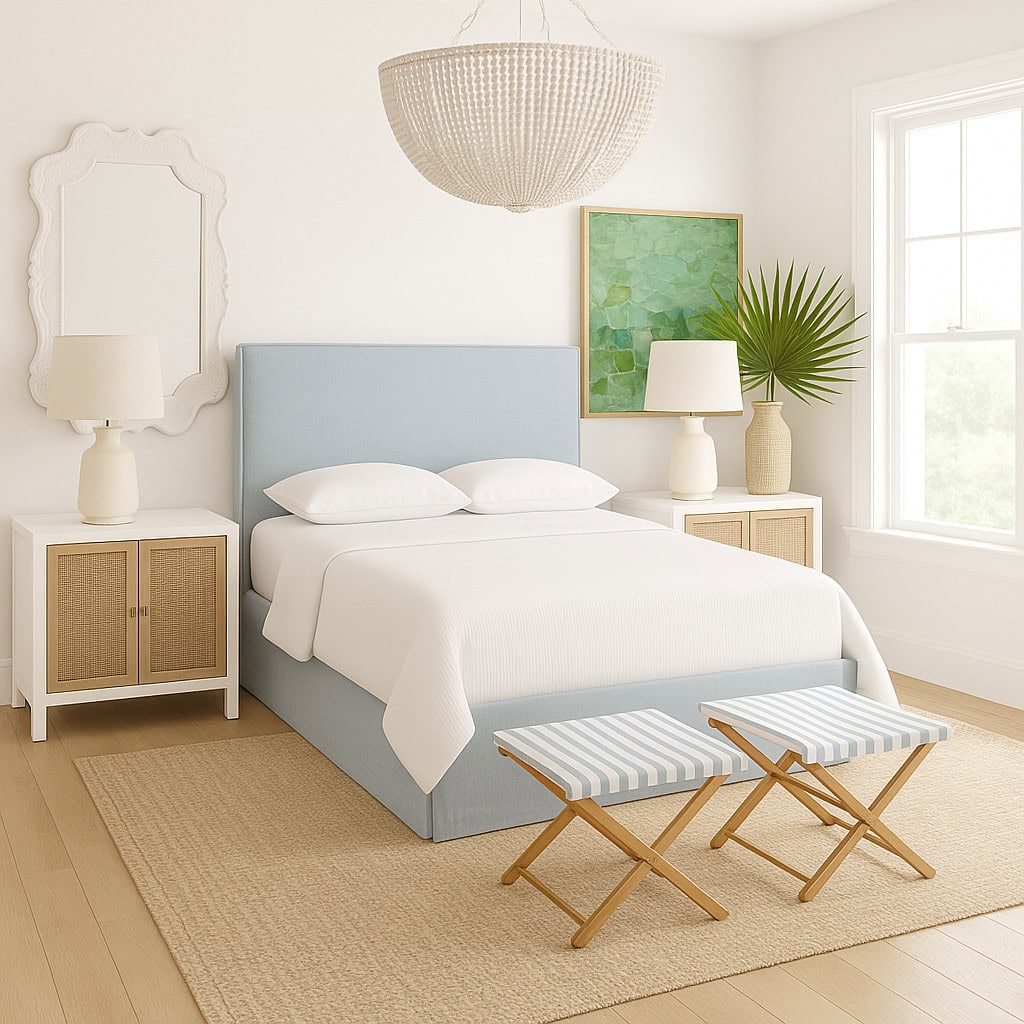
Then I simply said “please create an alternate option” without specifying specifically what I wanted changed, and was provided this next image.
3D Room Design From Basic Mood Boards
If you don’t feel as comfortable making a mood or don’t have the time to make something super sophisticated, I thought I’d show an example to prove it really can still work. I threw some random products on a blank Word Document/Google Document and then used my clipping tool to save it as a PNG file.
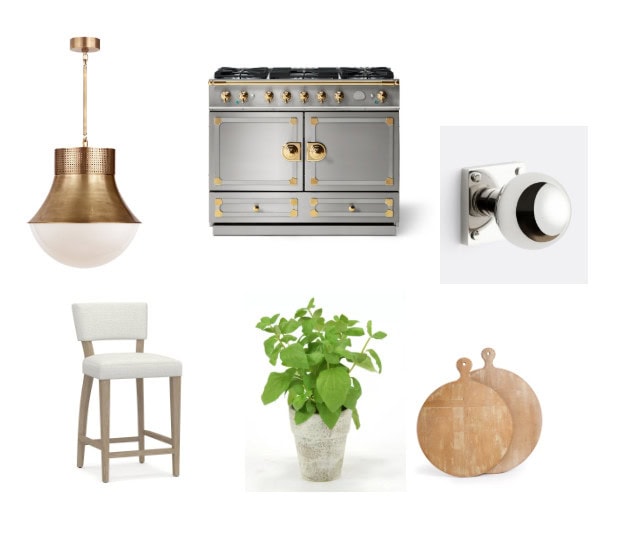
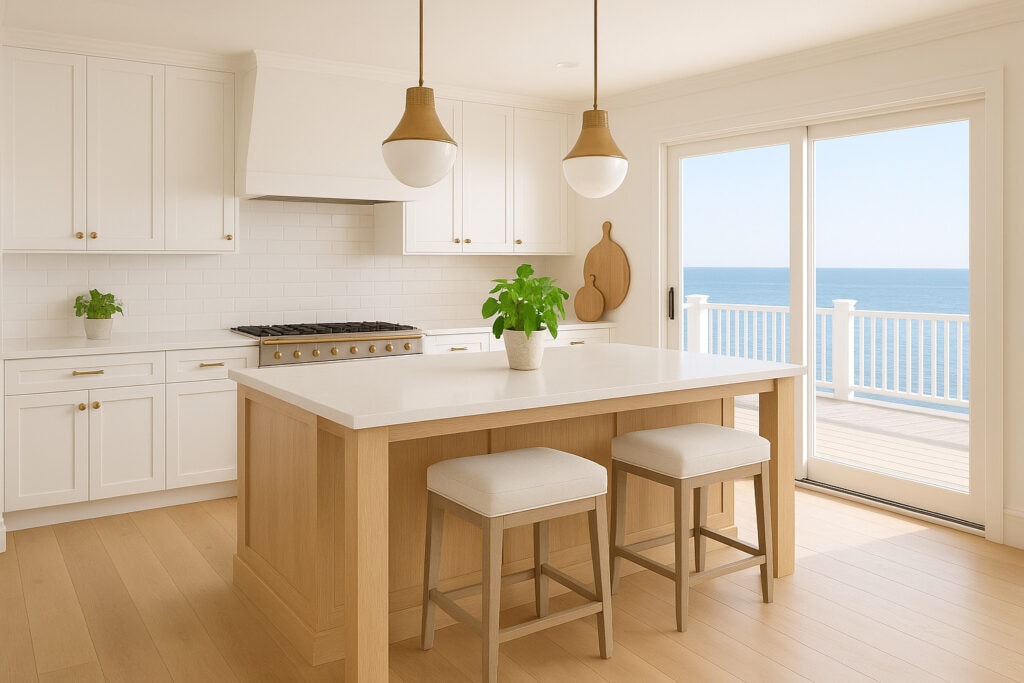
SOURCES: Pendant Light | Range | Cabinet Hardware | Counter Stool | Basil Plant | Wood Boards
With more descriptive prompts, I was able to create the following. When your prompts are detailed (include room size, the overall feeling you want the room to have, how many windows there are and where they’re located, etc.) you really don’t need a fancy moodboard!
Here is the prompt I used to create the following 3d rendering: “Please make a 3d kitchen rendering that uses the items shown. The kitchen should be light and airy with a coastal vibe. There are sliding doors on the right of the room that lead to a deck. The kitchen cabinets should be white and the kitchen island should be white oak. The floors are wide plank white oak hardwood floors. The walls and trim should be painted Sherwin Williams Alabaster”. Using the exact same prompt twice, these are two variations it provided back to me.
How To Use the Prompts for Room Makeover Visuals
This process can also be used to take photos you already have of your home if you don’t feel as confident with mood boards! For example, we had always considered adding board and batten in our dining room but with the planned move, decided to forego that option. But ChatGPT proved it would have been a great option! Here’s the photo I uploaded:
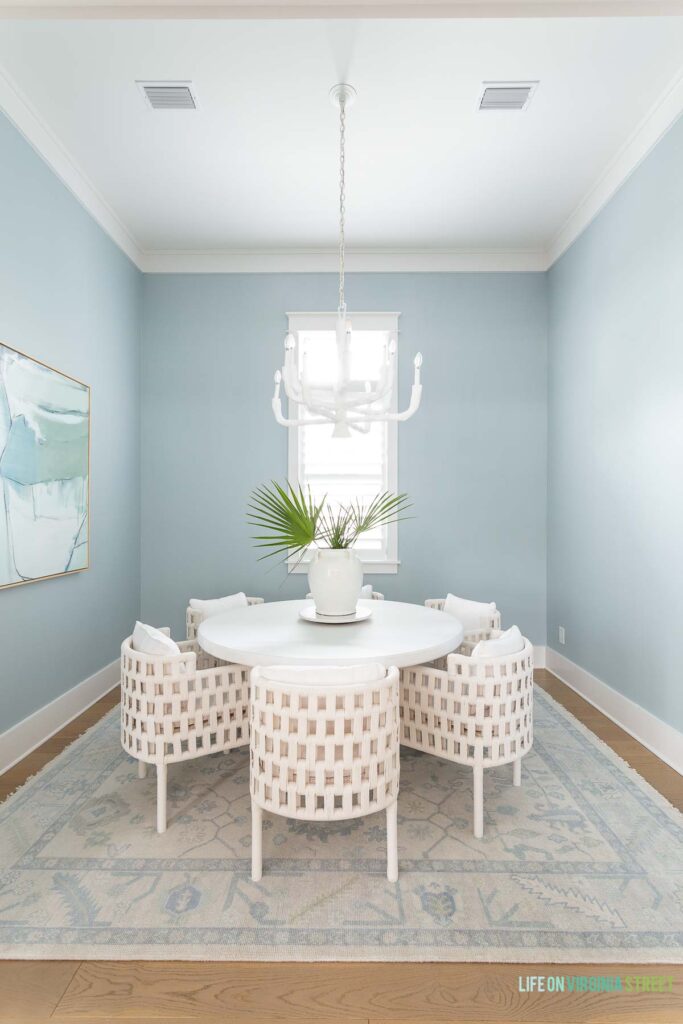
SOURCES: Dining Chairs | Dining Table | Rug | Chandelier | Abstract Art | Vase | Marble Lazy Susan | Paint Color: Benjamin Moore Smoke
I asked ChatGPT to add board and batten grids to the walls and color drench the walls, ceiling and trim in Benjamin Moore Smoke (the color I painted the walls).
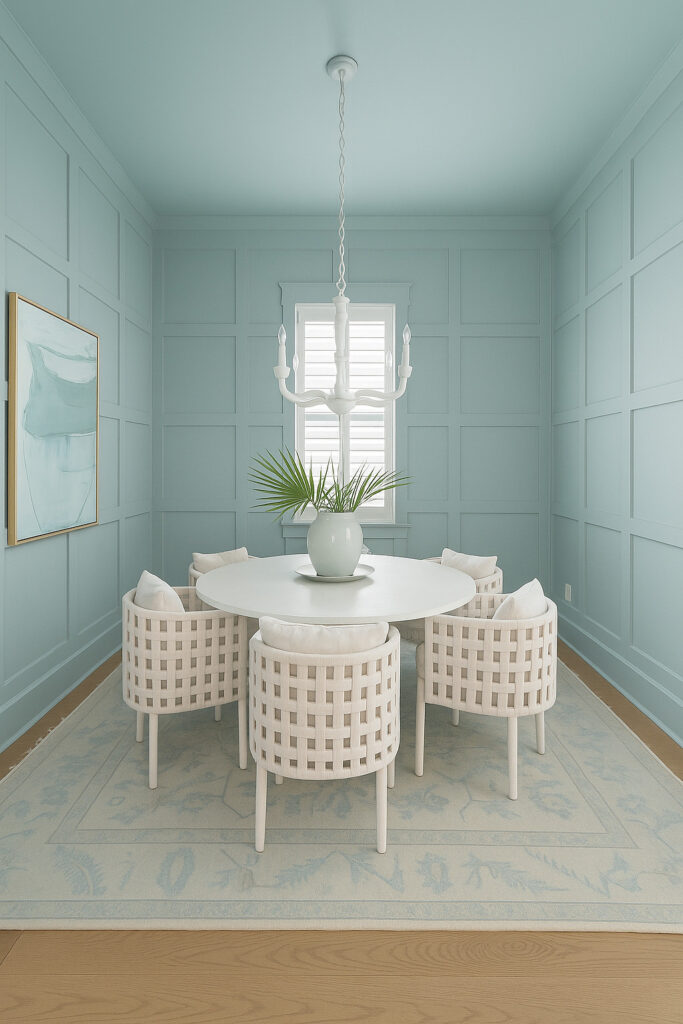
Pretty dang helpful right?! Even if the color isn’t 100% accurate. It can also be super useful if you have a vision and need to show it to someone else if you can’t articulate the changes or they aren’t great at visualizing what you’re hoping to do.
How To Use ChatGPT to change the exterior color of your house
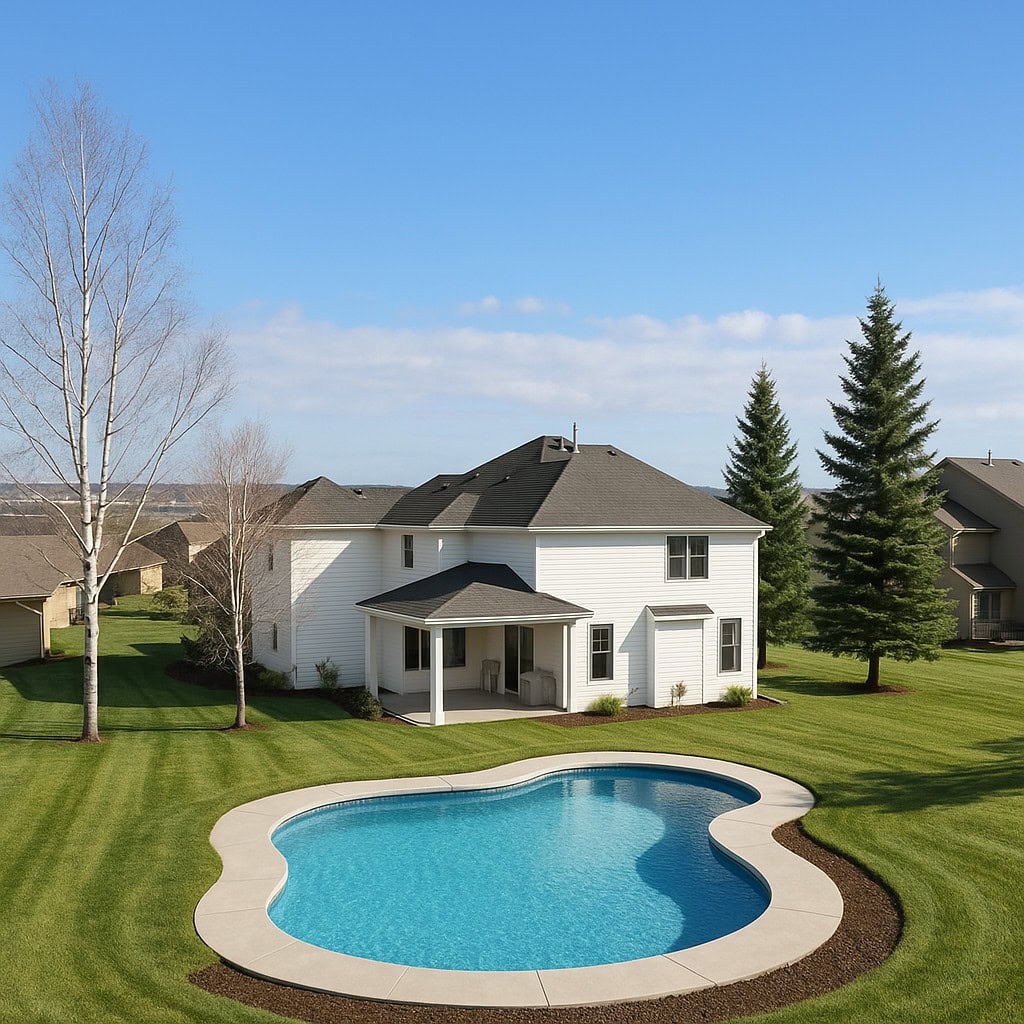
Considering a change of color on your exterior? ChatGPT can help with that too! I simply took a photo of our Omaha house, asked it to paint the exterior and trim Benjamin Moore White Dove and add an oasis shaped swimming pool.
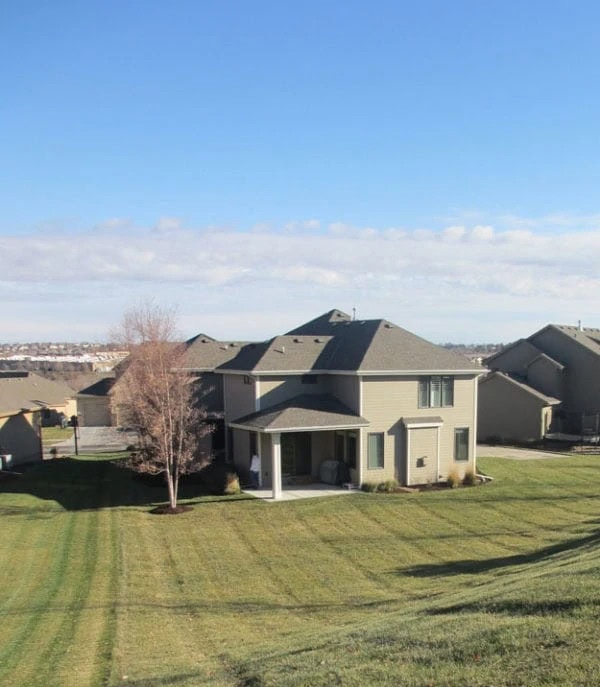
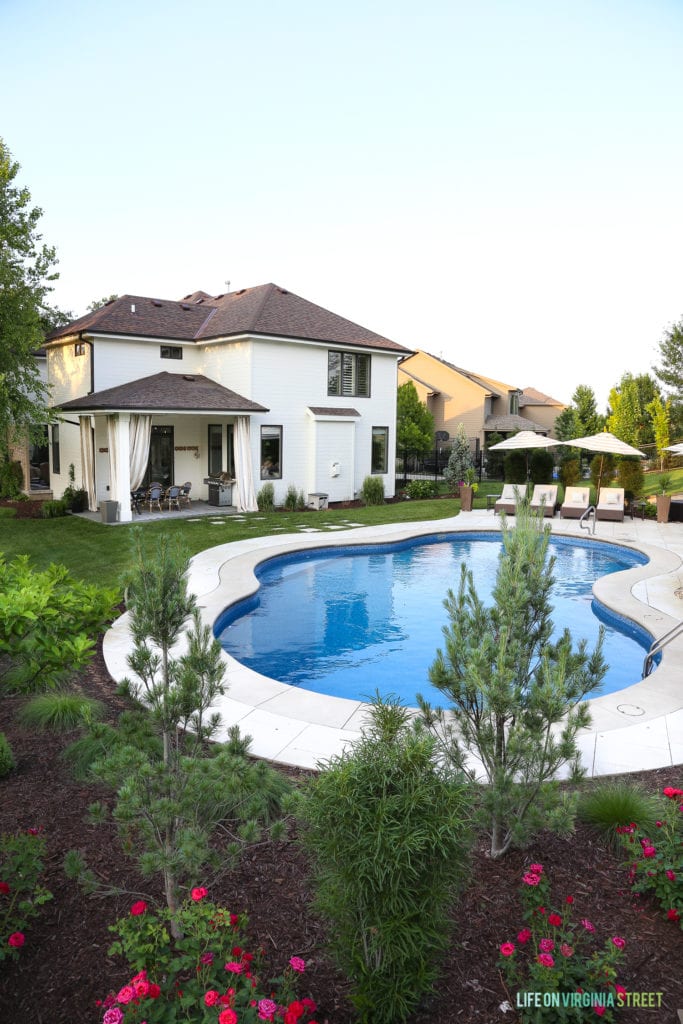
Here was how it actually turned out in real life. When compared to the rendering, it’s pretty incredible! You can see the details on our full Benjamin Moore White Dove Exterior Reveal here if you’re interested.
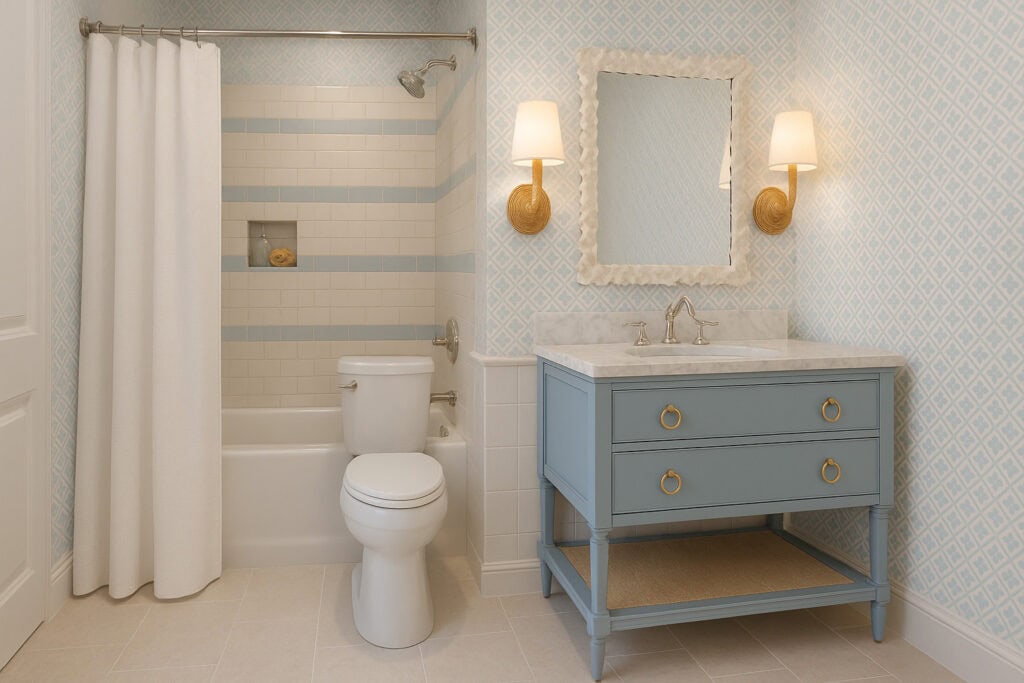
Coastal Bathroom 3D Room Designs
I’ve been playing around with various rooms for our new build and thought it would be fun to share an example with you. None of these plans are even close to finalized but have helped me eliminate/approve certain options.
Here was a mood board I uploaded for one of the secondary bathrooms that will be closest to Kurtis’ office space so I’m calling it “his”. Rachel used these sconces in one of her bathrooms and they look incredible for the price (which is for a set of two)! We plan to use them somewhere as well.
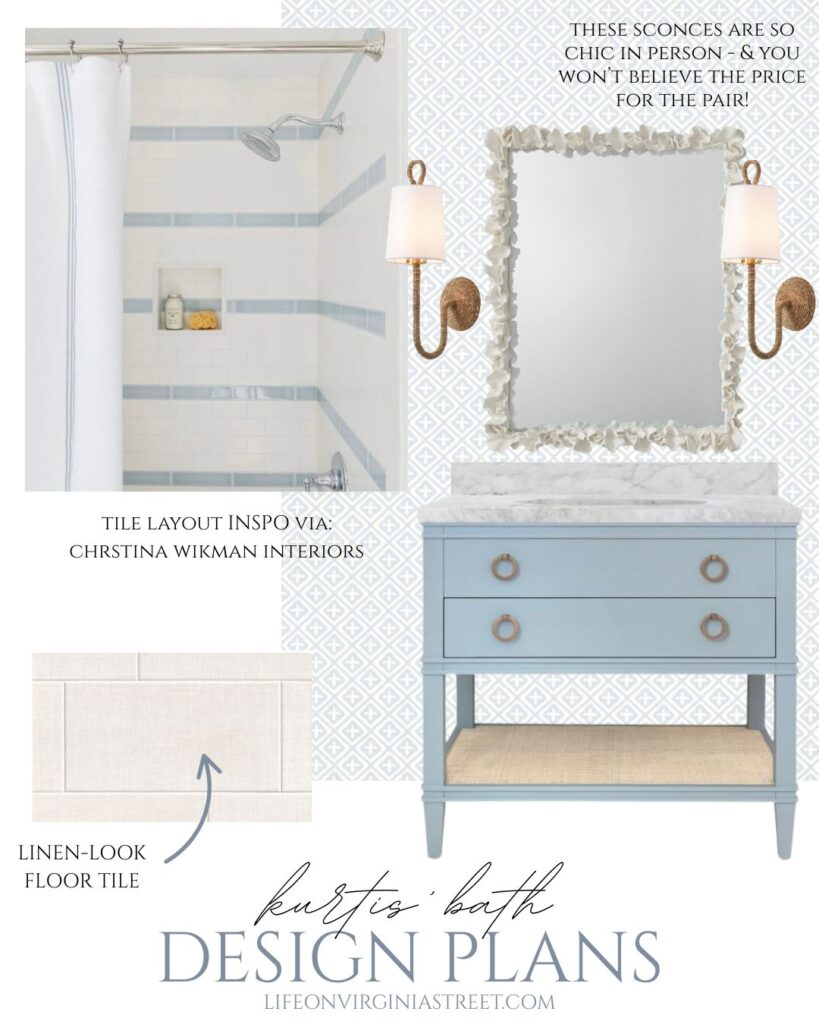
SOURCES: Wallpaper | Mirror | Sconces | Vanity | Tile Layout Inspiration: Christina Wikman Interiors
Here’s the rendering I loved most out of several versions, even if it’s not 100%.
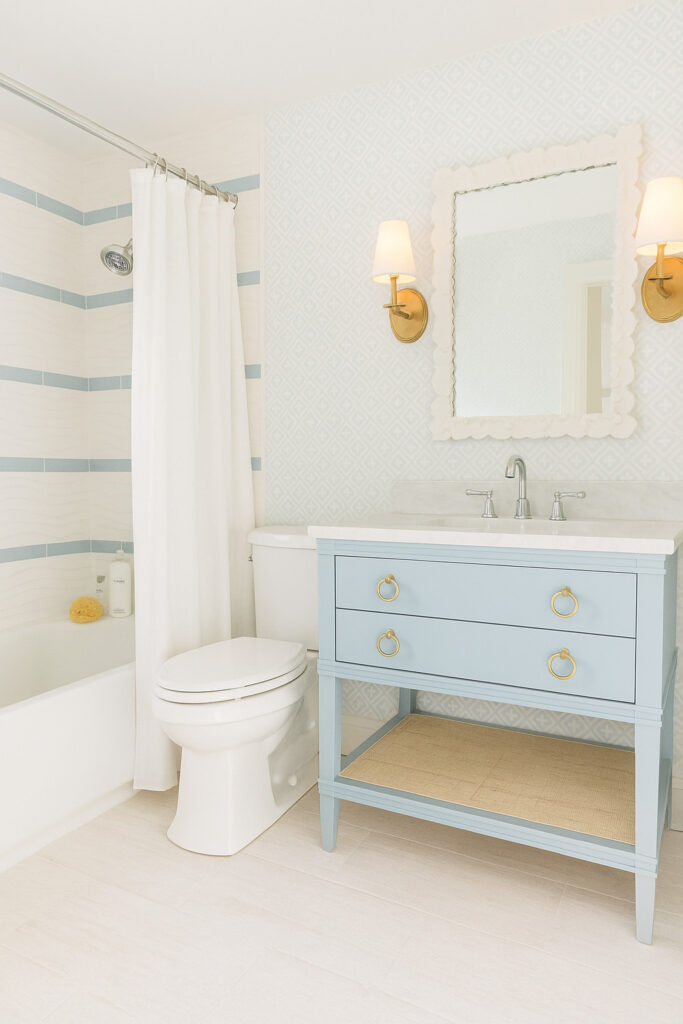
And before you think ChatGPT could end interior designer’s jobs, I’ll leave you with this little nugget. Also, it currently can’t give product advice, so if you’re starting from scratch (or have no vision at all) an interior designer can work far more miracles than this I’m guessing 😉 I actually love this one because Kurtis thinks ChatGPT can do far more things than I think it can and I love to prove him wrong. Here’s “your” bathroom Kurtis. Ha!
While the renderings produced may not be 100% accurate or exactly what you had in mind, I think they can still be incredibly helpful in visualizing spaces (that could be very costly renovations) at little to no cost. I have a lot more versions to share in the coming weeks that I’ve refined for our new build. But, in the meantime, I hope this little tutorial helps you with any makeovers or renovations you may have!
If you would like to follow along on more of my home decor, DIY, lifestyle, travel and other posts, I’d love to have you join me on any of the below channels:
This was an insightful and informative post! One of your best
Thank you! I’m glad you enjoyed it!
I laughed out load at the last image because I have tried a few AI generated design tools and frankly was so tired of having to give so many prompts for the strange images it created.
I missed the part about the new build! Is this your new house? A rental? Whatever the case I am here to follow along.
Haha! Glad I’m not the only one it has happened to 😉 And yes, we’re moving sometime next year (we’re building a street away). I have more details here if you’re interested! https://lifeonvirginiastreet.com/were-moving-again/