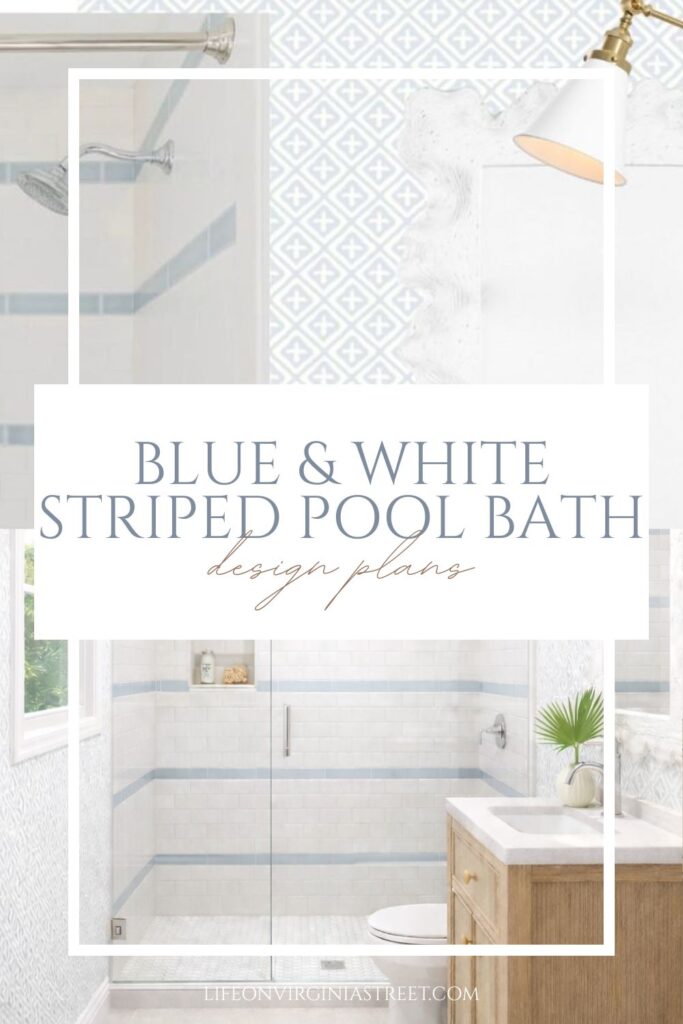
Over the coming weeks, I plan to share a lot more specifics as it relates to the design plans for our new home. If you missed it, last week I shared our plans for Kurtis’ home office and today I’m sharing plans for our blue and white striped pool bath design plans!
This post contains affiliate links for your shopping convenience. You can read my full disclosure policy here.
If you’re new here, we are building a new home that should be ready in July or August. We’re finally at the “fun” stages of the process where some of the design elements are really coming to life! Here are my prior posts on our new home if you’re looking to get caught up:
- We’re Moving! Again!
- New Build Progress: Part I
- New Build Progress: Part II
- Moody Navy Blue & Plaid Home Office Plans with Ralph Lauren Vibes
And although it may seem a bit out of order to share our pool bath next before giving you an overall vision for the rest of the house, this was the next one we had finalized rather quickly. It also didn’t require any furniture selections or accessories, so it’s a pretty quick one to piece together. I’ll likely be sharing more of the main living areas like the kitchen and living room next, so stay tuned for those.
Pool Bath Details
Many homes with pools in our neighborhood (and even some without) that don’t have a pool bath have an exterior shower. It’s a great way to rinse off after a sandy beach trip or swimming in salty gulf water or pools. We have an outdoor shower currently (not our choice but was included with the floorplan) and there is also one at Hola Beaches. I’m guessing our current one has been turned on less than six times in the two and a half years we’ve lived here.
But the real reason we don’t love them is that you have to drip them during freezing temps (which I had to do last night and we’ll have to do a few times this week). Since they’re on the exterior, the pipes can freeze and burst if temps are below freezing for more than an hour or two.
With both our current home and future one, we, along with our guests, would have to go from the back of the house to the front, many times wet, across the hardwood floors without a pool bath.
Long story short, as much as we don’t actually need a pool bath, nor would we have added one if we were building custom, it will be really nice to have a toilet and sink accessible from the pool! It actually happens to be right next to Kurtis’ garage gym, as well, so I think he’ll find it helpful (and an easy spot to run to the restroom or to refill water/wash hands/etc. if needed).
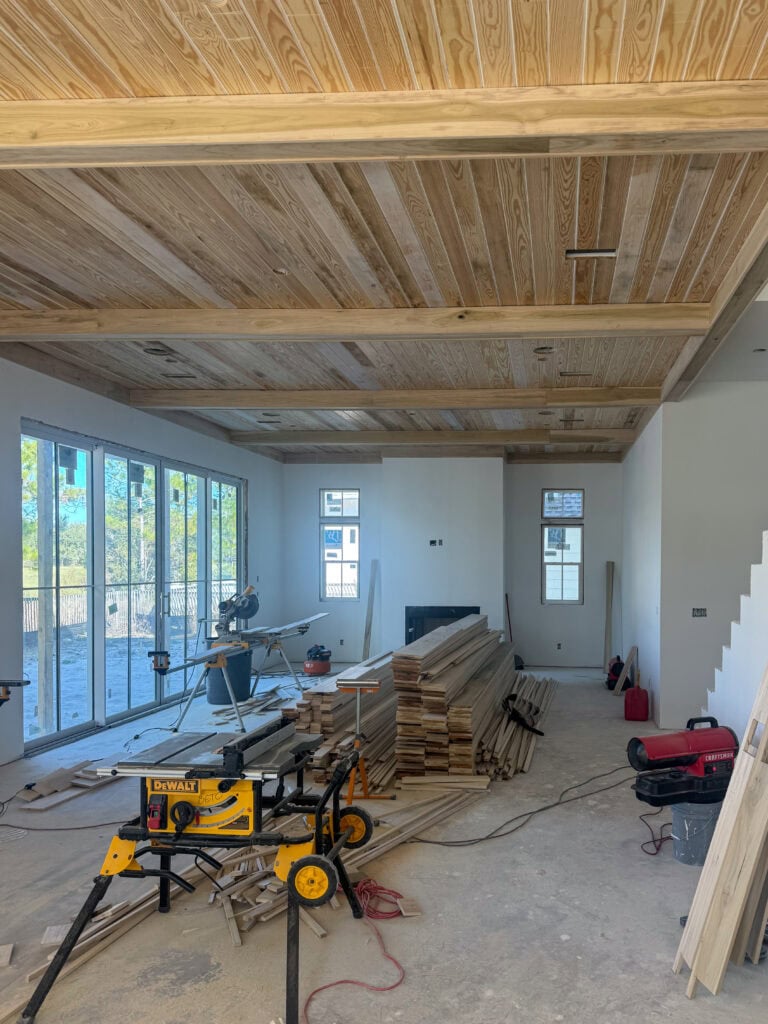
Here is a look at the space as of last night. The room is accessed only from the backyard and is only about 6’x9′, so it’s a lot to fit in the space but it works! There is a small square window to the left but when the door is open it is mostly blocked. But that will let some nice natural light in, once someone is inside. Kurtis’ gym is off to the left and the right wall sits directly behind the fireplace wall in our living room.

Here’s a look from the living room to give you a better idea. The jut-out you see above with the bathroom extends out from between the two windows you see below. It’s kind of wild it fits back there! But that means it will have HVAC as well, even though it’s only accessed from the exterior. The wall and roof you see out the window on the right is Kurtis’ gym garage. I have big plans for that whole wall from a landscaping perspective!
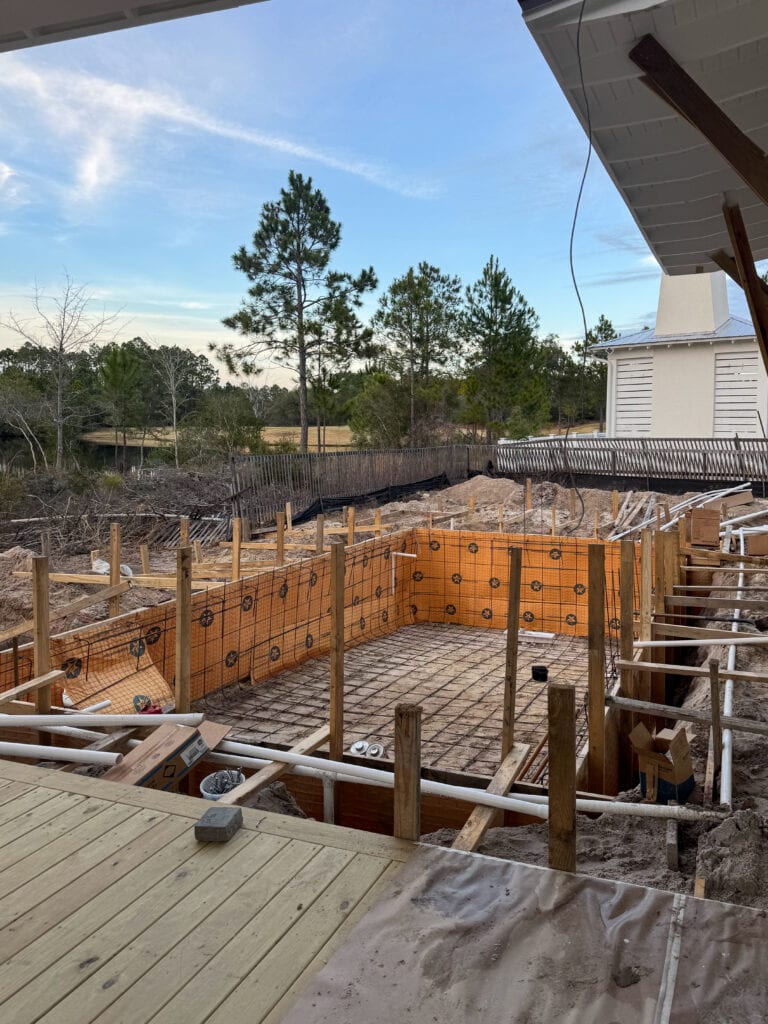
And speaking of pool, if you don’t follow me on Instagram or do and missed it, they started digging and setting forms last week! It was pretty wild to see! It was also nice to have half of the silt fence torn down. The pool bath can be accessed off the far right of the back right edge of the pool.
Okay, let’s jump into the actual design plans.
Pool Bath Design Plans
Well, if you can’t have fun in a pool bath, where can you?! So, we went a bit more bold and less traditional in here (and the carriage house bath) since it’s more of a “fun” space. Particularly since there isn’t much space for much, if any, actual decor.
Here’s the mood board I put together for the space.
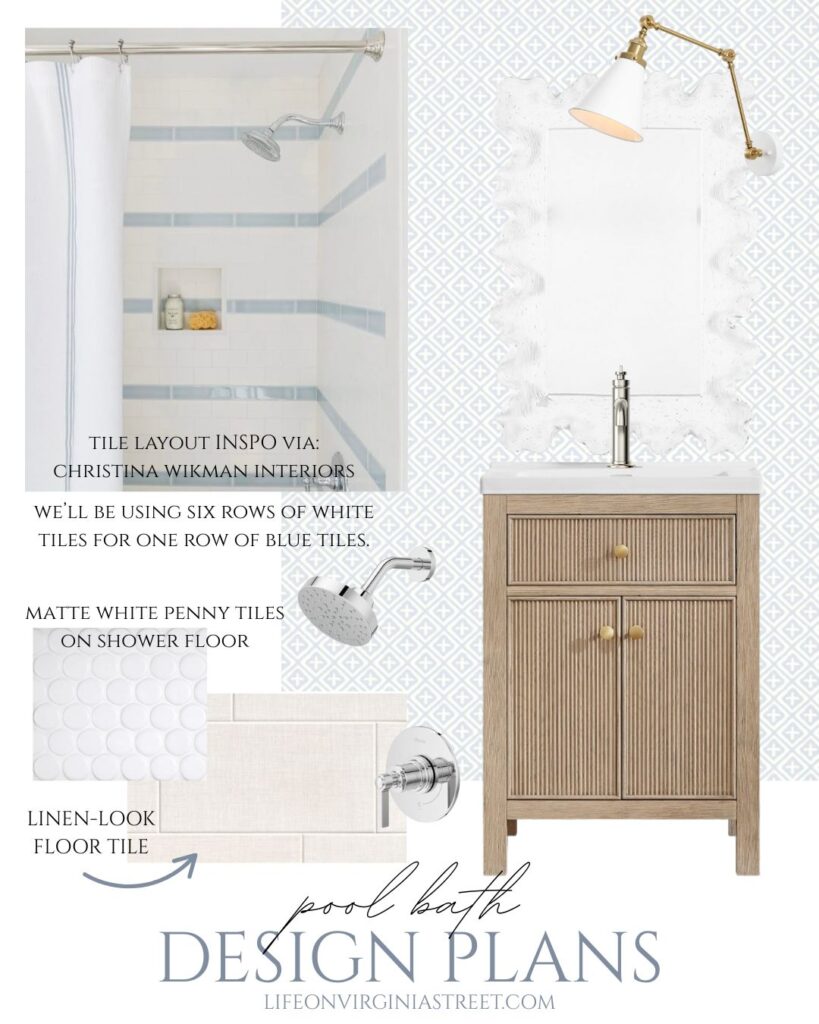
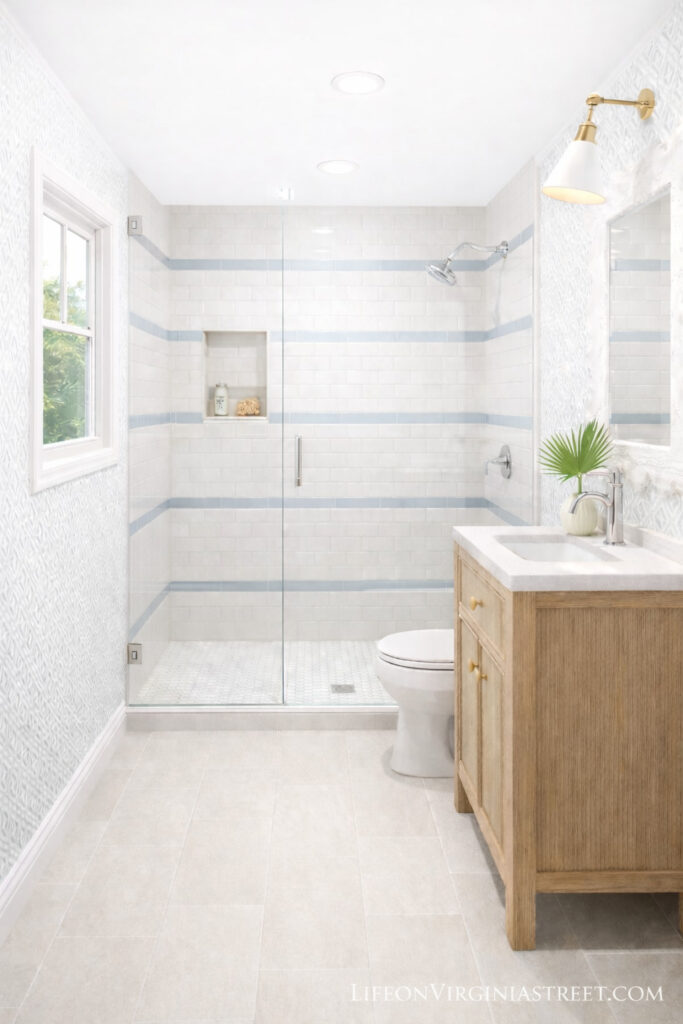
SOURCES: Vanity | Mirror | Faucet | Shower Hardware | Sconce | Wallpaper | Subway Tiles (Azul & Bianco) | Matte White Penny Tiles | Linen Style Tile: see details below | Tile Inspo Image via Christina Wikman Interiors
We ordered all of our tile locally through 8Five0 Tile, as referred by our builder. When we ordered it, we only knew the prices, not brand names, etc. But now that the tile is all onsite (it is so pretty in person) I was able to look up all the details from the boxes since I know most of you are not local to 30A. I also saw the official name of each one and love that these are the “Lake Como” tiles, in the Azul and Bianco colorway. I’m a sucker for a good name! To create the stripe effect, we’ll be using six rows of the white tiles for every one row of blue tiles. This is a fairly affordable way to get more of a designer look without having to buy really expensive tiles.
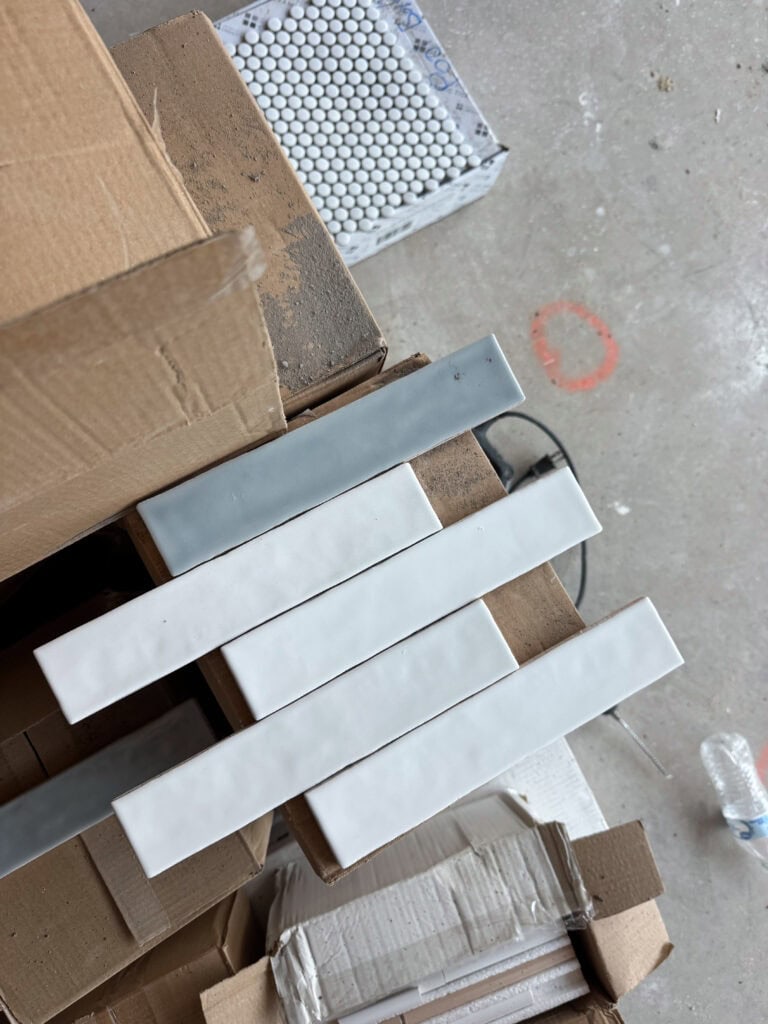
I also found the matte penny tiles we ordered, and those will go on the floor of the shower. For those that followed along early in the design process, you may remember that gorgeous clover marble penny tile I found and was obsessed with. That was the original plan for this shower floor until I found it was over $80 square foot. Zero chance that was happening, as much as I loved it! So these affordable penny tiles are a great alternative and literally nobody but me will know or have a broken heart 😉 We’ll be using a white grout for a tone-on-tone look because I also can’t deal with penny tiles with contrasting grout when one is even slightly off. That’s all my eyes notice. Ha!
The shower will have a glass door and enclosure on the front.
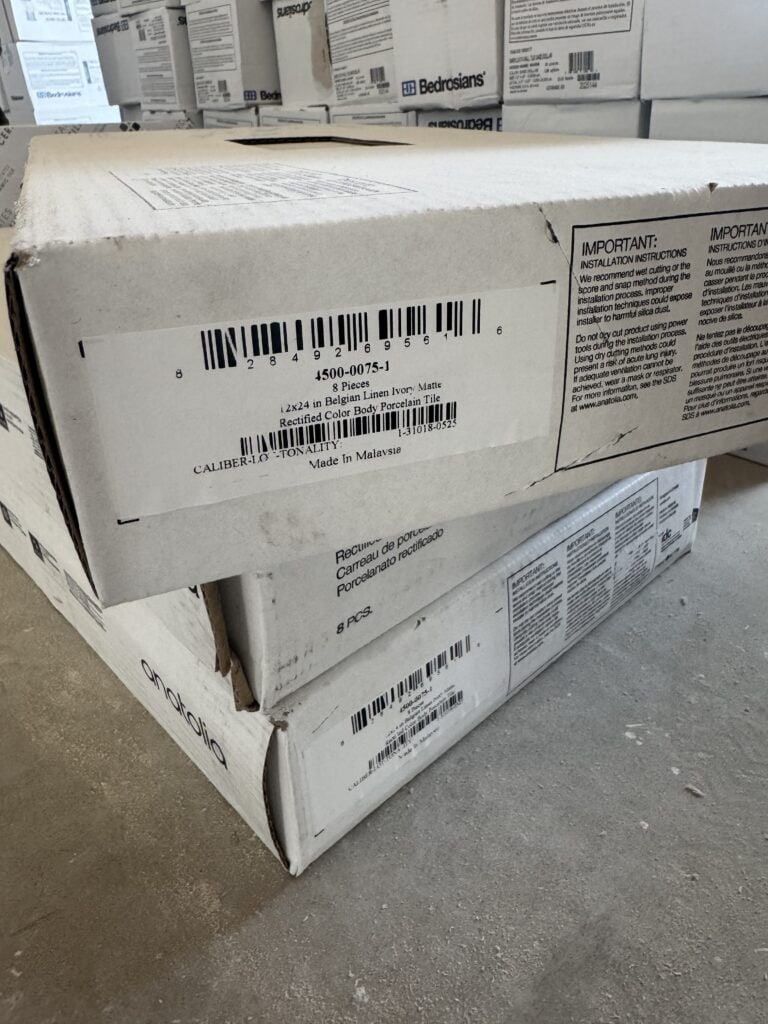
Unfortunately, I haven’t been able to find the linen-look tiles online from a retail site I’m familiar but their official name is Anatolia Rectified Porcelain Tile 12″x24″ in Belgian Linen Ivory/Matte if you want to check with a local tile company. They were very affordable and will be great for a pool bath floor that could get rather dirty with only exterior traffic. Super easy to clean with minimal grout lines! But they have such a gorgeous linen-like texture that makes them rather unique. This will go on the floor in front of the shower that surrounds the toilet and vanity. This linen-look tile from Ferguson looks almost identical if you’re looking for an online national retailer.
Realistically, I likely won’t use the wallpaper in this space because it’s too expensive to not be seen frequently! But I’m determined to use it somewhere and it would look so cute in here!
We’ve already ordered the vanity and it’s currently waiting in our garage until the tile has been installed.

I kept the lighting super simple (and affordable) and love the look of swing arm sconces we have in our current home in two bathrooms, so decided to go that route here too, since there isn’t room for a sconce on either side of the mirror.
I haven’t 100% decided on the mirror, but we’ve used this one four or five+ times over the years (including in our Omaha pool bath) and I know it works well with smaller vanities so we may just stick with it!
3D Rendering of Our Blue & White Striped Pool Bath
Like I do with many of my mood boards now, I plug them into ChatGPT for a 3D rendering. You can use my tutorial for 3D room designs if you’re interested. I’ve found that the more specific you are, the better results you’ll get. However, for some reason, it was struggling a bit with my description of this layout. I don’t think it believes I can fit everything in the true room dimensions. Ha!
So, you’ll have to use your imagination a bit and envision the door right behind this vantage point, a small 2’x2′ square window on the left wall and basically everything cinched in a lot tighter than shown below. The 24″ vanity essentially butts up to the door frame and then everything is very close right behind that. I’m also not 100% certain we can do a shower niche since both the wall on the left and straight ahead are exterior walls. But that’s not a huge issue.
SOURCES: Vanity | Mirror | Faucet | Shower Hardware | Sconce | Wallpaper | Subway Tiles (Azul & Bianco) | Matte White Penny Tiles | Linen Style Tile: see details above
Once the room gets tiled, which I’m guessing will be within the next two weeks or so (depending upon which room the installer moves to next) I’ll be sure to share progress. This room might be the first one to look almost complete within the next month or so!
If you would like to follow along on more of my home decor, DIY, lifestyle, travel and other posts, I’d love to have you join me on any of the below channels:
Leave a Reply