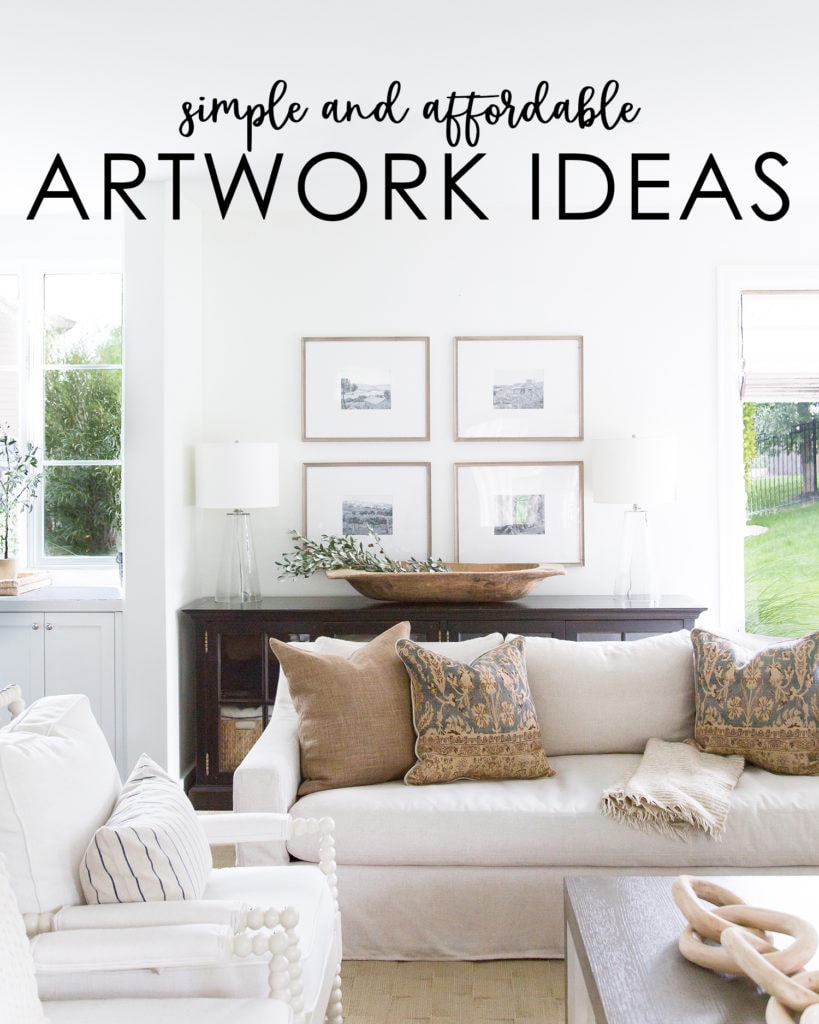
So often, I forget I don’t have to only share huge room makeovers or room reveals. Small, helpful tips can be equally as valuable (sometimes more so) than big elaborate projects. So today’s post is short and simple and hopefully helps generate some ideas on how to achieve simple and affordable artwork ideas!
This post contains affiliate links for your shopping convenience. You can read my full disclosure policy here.
A Favorite Custom Art Solution for Our Living Room
Although I’ll be sharing several more ideas at the end of this post, I’m going to first share the route I went in our living room. You may recall, last spring I hung four frames up in our living room. I knew I wanted to put something in them, I just wasn’t sure what! So they sat empty for a few months while I waited on inspiration.
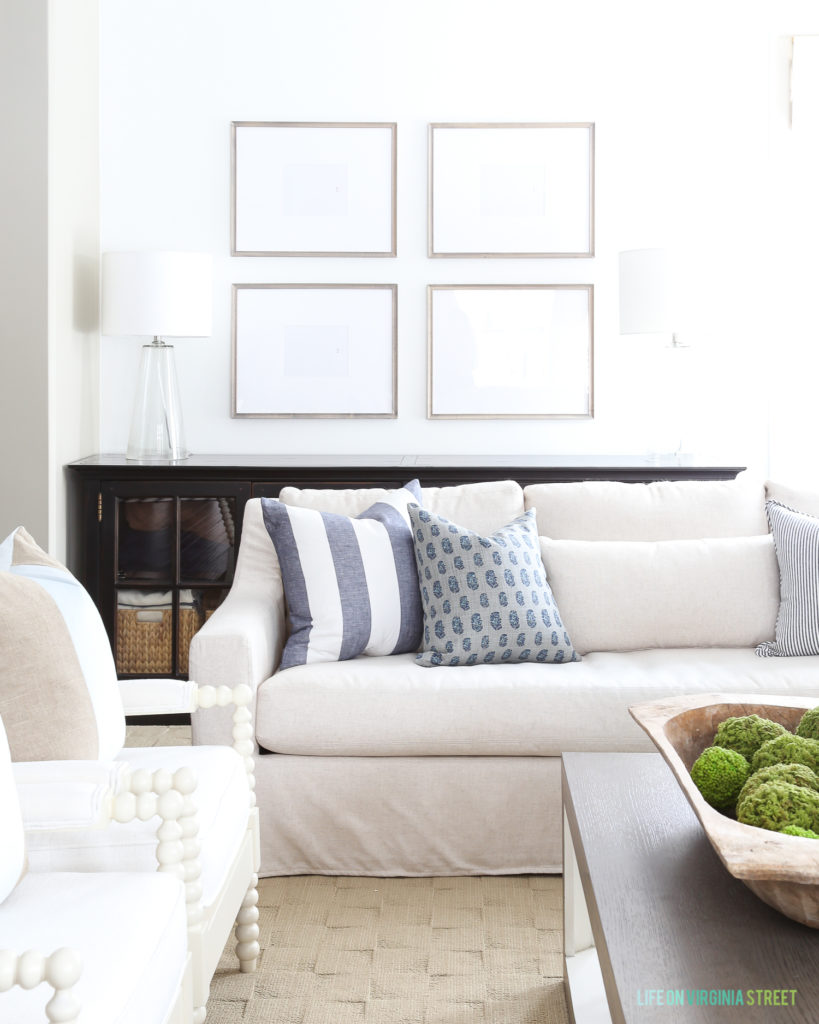
By summer, I still hadn’t decided on anything, so I simply added $.19 cardstock from the craft store that I had on hand and laid it out in a bit of an ombré pattern. I received multiple messages about this look from people asking me about the ombré blue artwork in my living room. Many were shocked to hear it was less than $1 “art”! It worked for the summer months but I was ready for a change once I swapped out my fall decor.
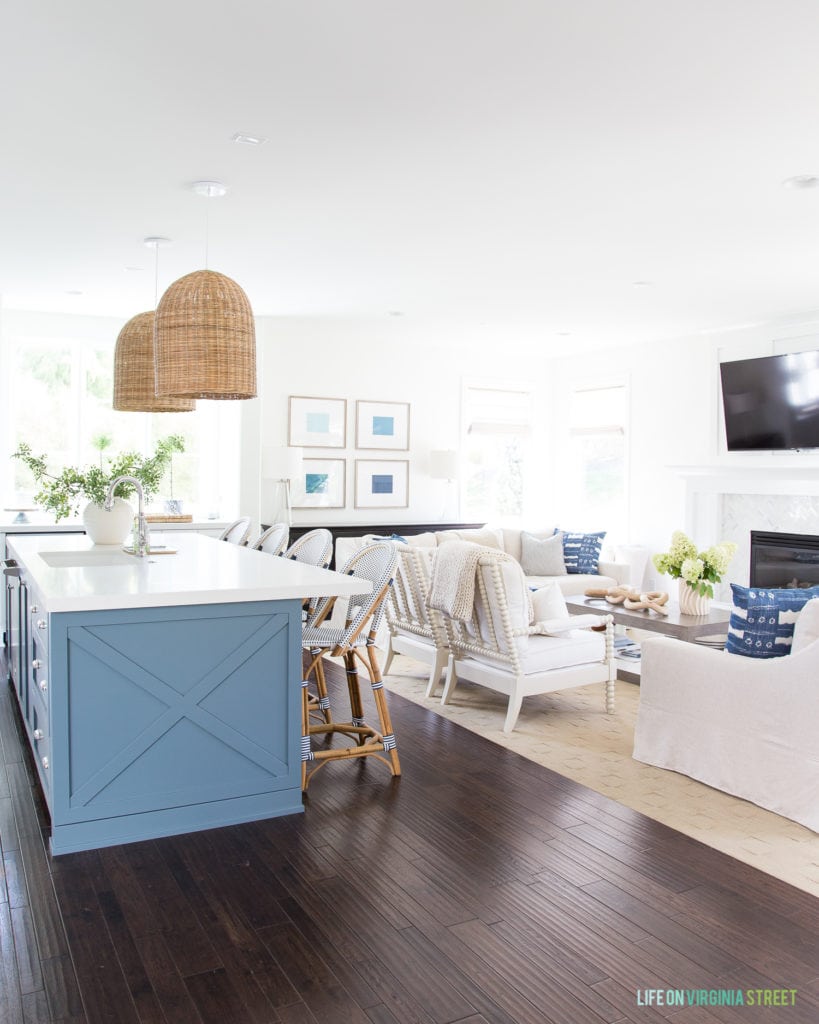
SOURCES: Pendant Lights | Barstools | Vase | Faux Greenery | Sofa | Spindle Chair | Coffee Table | Lamps | Chunky Knit Throw | Blue Patterned Pillows
I finally decided to move forward with my plan of printing some vacation artwork for our wall. Any other time of the year, I would have likely chosen beach photos and left them in color. But for fall, I opted for photos from Italy (mostly Tuscany) and had them printed at Target in black and white.
I took the below screenshot of the video I shared on my Instagram Stories after they were printed. It gives you a better idea of the look of some of the images.

And here is how the new “artwork” looks in the room! I’m loving this mostly neutral color palette for fall and the black and white photos blend in seamlessly. This update ran a total of $13.86 with tax! I love how the photos remind us of some of our favorite destinations and look even better with the olive trend I’m loving this year!
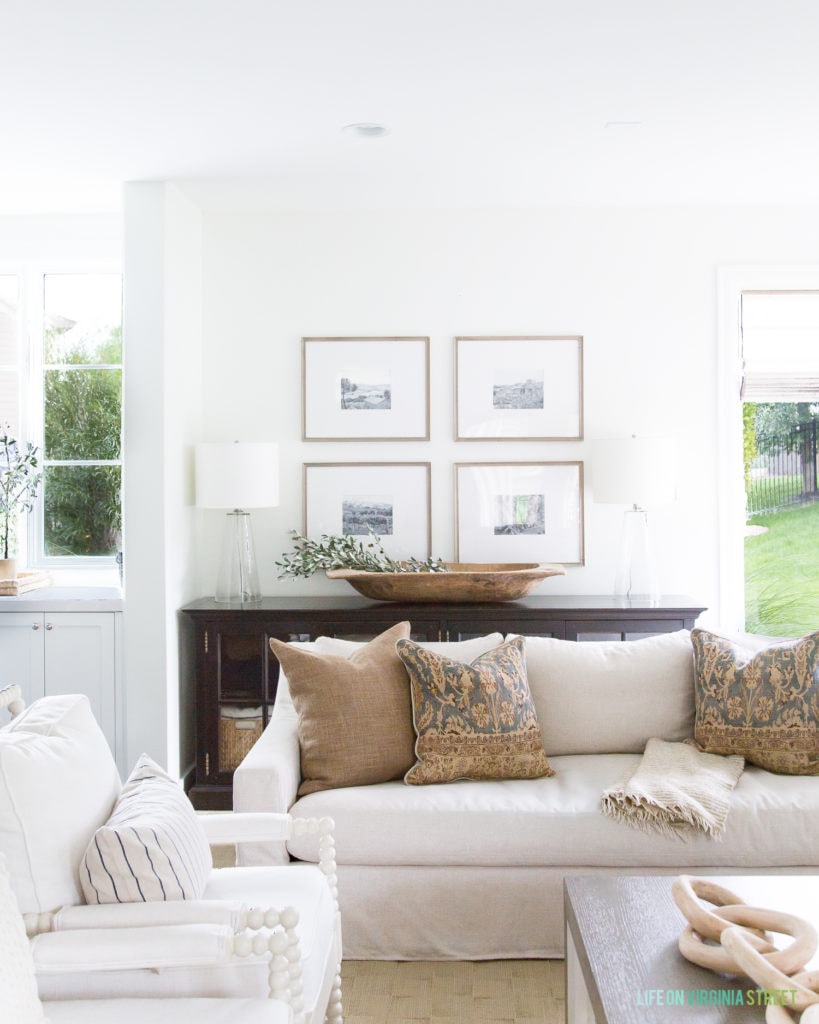
SOURCES: Sofa | Spindle Chair | Coffee Table | Lamps | Dough Bowl | Olive Stems | Linen Pillow | Patterned Pillow | Striped Pillow | Wood Chain (similar) | Throw
I think this shot from San Gimignano is one of my favorites!

Ideas for Simple & Affordable Artwork
These ideas are by no means revolutionary, but I think sometimes we spend so long searching for the “perfect” artwork, we forget we can create it! Following are some additional suggestions for simple and affordable artwork you can use once you have a set of frames.
- Colored cardstock or printed scrapbook paper. You could use all one color, a variety of colors, or similar shades to create an ombré effect like I did.
- Vacation photos (in color or black and white). I use Lightroom to edit my photos but there are plenty of free online editing tools, as well, if you want to alter the look or make them black & white.
- Family photos (I love oversized ones in black and white of individual people – so cute with kid’s photos)
- A variety of botanical prints
- Free online printables (just Google search “Free XYZ Printables” for whatever type of art your looking for)
- Aerial beach photography and other beachy landscape images that are printable on demand for very little cost can be found here!
- Paint your own abstract art (you can see some of mine along with tutorials here and here). This can also be done on a small scale to fit in frames like above.
- Kids Artwork – it can look much more cohesive when framed with large mats like the ones I used.
- Frame fabric scraps (or favorite scarves, etc.).
- Type out and print a favorite quote or saying.
When searching for frames, I always like very large versions that also have a large mat to create some white space. The effect is more “art gallery” than “random frames hung on a wall”. Be sure to check out the end of this post for great gallery wall frame ideas. The exact frames I used are sold out, but these frames are nearly identical in the gray wash finish and I’ve used them in other areas in our home. These frames are also a nice affordable option that look very similar!
Any other ways you love to create affordable art for your home? I hope you enjoyed this simple update and ideas for affordable artwork!
If you would like to follow along on more of my home decor, DIY, lifestyle, travel and other posts, I’d love to have you join me on any of the below channels:
Great ideas! Happy Birthday Sarah!❤️
How fun, I love that you can switch it out at will. Great idea
I have framed dishes from grandmas”, needlework of my mother’s. A friend has made collages of family pictures, rings, hankies, etc. Love that these things are not packed away but where we can enjoy.
Sarah,
I love how you did a different floor covering to separate the living area from the kitchen. Is that carpet in the living room? I have a similar set up in our mountain cabin and it’s time to replace the floor covering. I never considered using two materials. Please let me know how you like it? Thank you.
Mary
I love it also!!! It gives definition to both rooms. Plus, it makes the living room look more cozy with your chunky throws!! I love your ideas and taste!!!!
My son gave me a card with a quote on the front that I really liked. I cut it apart and put the two pieces back to back in a glass frame. The quote is on the front and the back has the birthday wish and his message to me.
Great ideas to have some great artwork with purpose. I LOVE that you created a gallery of artwork to create a dramatic look!
What are the size of the frames and where can I purchase them and the wooden bowl beneath them which is really cool. You have great spacial ability.
Thank you! These are the frames that hold the 8×10 photos/art (they are linked in the post). Here’s the link for the dough bowl beneath them: https://shopstyle.it/l/2LEc.