Sharing with you all the details about our home office organization and how to hide computer cords for a polished, clean look!
Thank you again for all of the love on our office reveal this week! We absolutely love how the organized space turned out, and I’m so happy you all loved it as well. I enjoyed reading all of your comments, tips, tricks, advice and questions. Today I’m going to try and address some of the questions that came up on that post as well as share some advice I received from you guys. I also want to talk about more than just the pretty pictures. Since this is a truly functional office that we both spend a lot of time in, a lot of what we implemented and chose is because there is an actual need. Not only that, our office was fully functional in the photos I shared – meaning everything was in the space, and plugged in. Not just styled for the photos. I’ll also be showing you how I was able to hide all the cords!
This post contains affiliate links for your shopping convenience. You can read my full disclosure policy here.
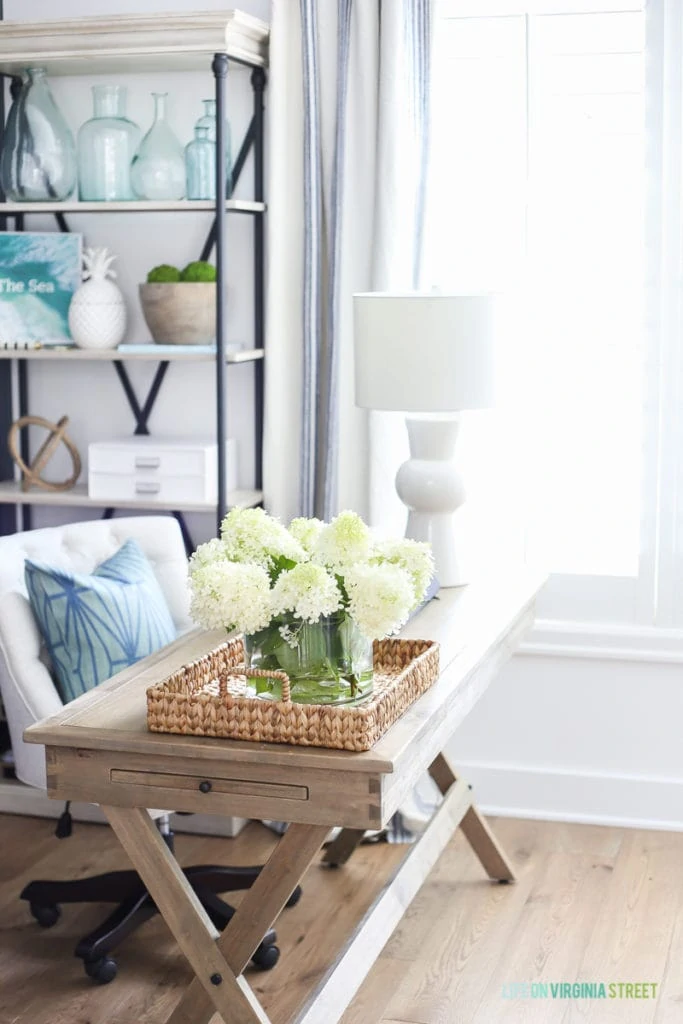
One of the biggest changes (in addition to the floors!) was adding these bookshelves on either side of our desks. Not only do I love the look, but they also add some much needed storage (and decor) space that we were lacking previously.
OFFICE SOURCES: Wood Campaign Desks | Rolling Chairs | Bookcases | White Wood Bead Chandelier | Throw Pillow Covers | Similar Lamps | Striped Curtain Panels | Recycled Glass Vases
The Office Before
You may remember, last fall I pulled the ‘nightstand’ out of our guest bedroom and used this modified IKEA Rast for more drawer space (see the project details here). It actually worked quite well for a time, but I eventually realized I still needed a bit more space. I was using the top drawer for my camera and lenses so I had easy access. The middle drawer was split in two for blog documents/receipts and then rental documents/receipts. The bottom drawer was just miscellaneous items I needed to have nearby since the desk drawer didn’t hold much.
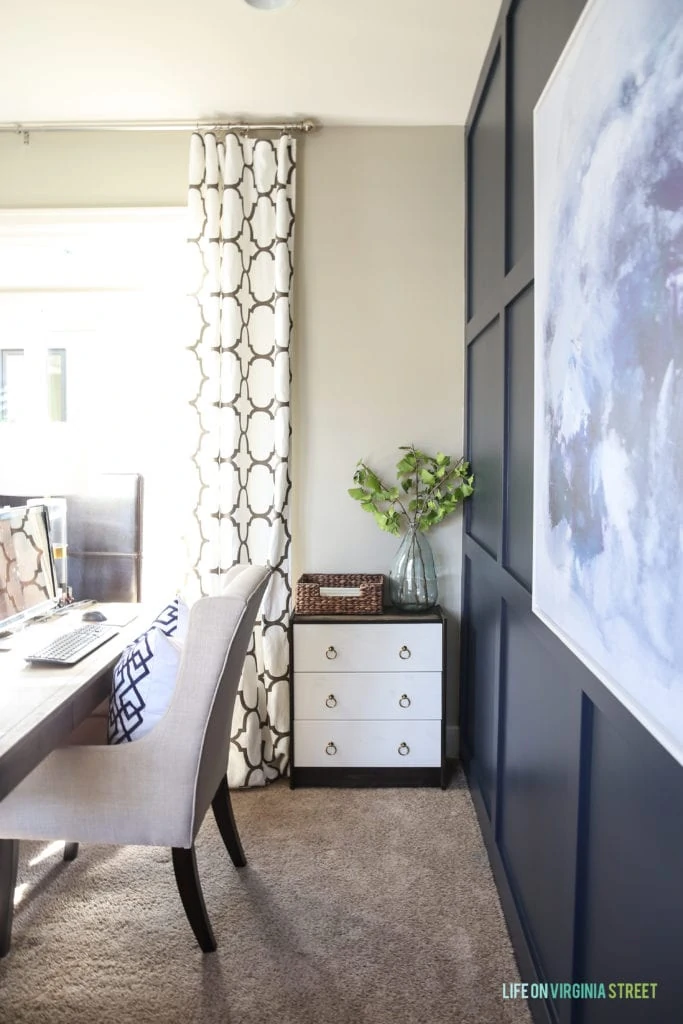
This is an older picture, but on Kurtis’ side, we had another IKEA Rast, modified a bit differently (see the details here) to accommodate our printer and scanner. Again, it worked, but it wasn’t quite enough space. We ended up adding a seagrass bin to the top to maximize space and serve as our mail sorter. But, it all just started to feel a bit cluttered.
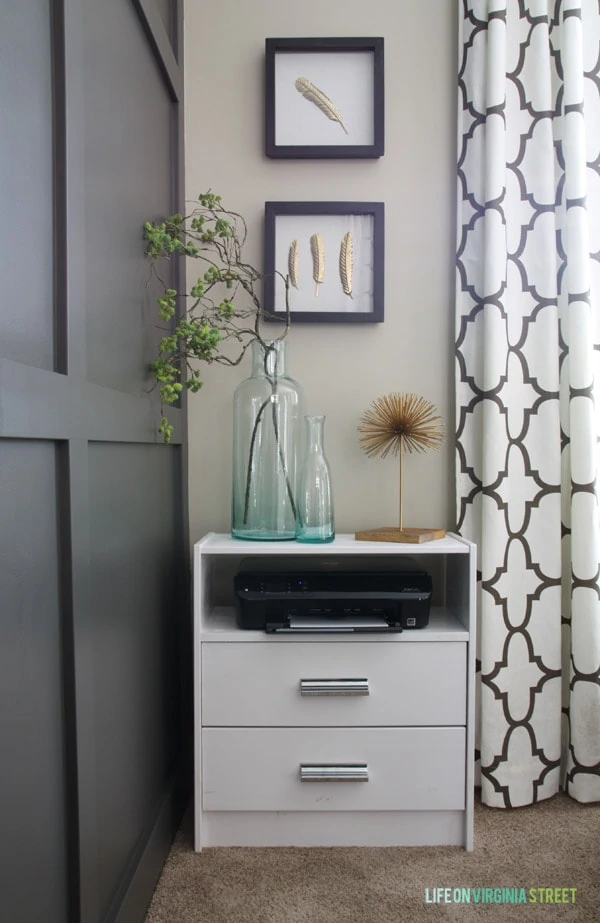
You know I love to have a few accessories in my spaces, but it just wasn’t working with the old layout. We found ourselves needing the desk space and open surfaces for items we needed at hand, and I started to get frustrated with the way it looked. But, with all that said, after having assessed our needs and understanding how our ‘office for two’ needed to work, I think we’ve delivered exactly what we were looking for.
Adding Functionality to Our Office
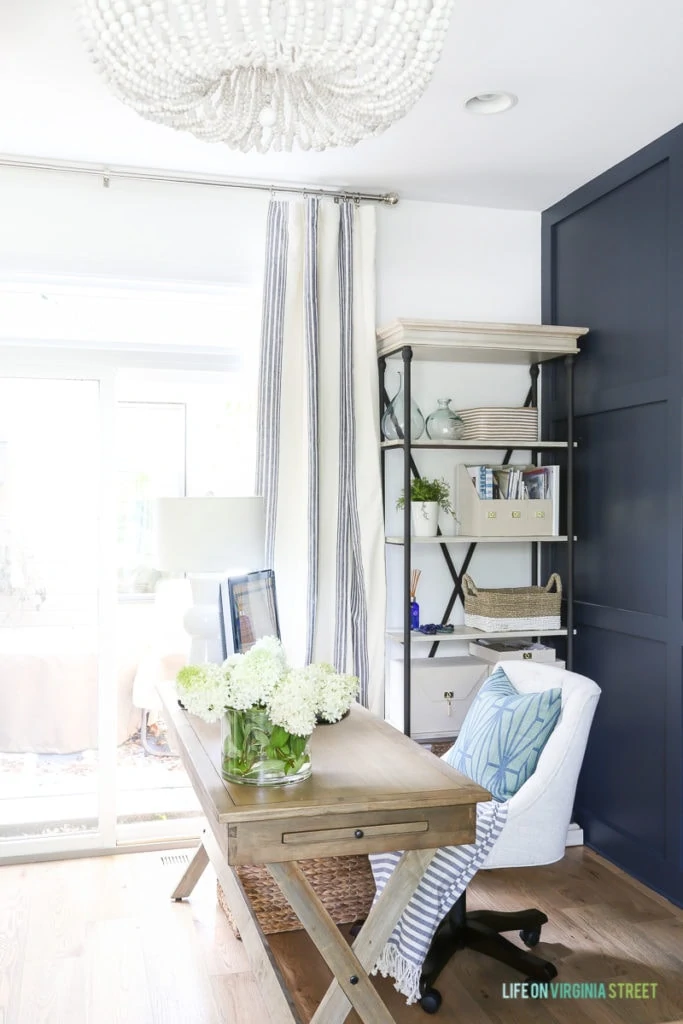
The bookshelves essentially became taller versions of what we already had in place. We’re using the lower levels as “drawers” with these baskets (we have the 12×12’s). Basically all the functional, necessary office items are out of sight but within easy reach. Plus, I still have some space to add some decor and make the room not feel so one-dimensional.
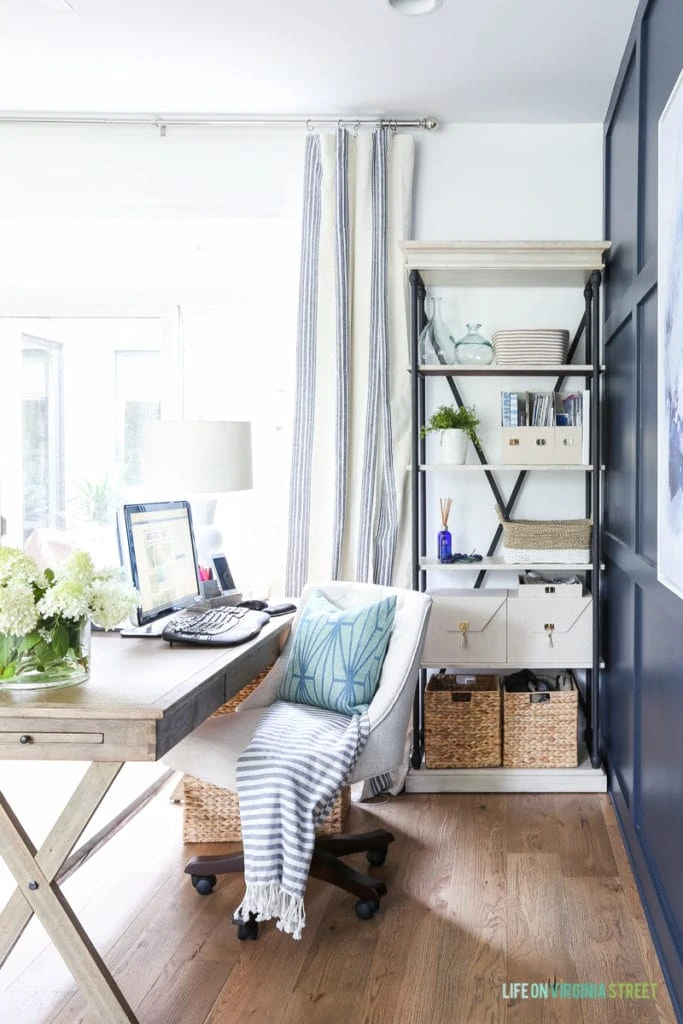
OFFICE SOURCES: Wood Campaign Desks | Rolling Chairs | Bookcases | White Wood Bead Chandelier | Throw Pillow Covers | Similar Lamps | Striped Curtain Panels | Recycled Glass Vases | Water Hyacinth Baskets | Abstract Art | Paint Colors: Benjamin Moore Hale Navy & Simply White
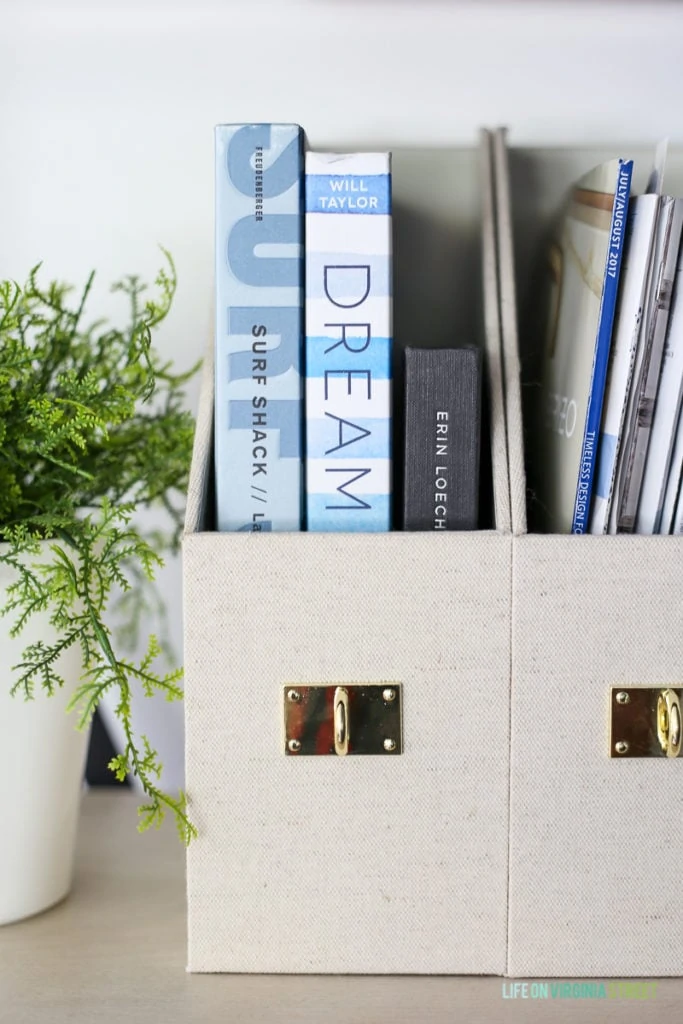
I’m absolutely loving the linen and gold office supplies that I bought from Target recently. They were pretty affordable but look much more high-end. The tassels on the paper file boxes are amazing and such a cute detail! The magazine holders are perfect for storing the magazines, catalogs and books that I flip through more than once. So much more effective than the basket I just stacked them all in previously.
Kurtis needed a bit less storage on his side. We kept the mail sorter and printer/scanner on his side. The basket holds envelopes, our stapler, hole puncher, tape, etc. The white drawers hold our printer paper in one drawer and colored paper, cardstock and photo paper in the other drawer. His side was a lot more fun to style since it didn’t require much storage 😉
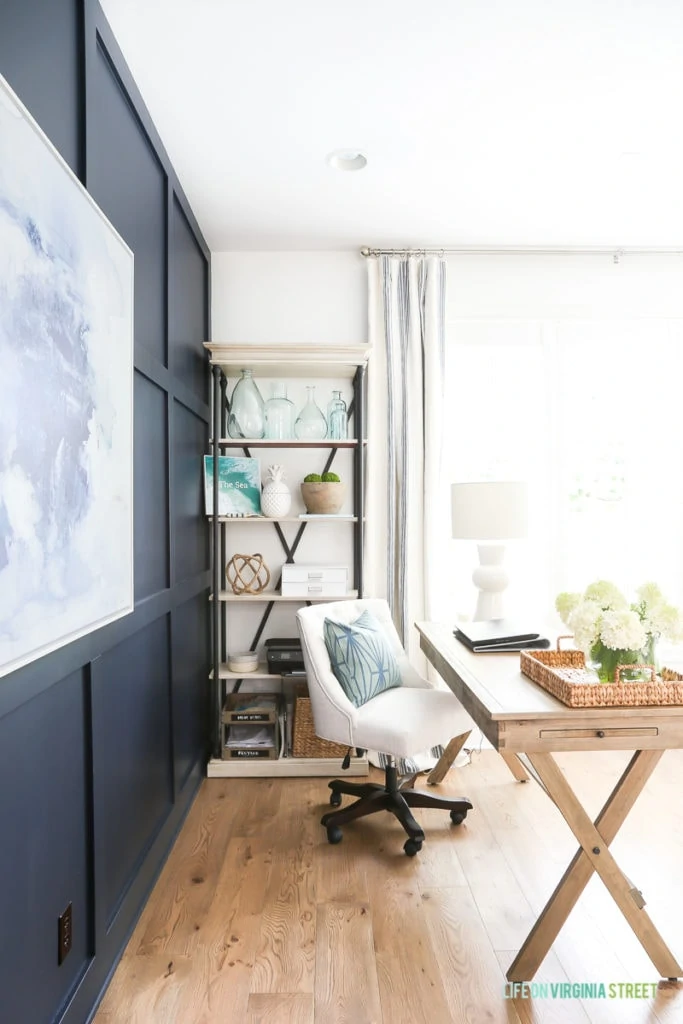
OFFICE SOURCES: Wood Campaign Desks | Rolling Chairs | Bookcases | White Wood Bead Chandelier | Throw Pillow Covers | Similar Lamps | Striped Curtain Panels | Recycled Glass Vases | White Paper Drawers | Water Hyacinth Basket
We love the bookcases because they almost act like extensions of our desk. It almost mimics my L-shape desk I had previously. Everything is easily accessible while we sit at our respective desks, and the bookcases just feel so much more finished than our prior look. Not only that, they add a lot of functionality and space for me to decorate!
How To Hide Computer Cords
As I mentioned previously, our reveal photos showed a 100% functional office. Meaning, all of our lamps, scanner/printer and computers were plugged in and ready for use. I know a lot of times for photo shoots, these things are disconnected to show the pretty space. But, the reality is, I was too busy using my computer between photos to unplug everything (you can probably even tell the screen is on in several photos). I don’t have any major secrets for hiding the cords, but I’ll show you the method to my madness with a few photos.
I’m super old school, and still require a full-blown PC. I hate laptops. Kurtis on the other hand likes to be more mobile, so he prefers a laptop. Therefore, my side ends up having quite a few more cords. One thing I’ve moved to in the last year is a wireless keyboard and mouse. That alone gets rid of two cords I had previously and makes a huge difference! That basically just leaves the monitor cords.
You can see here from the back that the cords are slightly visible.
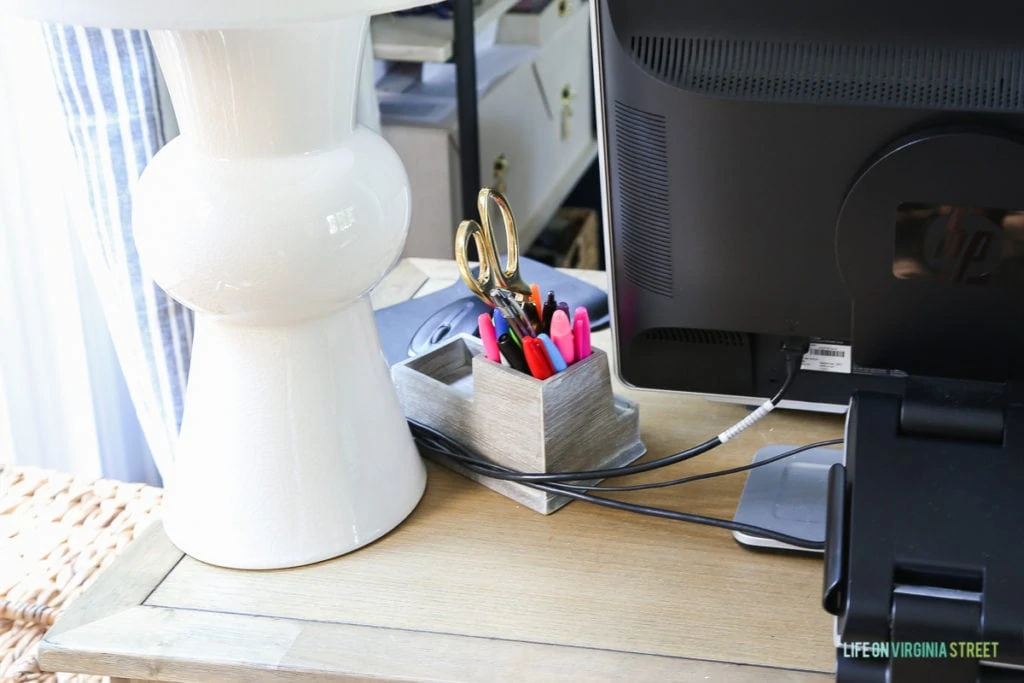
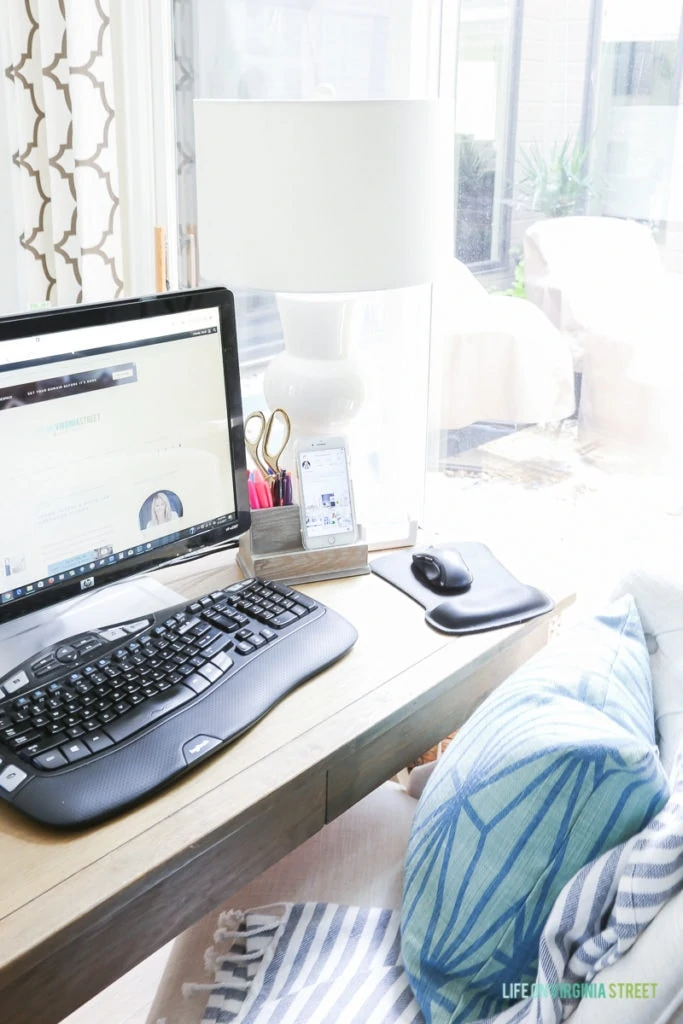
I did also order this cord cover (similar here) to try out but it hasn’t arrived yet. It’s just a matter of preference I suppose on the look. You could also use zip ties to keep the cords together as tight as possible to take up as little space as possible. But, try to find items you can tuck the cords in between. In this instance, I used my pen/phone holder and the lamp to sandwich the cords between. From a few feet away, they’re hardly noticeable at all.
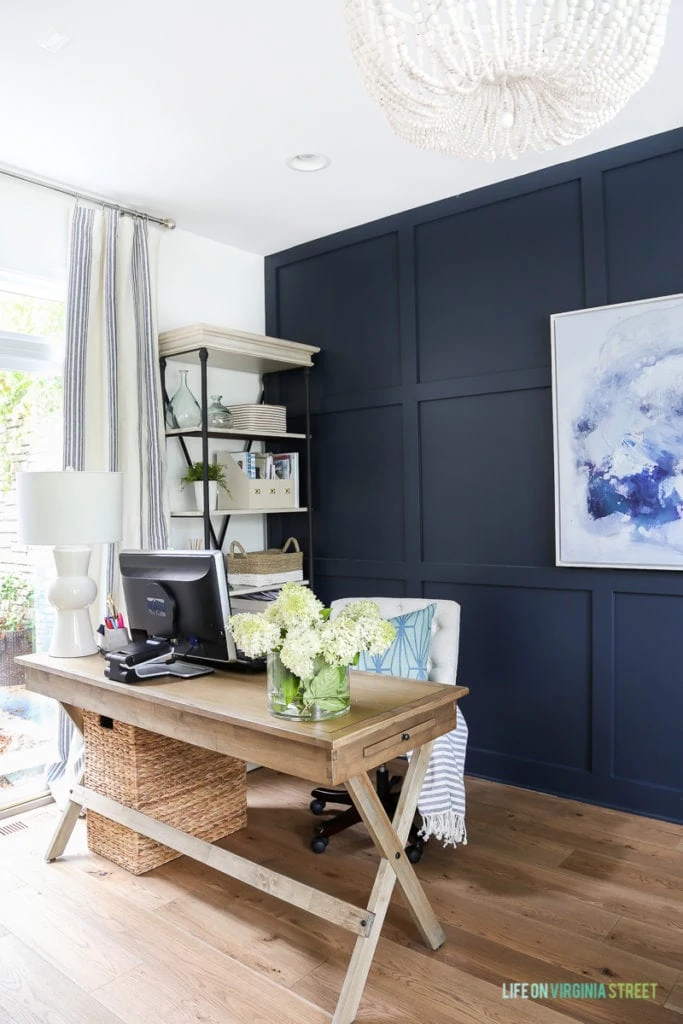
The way I’ve arranged my side of the desk, you really can’t see the cords at all. Again, with the cords sandwiched between my pen/phone holder, lamp and business card holder, I see nearly nothing!
This is prior to me having all the cords “officially” arranged, but it helps you to see how I have everything tucked away. Basically, I ran all the cords down the sides of our desks. From there I tuck them in where I can or use zip ties or 3M hooks to hold them in place. Now that I’ve moved this recycle bin (which is actually this laundry hamper) to this side, I don’t need to mess around with the cords as much once they’re off the desk. But, that was a recent purchase and this method worked just as well before adding it. I then have the surge protector plugged in behind the bookcase but moved it in front of the bin so it was accessible. When the curtain are up (which I removed for this photo), everything in front of the bin is hidden. But, I also take care to not block the fans or cover the outlets with the curtains.
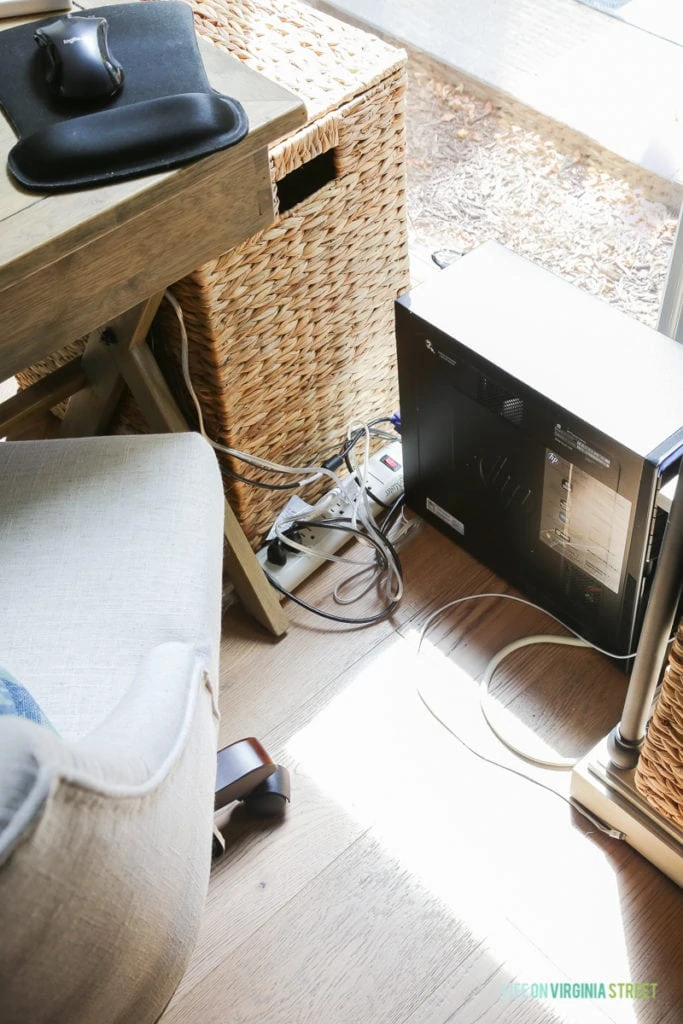
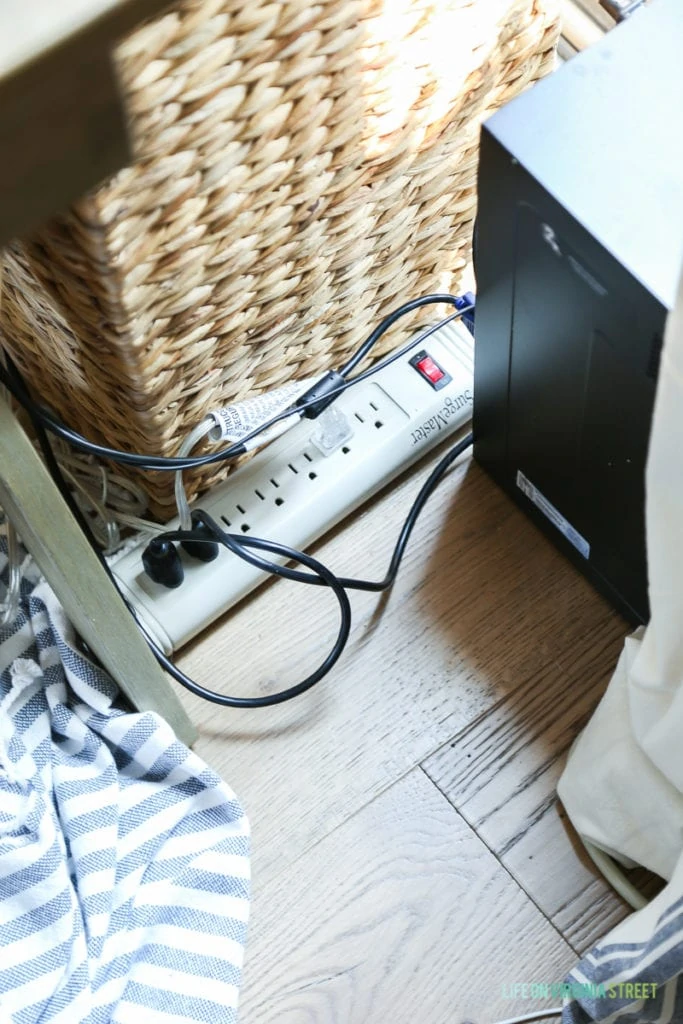
The ugly cords and PC tower are all neatly hidden along the desk legs and behind the curtain. All in all, you just have to get a little creative with your coverage, and assuming your outlets are too far away, it should be doable!
Future Updates Planned
After hearing from several of you (and the folks at Mannington), we plan to add mats under our chairs. They may not always look 100% great, but several of you have experience scratches from rolling chairs (particularly if dust/dirt gets under the wheels). Mannington also mentioned that because the hardwoods are a natural product, with prolonged used, the chairs could eventually cause divots or indentations in the floors because of the focused pressure from the wheels. We don’t want to take any chances with these gorgeous floors, so we definitely plan to find some mats. The more discreet the better 😉
I also need to re-organize the office closet. A few weeks back, Kurtis added an additional two shelves for me which actually makes the closet functional. It was previously design as more of a coat closet with one shelf and a hanging bar. With the two additional shelves, and no chair in the way, I may move some of my photography equipment into the closet.
After all of your great feedback, I ultimately decided to go with the striped curtain panels. I still love the trellis versions so much but I think they just felt a bit off in this space (particularly on the bookshelf sides of the room). I’m still scheming as to where I can re-home them where they will work better!
Other than that, at this point, the office is officially done! It’s probably the most complete room in our house now at this point.
Thank you again for all the love on our office space! If you have any other questions, please let me know in comments. Thanks and have a great weekend!
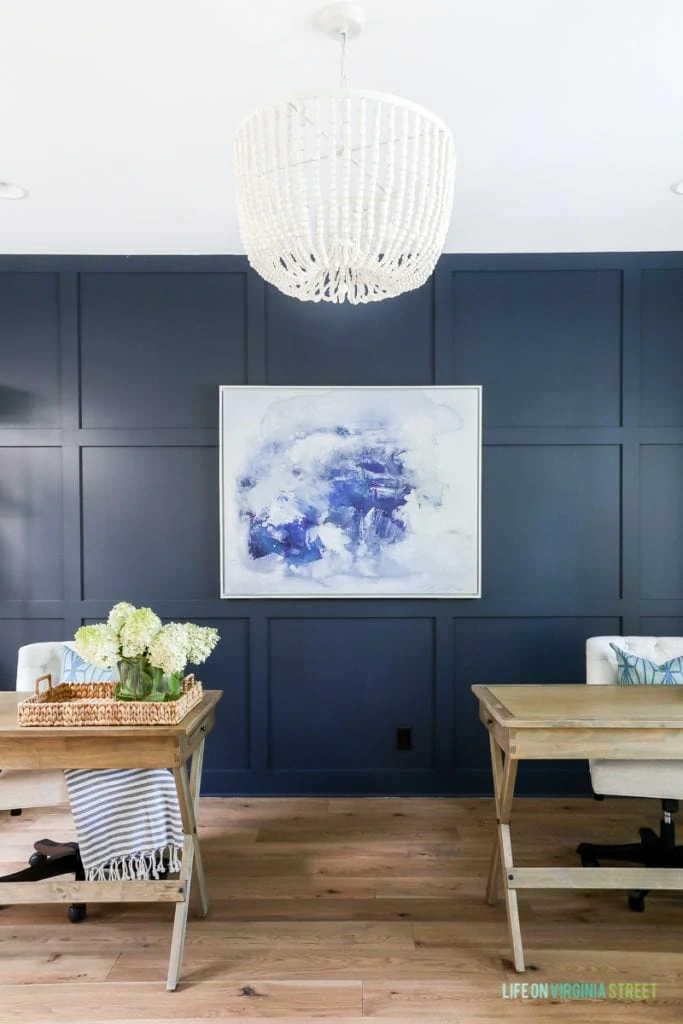
OFFICE SOURCES: Wood Campaign Desks | Rolling Chairs | Bookcases | White Wood Bead Chandelier | Throw Pillow Covers | Similar Lamps | Striped Curtain Panels | Recycled Glass Vases | Water Hyacinth Baskets | Abstract Art | Paint Colors: Benjamin Moore Hale Navy & Simply White
Thank you again for all the love on our office space! If you have any other questions, please let me know in comments. Thanks and have a great weekend!
If you would like to follow along on more of my home decor, DIY, lifestyle, travel and other posts, I’d love to have you join me on any of the below channels:

Love your office space and how you made it functional and pretty. I am old school too….I like to use a desk top computer as well. I thought I was the only one. Love the bookshelves, thinking about getting those for my space.
Thanks for this post. I love the look and especially how to hide the cords. My office is a twilight zone right now and as soon as I meet my current deadlines,
it off to organizing and a better office appearance. Thanks again !
Thanks for the follow up post – now that I see what you did with the cords, and that you also are old school and have a desktop to “hide”, I feel so much better. Have you thought about looking into the tempered glass mats for under the chairs. I’ve heard them advertised on Sirius XM – the idea of them is intriguing especially since it wouldn’t interrupt the beauty of the room visually.Thanks again for the follow up post – beautiful office. Now off to work on mine!
Yes, get the mats. I have old hardwood floors and the office chair as ruining them before I bought a mat. It’s not great looking, but it’s saving the floors.
Brilliant! When I first glanced at your office I thought “where are the cords and computer itself??” Love your solutions! I too, like to work on an actual desktop not laptop. I’ll be implementing some of your suggestions in my own home office. Love the striped curtains too and agree with the other comments regarding the floor mat.
I love your office! That navy wall is gorgeous! I actually use my laptop like a PC and I have a second monitor so I have cords everywhere. I’m going to try to apply some of your tips to hide some of the cord chaos.
Chords always drive me crazy!
I want everything in this office space – especially the desk
Your home office is beautiful! And you have a great way to hide the cords, I gotta say!
Am sure you commented on where you got the desk but I missed it…help!! Think I need it..timing is great I can give my son my old desk…
Thanks in advance.
We love ours! They are from World Market. Here is my direct affiliate link if you’re interested! http://rstyle.me/n/bw42x575re
Hi Sarah. Your office space of beautiful. I’m looking to update mine. I painted an accent wall as well and it was supposed to look just like this. Alas it turned out shiny navy blue. Can you share what this paint color is by chance? Thank you!
Thank you! I used Benjamin Moore Hale Navy in an eggshell finish. I hope that helps!
Hard wood floors just got installed and I am now ready to have the trim installed and wall painted hale navy. Can you please tell me what the other paint color it is you used on the remaining 3 walls? Cant wait to have an office like yours in my own house.
The other three walls are Benjamin Moore Simply White 🙂
Where did you get the wicker basket with the lid that’s under the desk? I love it!
Thank you! It’s from The Container Store.
Where did you get the bookshelves?
Here is the link for them 🙂 – https://shopstyle.it/l/beTe7. Ours is the “antique white” finish.
are you able to reshare the link or name of the bookshelves?!
Sorry for the delay! They keep changing the link on me. Here is the current link to them: https://rstyle.me/+zqzQEbD0fVZbACVio6Dn6Q
I have to say, when I looked at the picture with the basket under the desk, I thought you put the surge protector in there. I bought myself a basket and am trying that today. This way I could have a basket that all of the cords flow in to and then have a single whole that the order of the surge protector will come out of.
I love your blue wainscot wall. Can you share what size wood trim you used to create the squares?
your office looks great… i am still working on mine… hopefully i can recreate your cable and chord magic in mine!