Sadly, it is our last session of DIY Summer School today, but I think we’re ending on a fun one! In case you need to get caught up, be sure to check out our prior sessions of DIY Summer School featuring the following: IKEA projects, Thrift Store projects, Wildcard projects, Craft Store projects, Tool Store projects, and lastly, today’s Items Found in Nature Projects!
This project was really easy but I also love the end results.
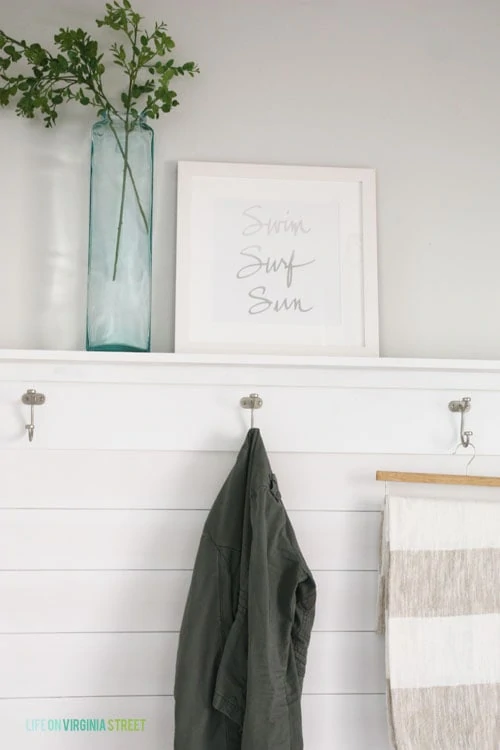
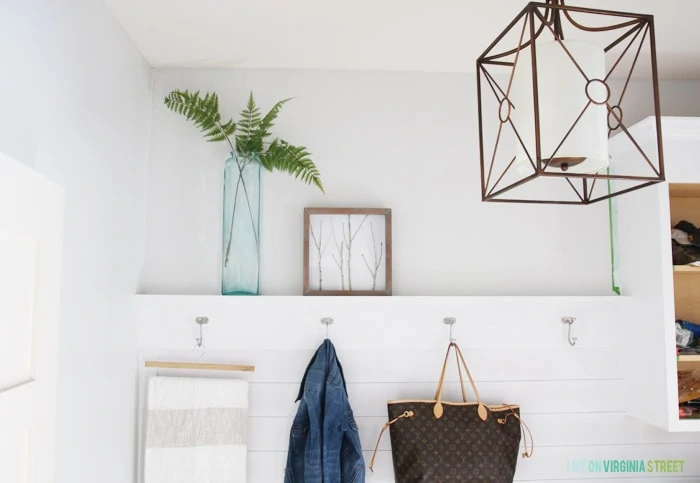
Although our mudroom is actually still in total renovation mode, I still feel the need to decorate it. Obviously. 😉 And although I am in complete denial about summer coming to an end, I do realize that the current surf print probably isn’t ideal as a year-round solution. So, I thought it would be fun to change it out with something that could be used in the fall through the end of winter. Here was the room the last time I showed it during my summer home tour.
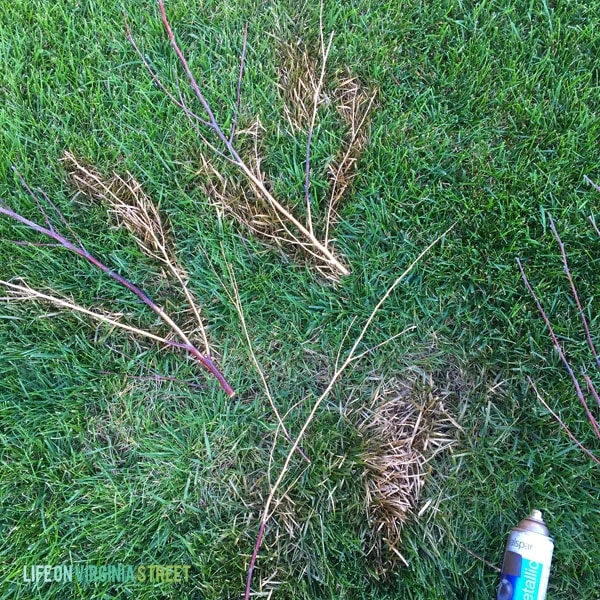
We’ve had some pretty serious thunderstorms around here this past week, and inevitably, I’ll find birch branches in our yard whenever this occurs. Although honestly, I think these branches were left over from when I trimmed the trees a few weeks back because there were any leaves left on them. I decided to take a few of them and turn them into “art” for the mudroom, as I wasn’t wanting too precious or serious look (it is the mud room, after all).
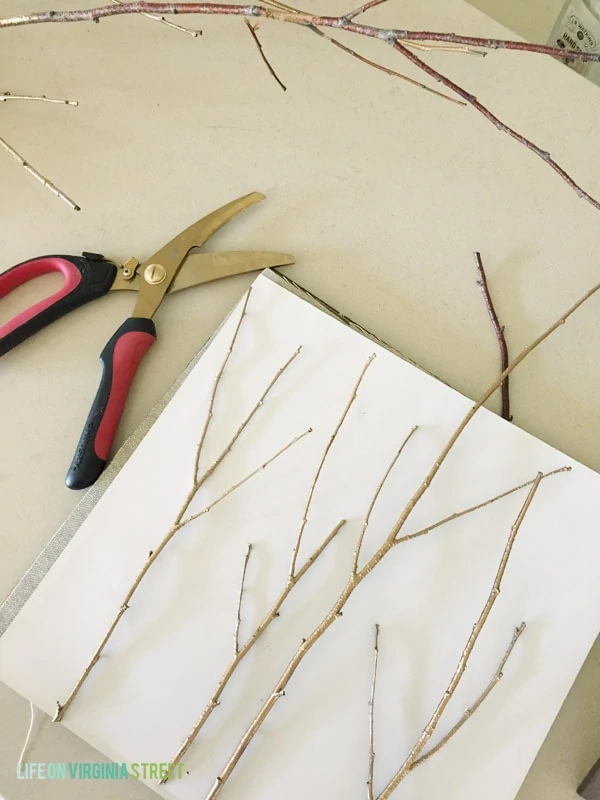
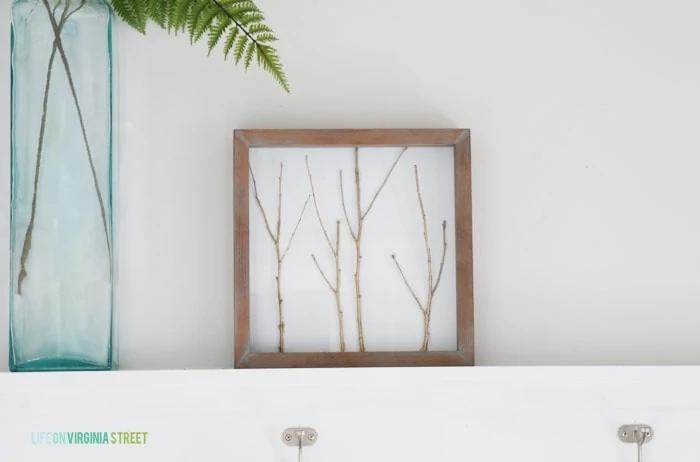
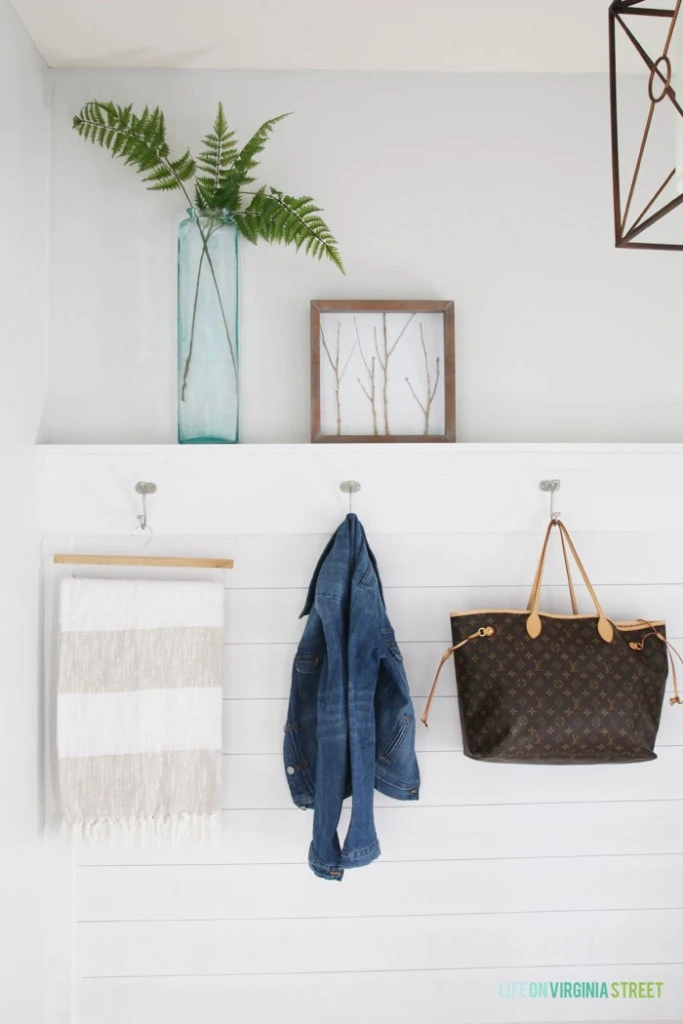
I gathered up a few sticks, used some trimming shears to cut them to size based on the shadow box frame I found, and then got to work (as a side note the shadow box frame has a really cute linen board and brass brads to pin things to but I just used I white piece of paper to back the sticks). After a few coats of my favorite gold spray paint, they were ready to go. Once dry, I simply used a glue gun to attach the branches to the frame. I cut and arranged them to look like small trees. I really love the three dimensional aspect since they are in a shadow box and their natural shapes could be shown better.
And now, the finished product!
I am loving the look – so simple yet perfect for fall!
Room Sources (linked where applicable):
Wall Paint Color: Behr Dolphin Fin (50%) | White Paint: Currently just Kilz Primer | Vase: HomeGoods | Blanket: HomeGoods | Bronze Chandelier | Stick Art Frame: Target | Denim Jacket: J. Crew Factory
And because I don’t want to deceive you, here’s a more accurate shot of what the room fully looks like (and this really isn’t the worst of it). Let’s hope it’s not possible for Frog Tape to become a permanent part of your wall if you leave it on too long 😉
I hope you enjoyed this project as much as I did (it was so easy). Be sure to check out all of the other projects – they are all so good!
It’s hard to believe this is our last session of DIY Summer School! We all had so much fun and thank each of you for following along.
Lastly, if you’re looking for the Pretty Preppy Party, it went live shortly before this post, so feel free to link up your pretty and preppy projects from the last month!
If you would like to follow along on more of my home decor, DIY, lifestyle, travel and other posts, I’d love to have you follow me on any of the following:
Pinterest / Instagram / Facebook / Twitter / Bloglovin’ / Google
disclosure: some affiliate links used

Great idea! What a sweet little addition for Fall!
Love this and might have to copy it for Fall!!
So cute! I’m also glad to see that I’m not the only nut job whose grass is covered with random spray paint patches. 🙂
Love this Sarah!
This looks fantastic, I love how simple and modern it turned out!
This is a great project- beautiful results, simple, and easy. And your mudroom is gorgeous, frog tape and all! I love those white walls and how you styled the ferns in the vase. I’m going to miss being in Summer School with you!!
what a great idea! I have applied your gold stick art idea and have made one for my bedroom! It is just awesome and changed the looking of my bedroom… Thanks Sarah for your nice idea!
So glad to hear you loved it! Thanks for sharing! 🙂