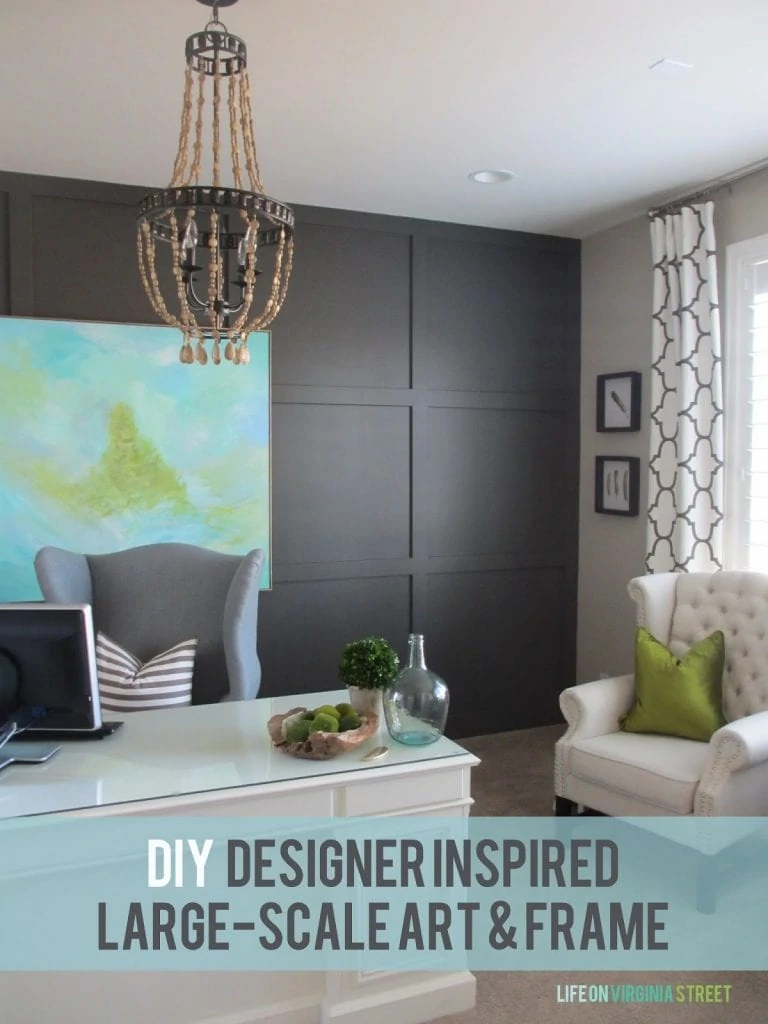
I am sharing with you my DIY designer inspired art and frame that I made for the office!
The time has arrived for our next fun installment of the DIY Look-For-Less challenge {read the first one here}. You caught a preview of my project in my office makeover reveal on Monday. Now for the nitty-gritty of the DIY designer inspired large-scale art and frame I made.
This is an image-heavy post. However, I felt the artistic images do a better job in terms of a tutorial than actual words do so you can see how I layered the paint on the canvas. But first, here is the beautiful designer inspiration artwork:
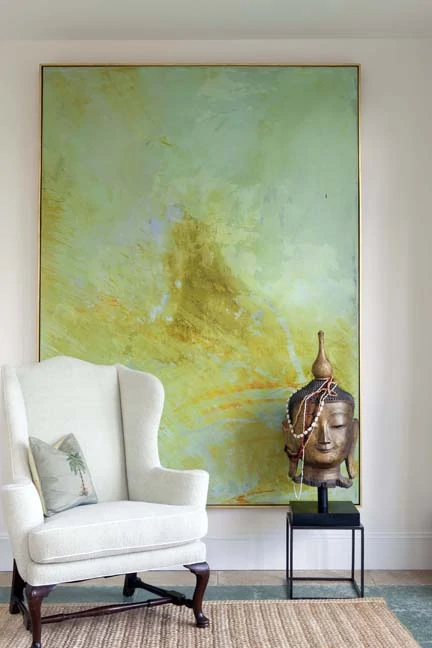
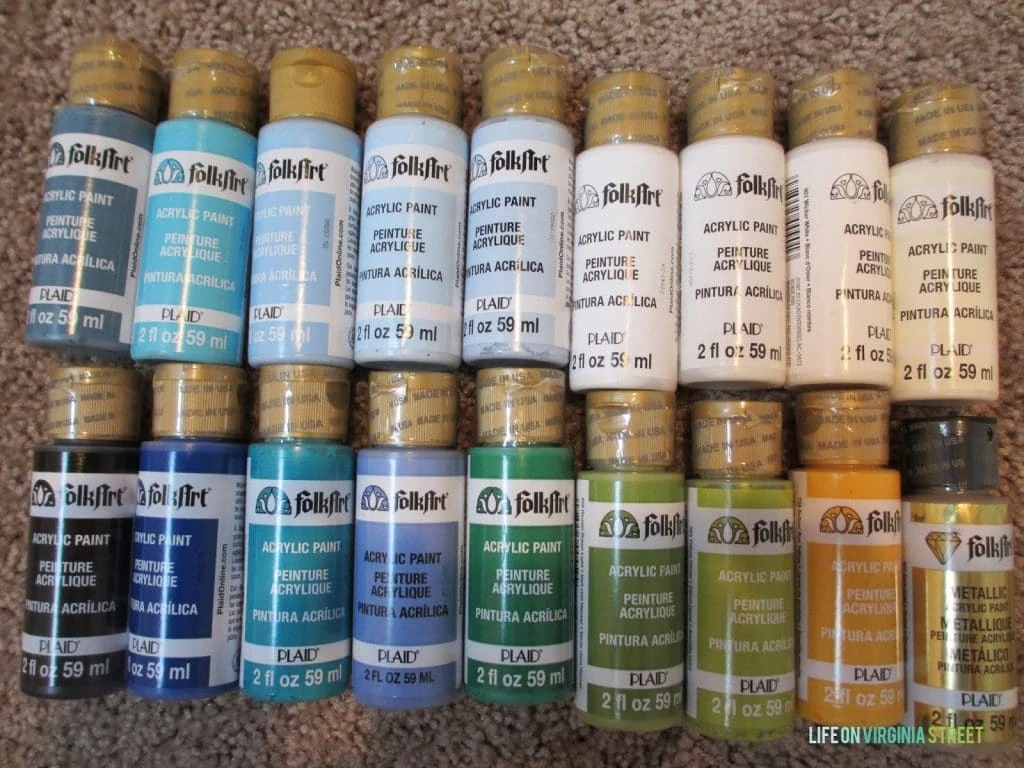
It looked abstract enough that I thought I could make something similar {but obviously not nearly as beautiful} and the colors are what drew me in. I bought all of these diverse craft paints from Hobby Lobby {30% off}, not knowing what to expect, but I honestly used less than half of them {although I went through nearly two bottles of white alone}. I also bought a heavy-duty art canvas from Hobby Lobby that measured 48″x48″ – different orientation than the inspiration photo but I felt it would work better in my space. If you prefer to shop online, here is a similar canvas and similar paints.
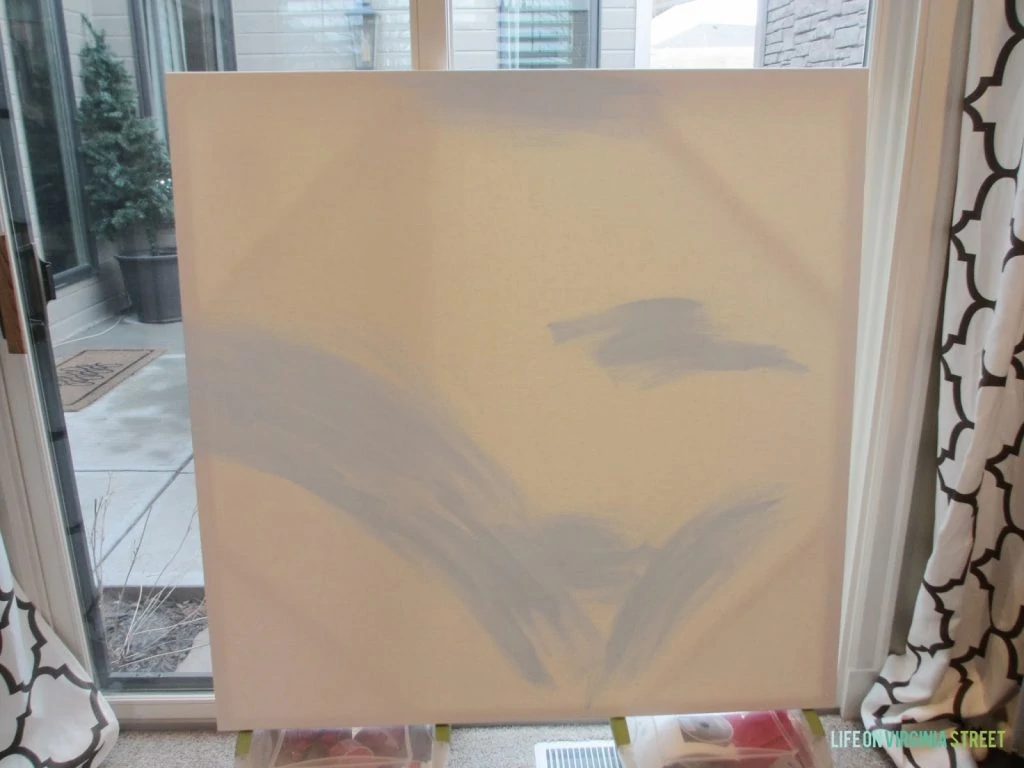
The Art Tutorial
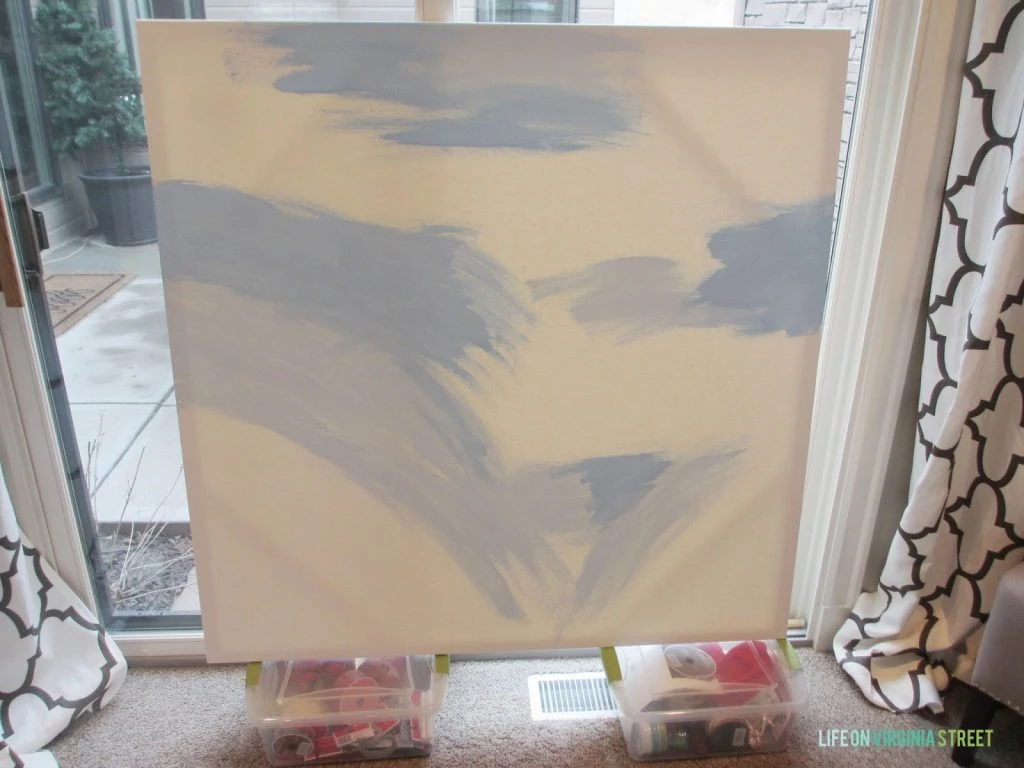
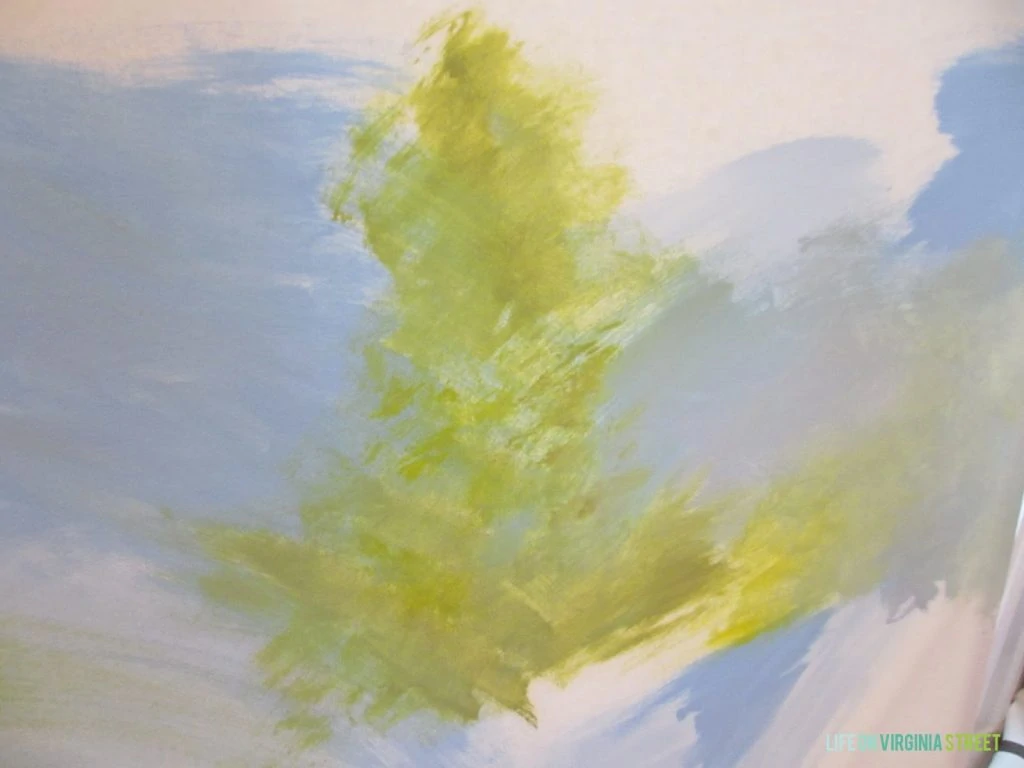
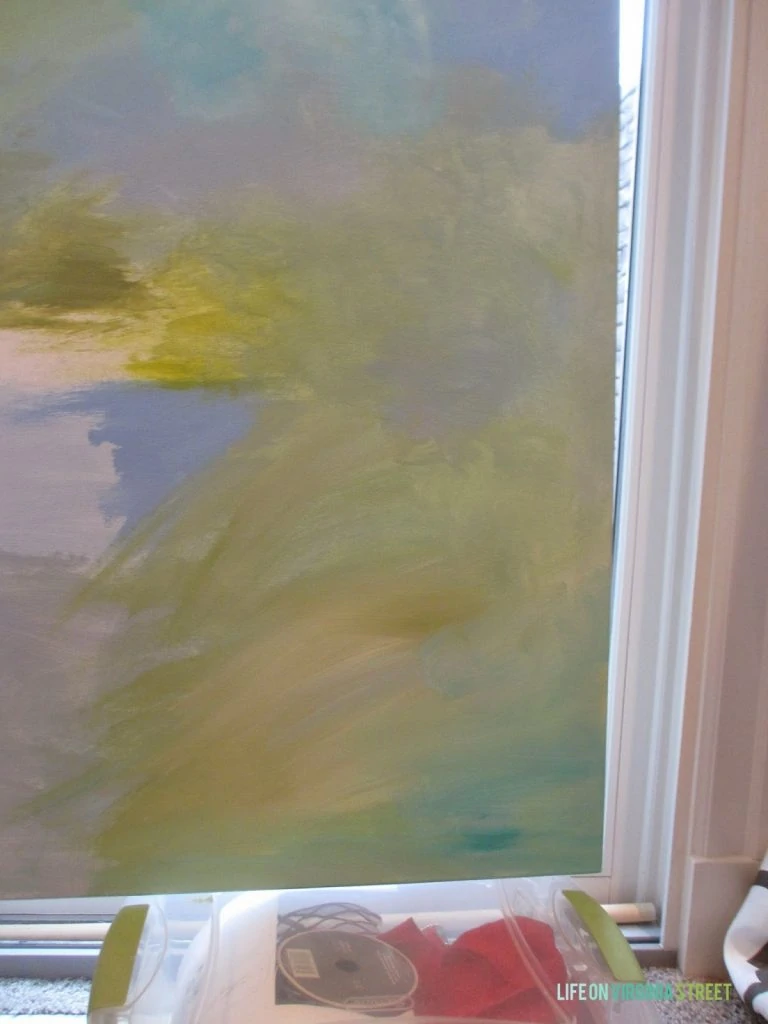
One of the hardest parts of this project is just starting. I tried to mimic the movement in my inspiration photo and just went for it. You’ll see I gradually began to add subtle layers and various colors. I used an “economy” brush that I had on hand from one of the big box hardware stores {not sure where I got it}.
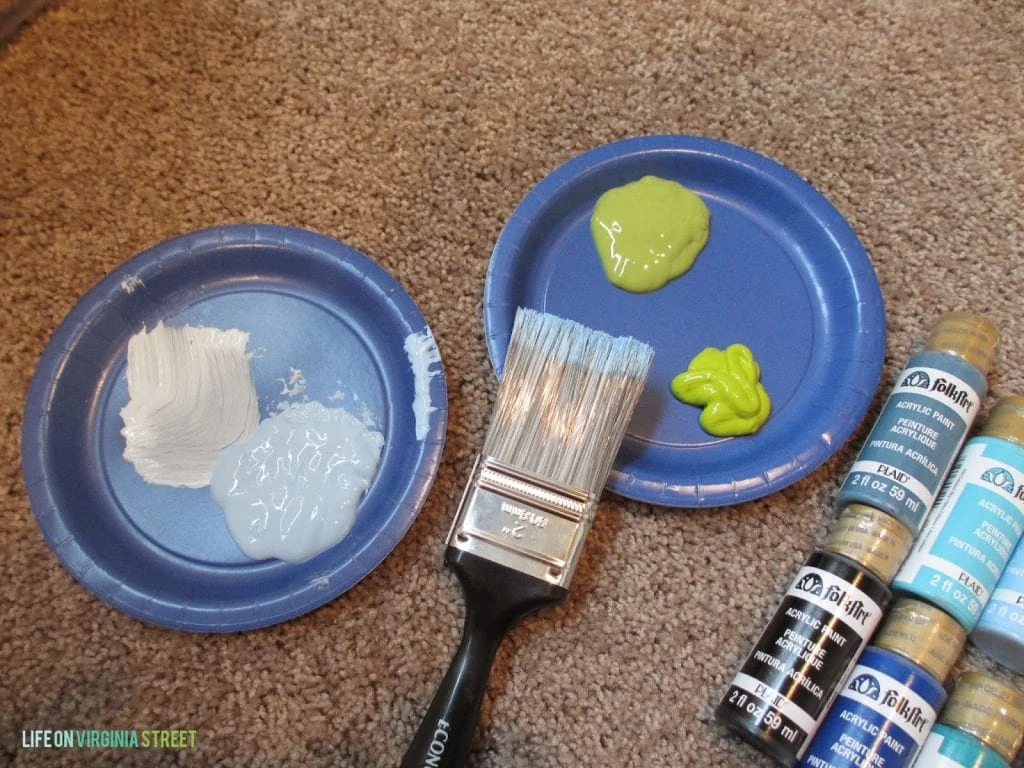
At this point I decided to start adding in some of the soothing greens as well. Here was my set-up. I kept the charming blues on one paper plate and the greens on another.
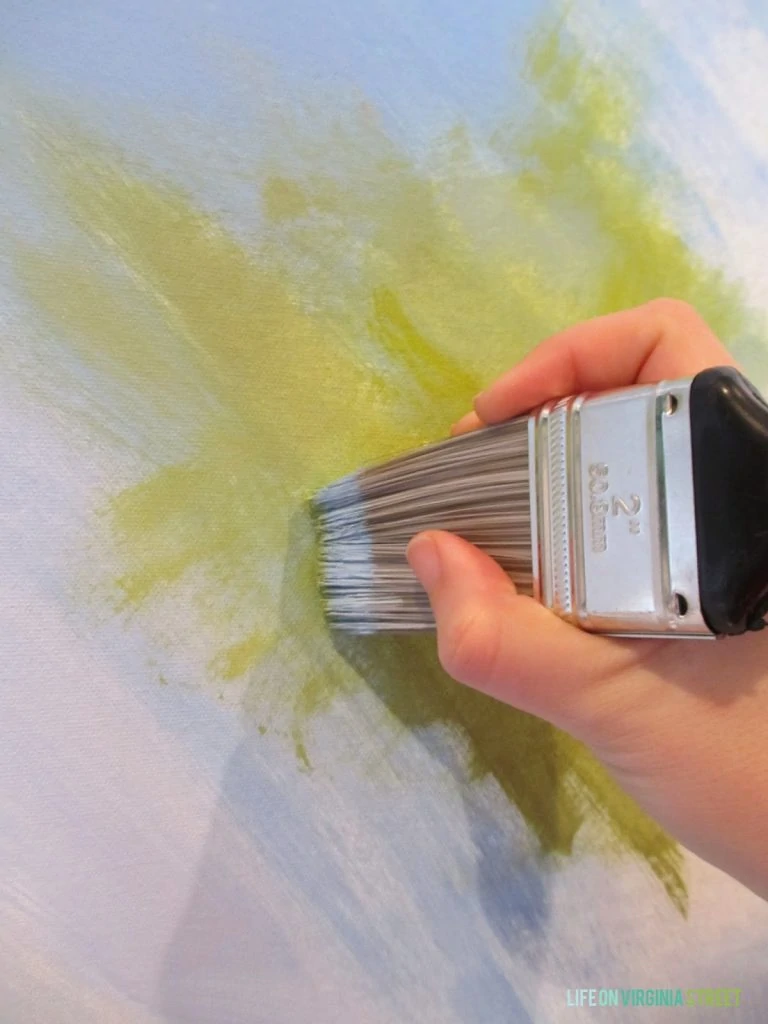
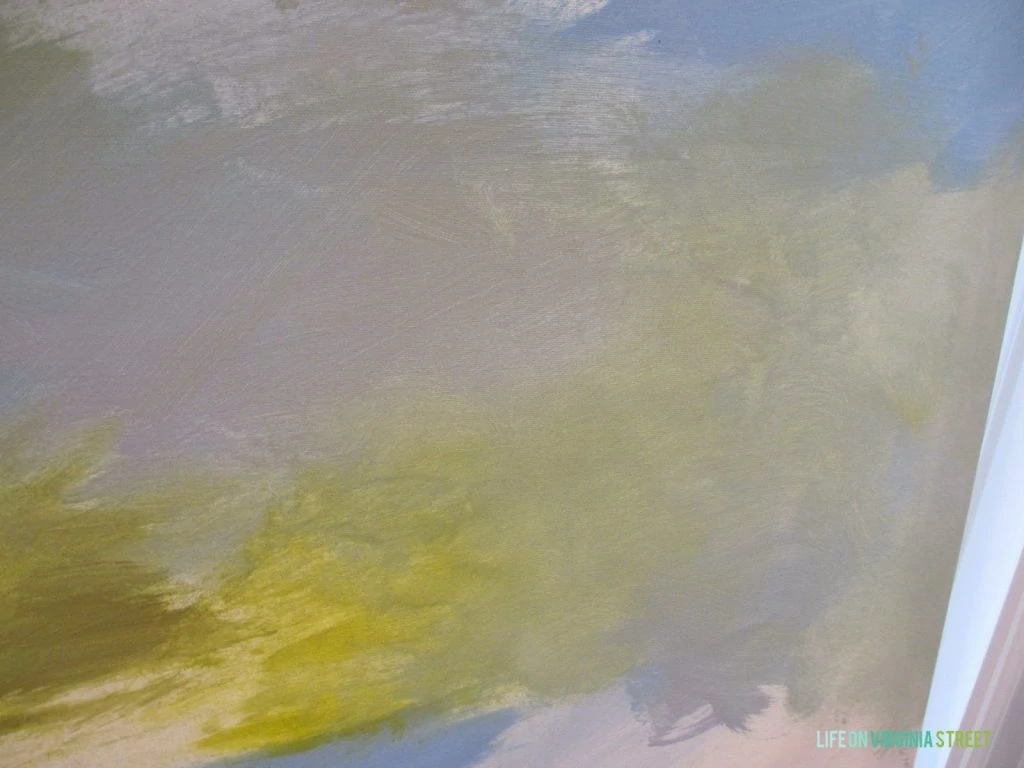
Still keeping the brush relatively dry, you can see here how I held the brush to apply the green. Somewhat scrunched up. I’m a pretty technical artist – obviously.
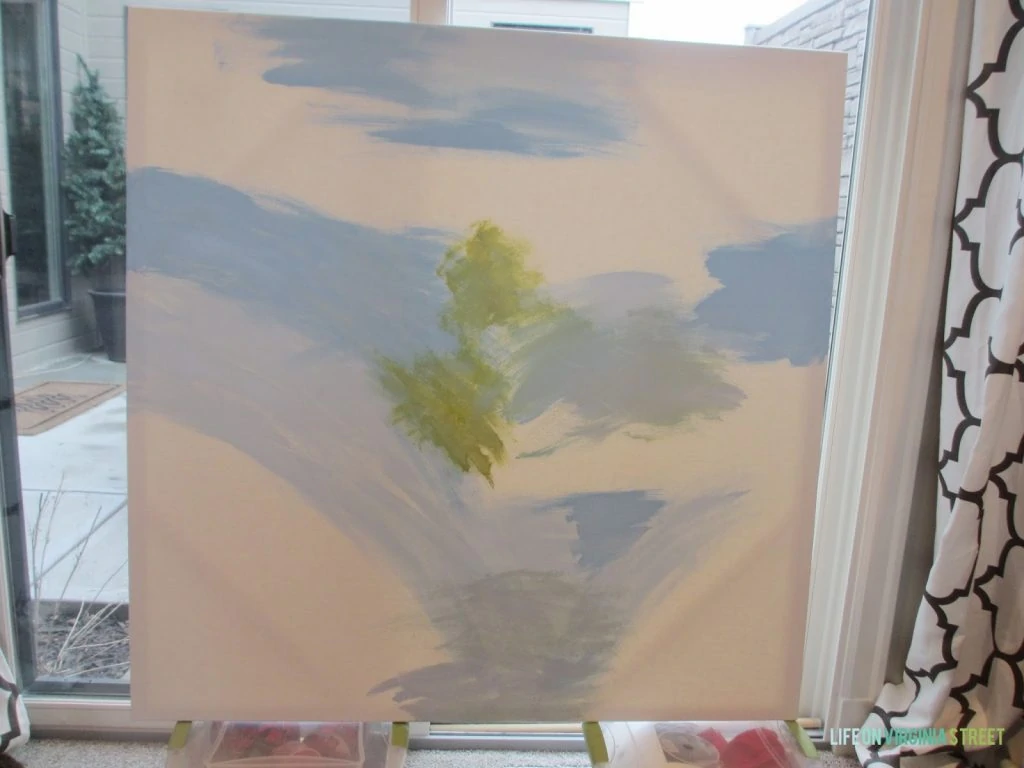
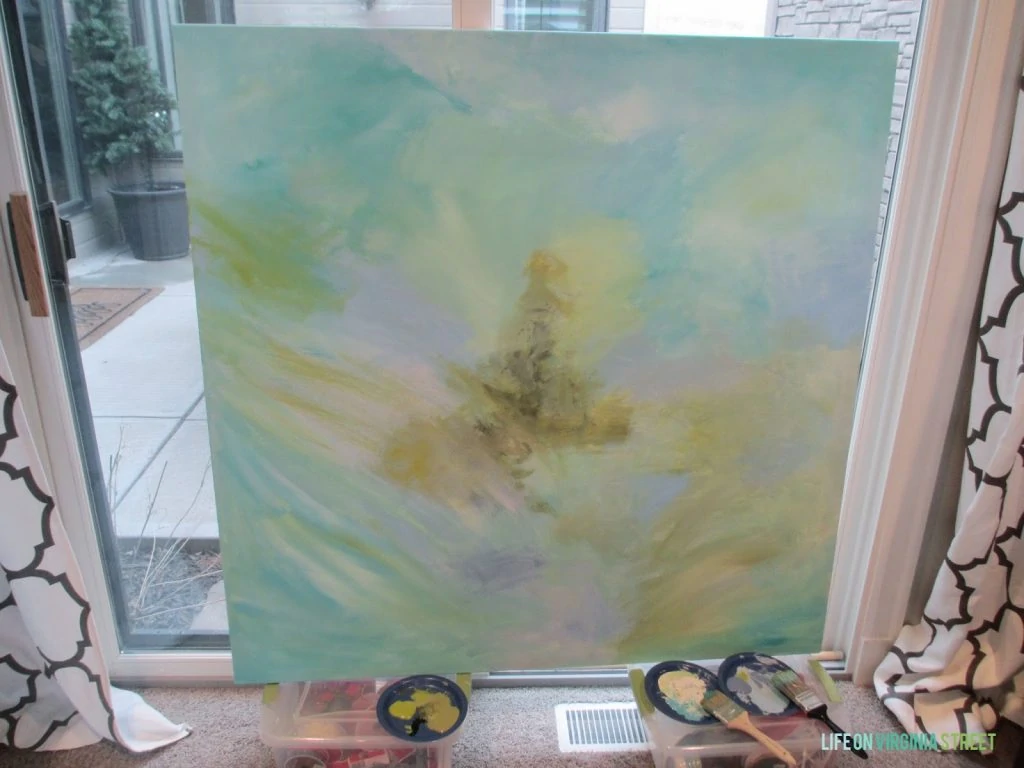
I then began to add in some more blurred areas of focus {using a fairly dry brush and round, swirly, cloud-like strokes}, again mimicking the soft shapes of the original inspiration piece.
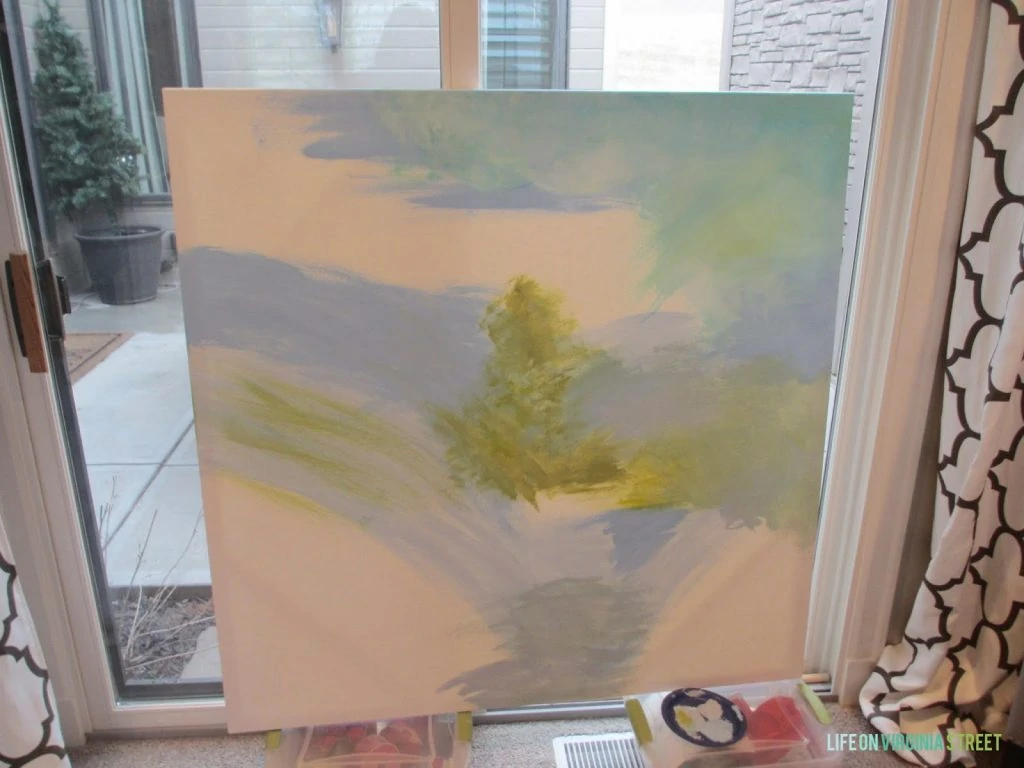
I then began to fill in all the edges with soft aqua, smoky blues, and creamy mints, etc. all created with the colors I had opened and then adding white as necessary. I also tried to fill in areas where the white canvas was showing through – even if it was an area I liked the look of. Regardless of where I was on the canvas, I still tried to mimic the brushstrokes of the area on the inspiration piece accordingly.
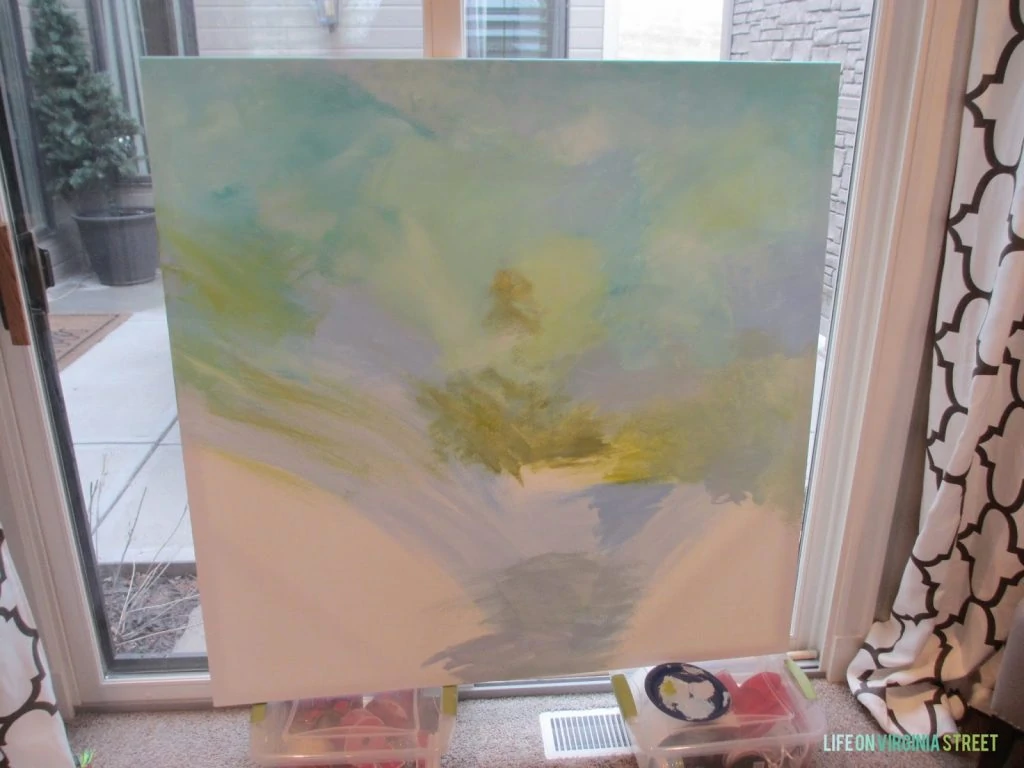
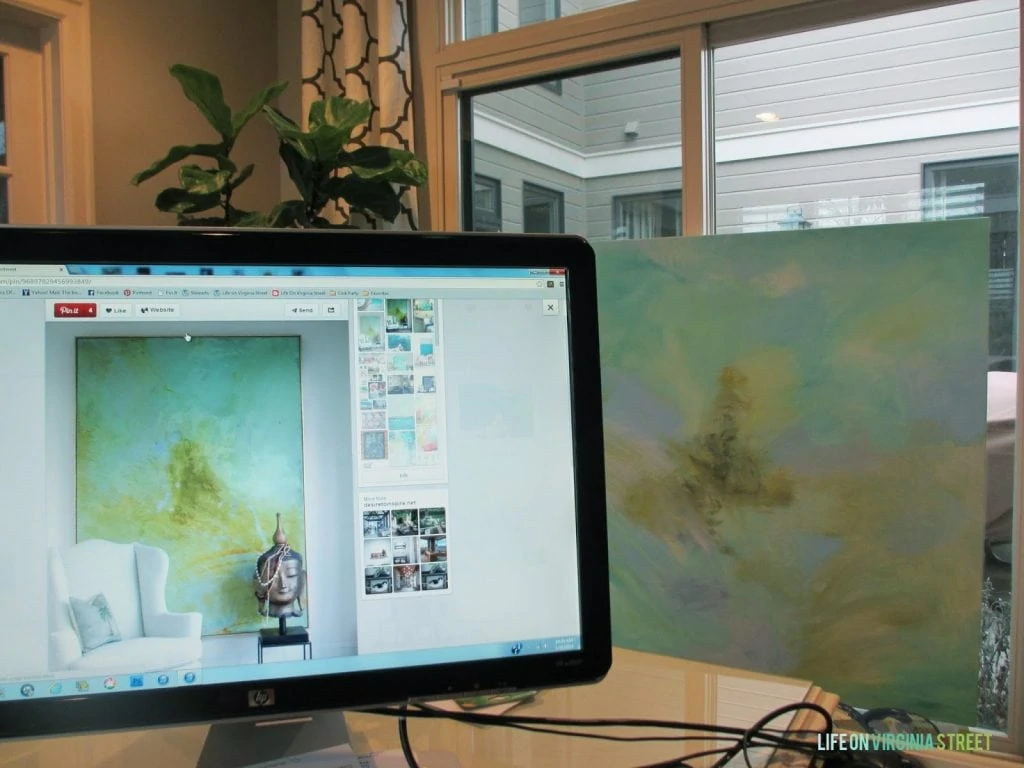
At this point, I stopped to compare the two art pieces. Not bad, but I also noticed the areas the needed some tweaking and got to work once the first layer fully dried.
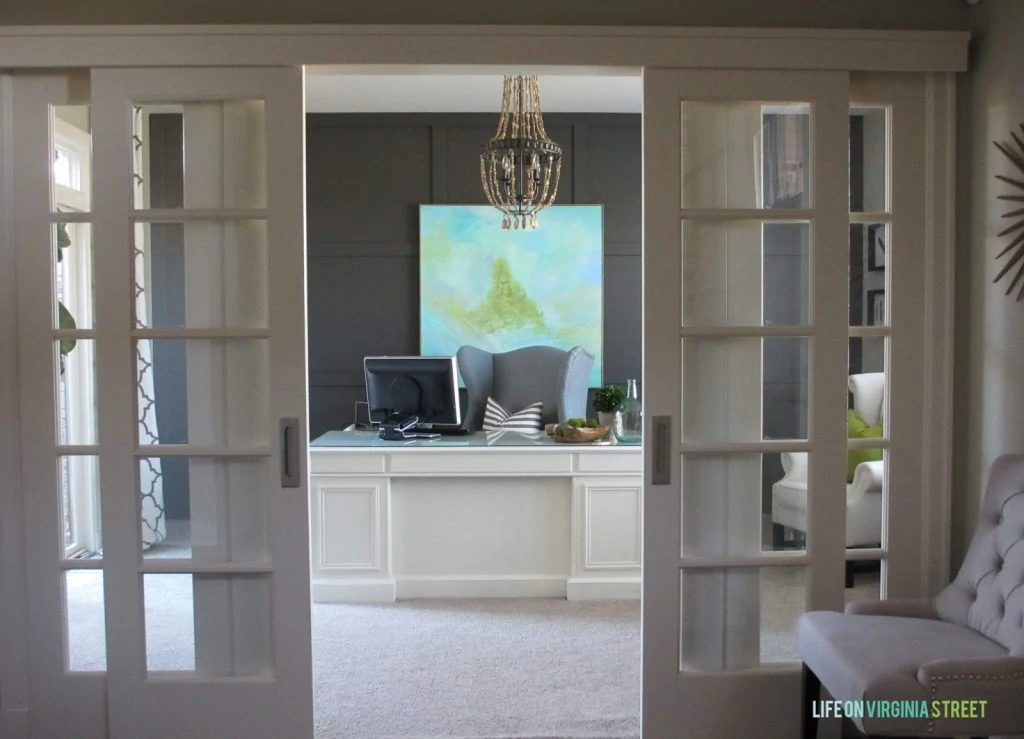
After a few final final tweaks I called it quits before I ended up ruining a decent piece. I tried the art in a few locations {living room, upstairs hallway and the office}. I ultimately settled on the office and it couldn’t have turned out more perfectly here.
Building The Picture Frame
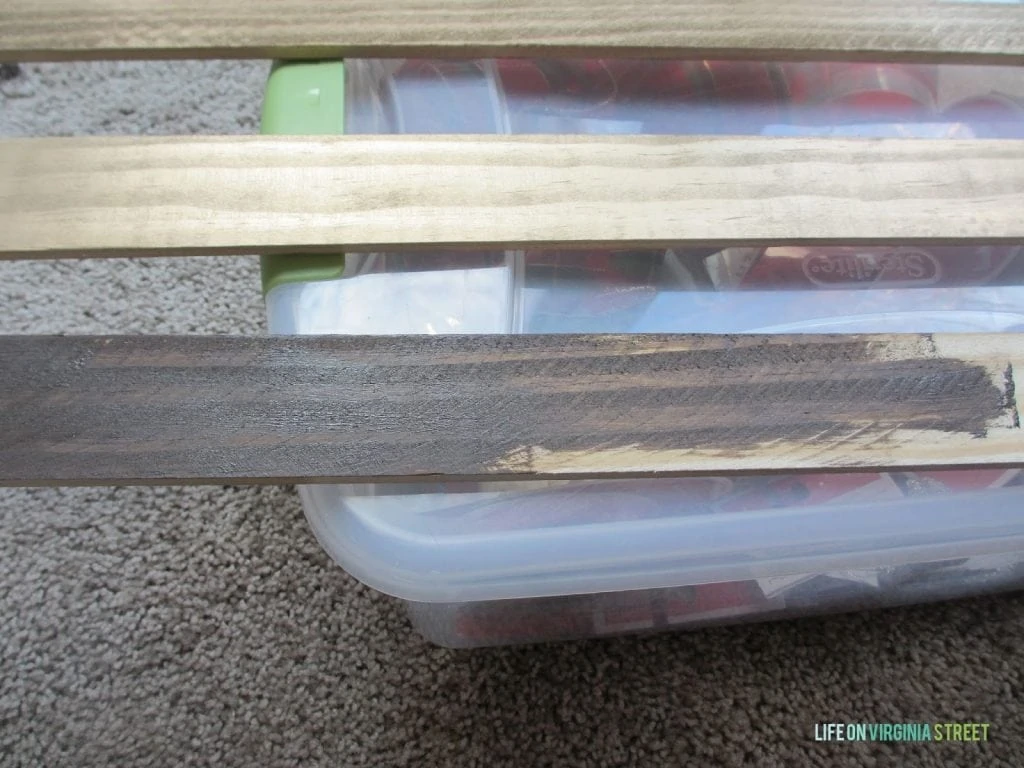
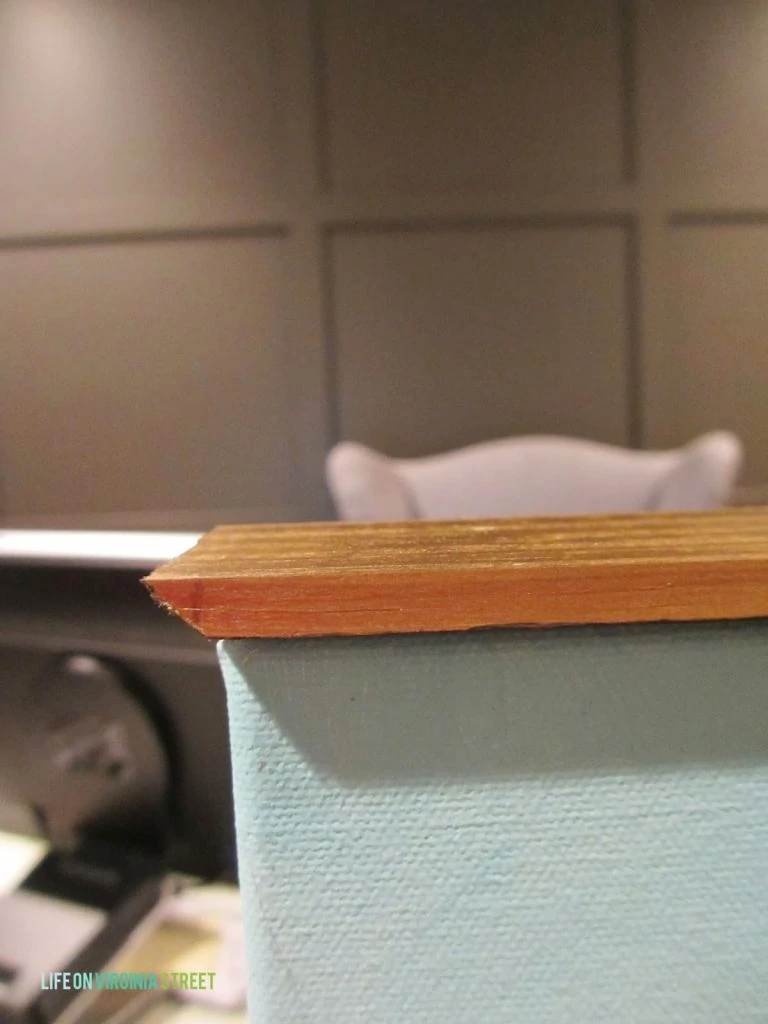
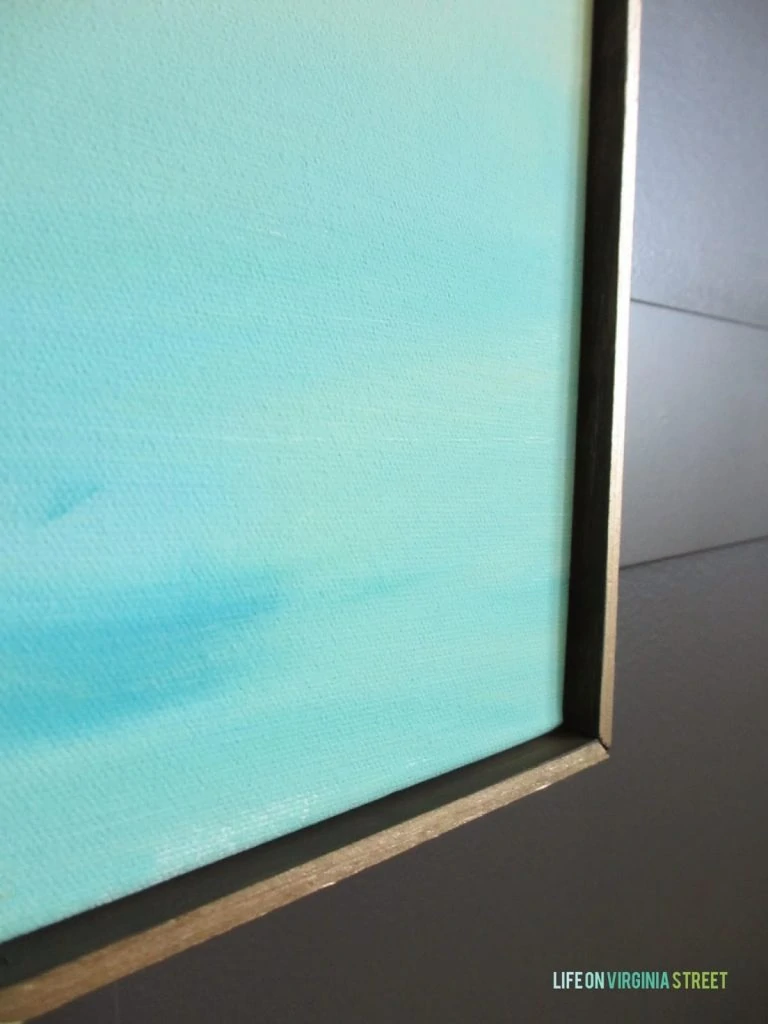
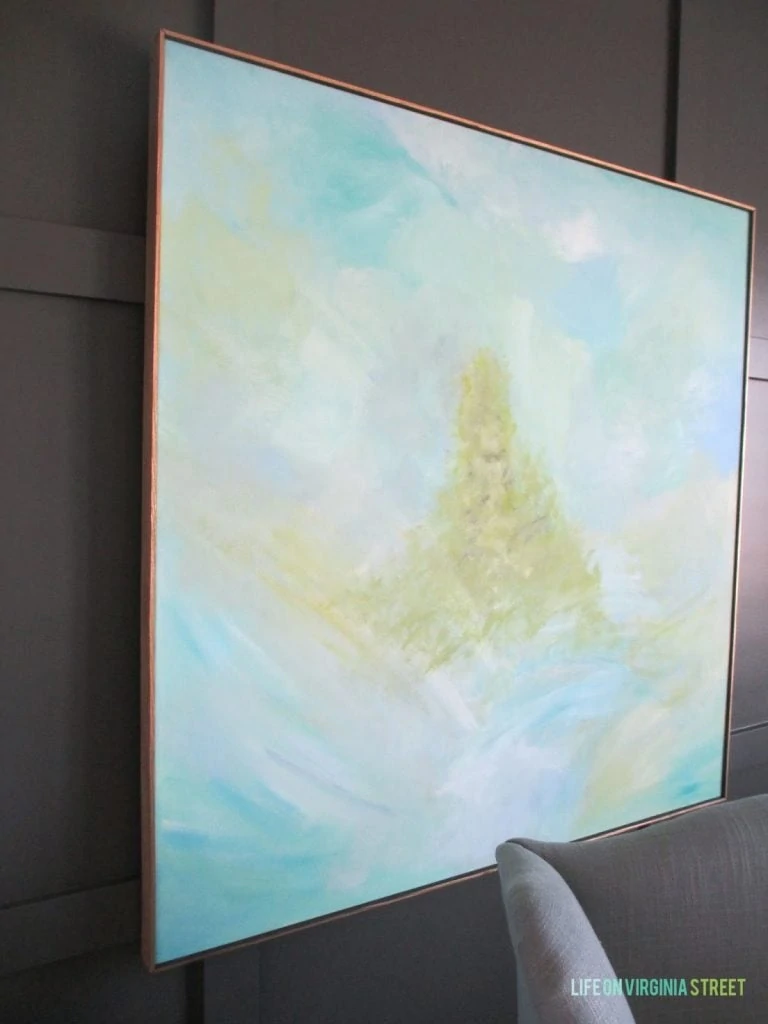
A few days later, I built out the frame with my husband’s help. I purchased some lattice wood from Lowe’s. I painted one side gold {along with all the edges} using Valspar Metallic gold spray paint and the other dark brown {with the craft paint} to mimic the look of the frame in the inspiration photo {see first photo below for the gold on the top two pieces and the brown on the bottom piece}. I intentionally purchased lattice that was wider than my canvas so that it would stick out about 1/2″ and show the dark brown. I cut all the pieces myself with a miter box {which honestly were not perfect – but hey – it was my first time!} – all cuts were on a 45 degree angle. My husband then helped me nail it on to the canvas {I lined up the back of the lattice with the back of the canvas}. Down the road, I may use wood filler on the corners to better seal the gap, but I actually like the look for now. I feel like the frame really finished the piece and made it look a little less DIY.
I love how the art finished the office makeover and helped to tie everything together. This project only took me about two hours total but I love the impact the large-scale art and colors make to this room!
SHOP THE LOOK OF OUR OFFICE (CLICK ANY IMAGE BELOW):

Be sure to stop by the other fabulous Look-for-Less DIY projects from each of these talented bloggers. Each one is so unique and they are all a must-see! And I apologize in advance if the links and images don’t line up – I’m currently updating this while at sea and iPads are not the most convenient blogging tools. Enjoy nonetheless!
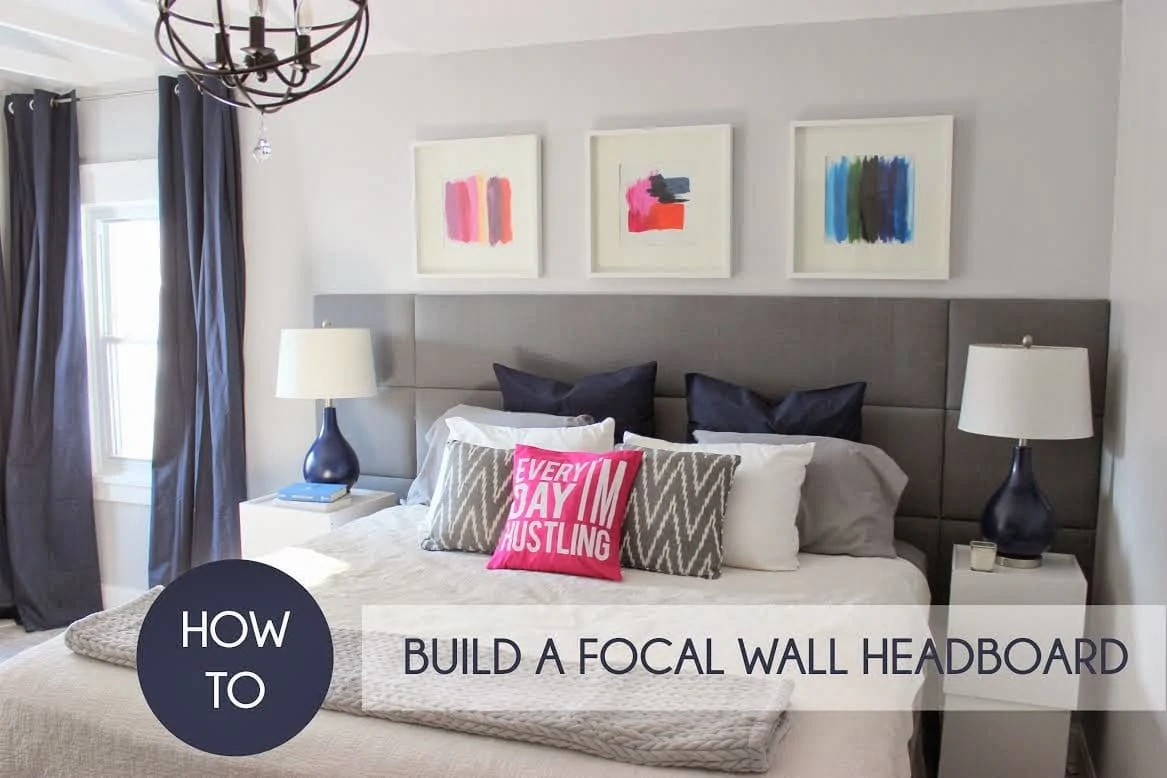
How to Build a Focal Wall Headboard by Home Coming:
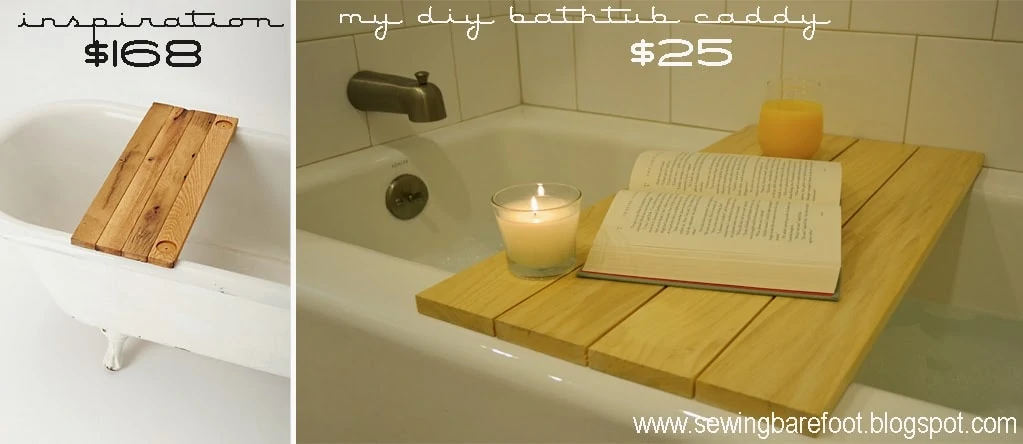
Bathtub Caddy from Sewing Barefoot:
Faux Fur Vanity Stool from Life.Love.Larson

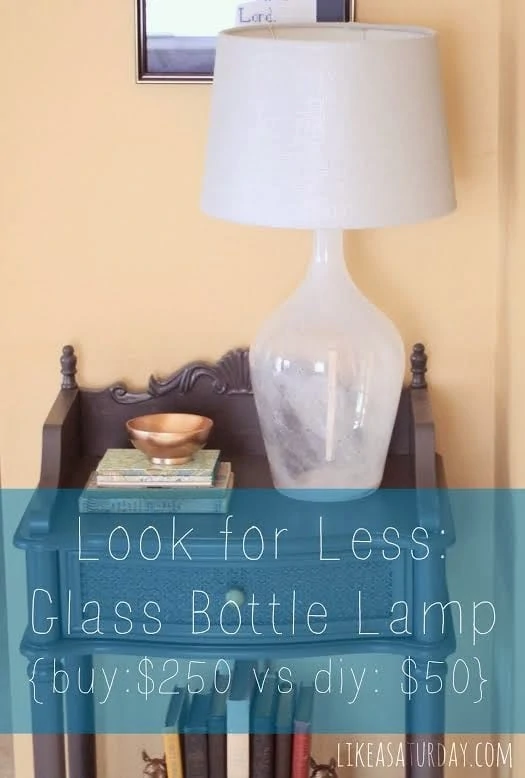
Glass Bottle Lamp DIY via Like A Saturday
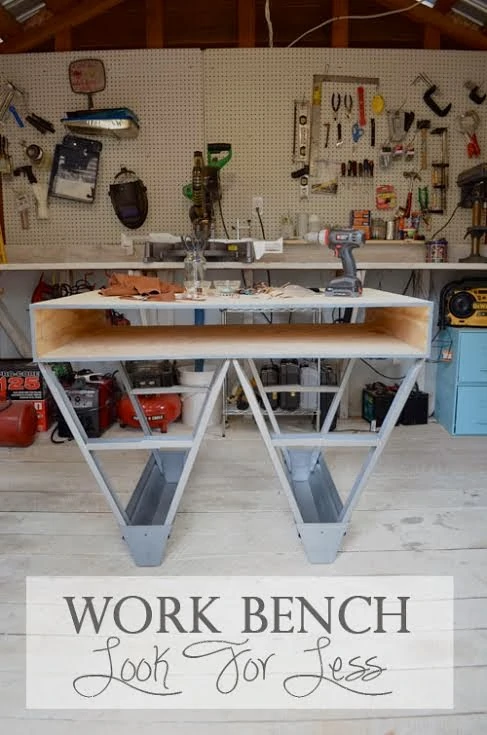
Work Bench Look for Less from Kitchen Table Art
Salon-styled Blowout at Home from Absolutely Arkansas

holy Toledo batman! that is too cool. and I love the idea for the frame! I will be copying that idea 🙂
I LOVE that piece! Your colors are so pretty, and it is absolutely perfect in your office. I will definitely be using that frame idea, how creative!
It looks so pretty against that wall! Gorgeous!
This room is turning out SO beautifully. It’s such an inspiration and I’m honestly obsessed with EVERYTHING in the room. Great work, and thanks so much for participating in the challenge!!
No one would ever know that took you 2 hours! That is amazing!!! A trick that can help make a painting look better is to do a wash as your first layer. That way you don’t have to worry about your canvas coming through in spots!
I’m pinning the shite out of this awesomeness. Also, you should start taking commissions for pieces like this, amazing (you know in between your demanding full time job & life).
xoxo
You are so right, the frame takes this piece to a whole new level! Love it!! And I have so been guilty of not stopping when my project was good, which turned it into absolutely “not so good”. Nice work and knowing when to back away!
Jeannine @ The Concrete Cottage
I have canvas and paint and I can’t seem to get started on it! You have inspired me – this is genius!! Gorgeous room!
Wow! Stunning Sarah! I love this… I am inspired to give it a try now.
You turned out a fabulous piece, with bragging rights. The method you used to frame it is fantastic. Pinning now!
Hi Sarah,
Just found you from the City Farmhouse link up. Love your style and that art! I look forward to reading more of your projects, I’m going to check them out right now. Loving your office too!
Your blog is AMAZING! Your home is stunning!!! Thank you for linking up this amazing project!!! Jen-City Farmhouse
Thanks so much for sharing your beautiful artwork at my party this week…you did an outstanding job on it.
Blessings,
Linda
Your office is just gorgeous! I love how you added the frame to your canvas. It looks perfect.
Everything about this room is fantastic!
But that artwork is amazing….looks right out of a gallery!
Absolutely Stunning! Please come to my house!
~Ariean
I am SO glad that I stumbled upon your blog. I absolutely love this and love how creative you are. Thanks for sharing. I’ll be coming back!!
WHOA!!!!!!!!!!
Gorgeous – and looks perfect in your beautiful office!
XOX
All I can say is WOW, you did an incredible job and the frame looks great! I’d love it if you linked up to The Makers link party going on right now. Hope to see you there!
~Katie @ Upcycled Treasures
Girl, you are seriously talented! I could never do something like this! Beautiful!
Amazingly beautiful, Sarah! I love it! And it looks perfect in your office! Pinning!
~Abby =)
Did you mean to have the face coming from the green?
Hi there, great post but do you realize your post on Pinterest features one of my paintings as the subject? I would be grateful if you would change it please.
Thanks, Brenda
Thank you! I believe it must have gotten pinned from the ‘shop the post widget’ at the end of my post (I haven’t pinned it before). I had used the Etsy link to your shop via RewardStyle in case my readers would want to buy your art instead of make their own (I’ve had several requests since many don’t want to make their own). I’d be happy to remove it but believe it has generated sales. It goes to this page: https://www.etsy.com/listing/230394227/abstract-art-giclee-print-abstract. Let me know your thoughts, as I’d be happy to do whatever you wish. Thank you!
Love how it turned out. I am always trying to mimic designer pieces. You nailed it. Just beautiful.
What color paint is the grey and side walls?
The paint colors are SW Urbane Bronze and Behr Castle Path 🙂