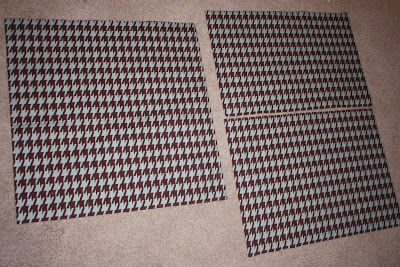
The longest part of this whole project (especially if you already know how to sew – which I did not) is measuring/cutting the fabric. I wanted to use the 24″ x 24″ pillows which are on the larger side but these instructions could be used for all sizes (you would just need to scale down the measurements). This size would require 1 yard of fabric max (you only really need 30″ in length and 44″ in width but I would definitely get a little extra). I found it much easier to use a graphic print such as this one to help my lines match up. I made my last pillow tonight from start to finish in about 45 minutes. HOPEFULLY these directions make sense – coming from a non-sewer I can say this should not be too difficult, so if it turns out that way, my directions may be bad. So, let me know if you have any questions.
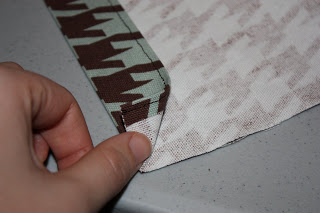
First cut out a square that is 22″ x 22″ (yes, smaller than the pillow form you will use – this helps to create the tautness). You could probably make it slightly looser if you don’t want it so firm. Set this piece aside for the time being.

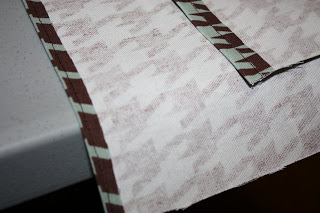
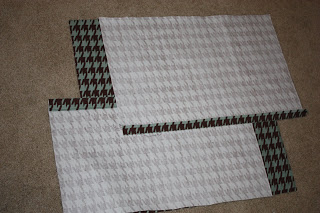
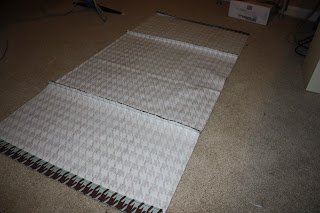
Now, you are ready to sew the pillow together. Take your 22″ x 22″ inch piece that you set aside and lay it face up. Lay your other pieces on top of it face down (so that if you were to look at it from any side you would see the back of the fabric). The pieces you have already hemmed should over lap, so simply line up all the raw edges. The picture below demonstrates this, but I have slid the pieces over a few inches so you can see which pieces are where.
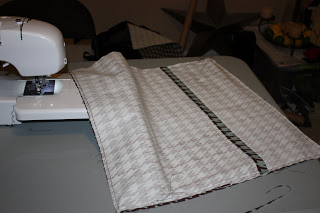
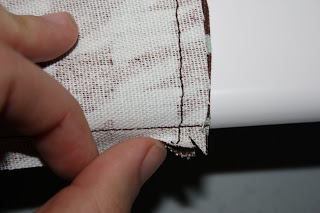
You will want to snip each of the corners (without damaging the parts you have sewn) to help create a pointier finish on the ends. Now flip the cover inside out ~ it may help if you have something pointy (but dull) to stick into each of the points to get them all pushed out.
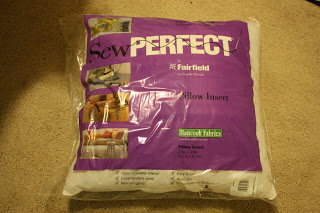
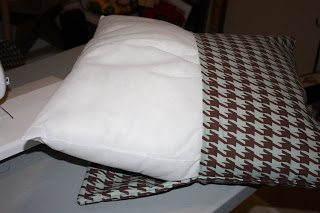
I bought these particular pillow forms at Hancock Fabric but know they also carry them at JoAnn’s (you should be able to get them 30-50% off a few times a month so I recommend buying them then). Now just stuff the pillow inside the case ~ you will have to help feed it into the corners, and remember it will be a snug fit so be careful not to pull out any of your stitches. My mom does variations of this same pillow by adding buttons, etc. (similar to what Pottery Barn currently has) so the options are limitless! It is also nice that because the pillow is not sewn shut, you can use the same mold for seasonal pillow covers!
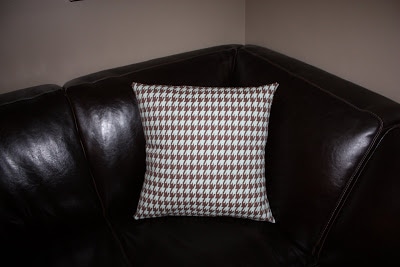
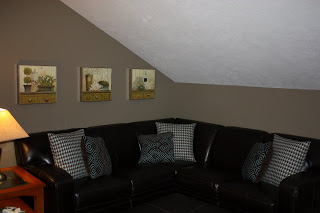
Here is a shot of my three pillows I managed to complete! If anyone has any questions at all trying this out, feel free to let me know!
Leave a Reply