• Skip to primary navigation
  • Skip to main content
  • Skip to primary sidebar
  • Skip to footer
  • About
  • Home Tours
  • Read By Category
  • Sources
    • Life On Virginia Street Paint Colors
    • Shop Our Home
  • Contact
  • Nav Social Menu

    • Amazon
    • Facebook
    • Instagram
    • Pinterest
    • Twitter
  • HOME DECOR
    • Decorating Ideas, Tips and Trends
    • Home Tours
    • Look for Less
    • Outdoor Spaces
    • Room Makeovers + Design Plans
  • DIY Projects
    • Cleaning and Organization Tips
    • Crafts
    • Paint Projects
    • Rental Properties
    • Room Makeovers
    • Tutorials
  • TRAVEL
    • 30A Florida
    • Cruises
    • European Travel
    • Mexico & The Caribbean
    • U.S. Travel
    • Packing Ideas
  • Fashion & Beauty
    • Fashion Posts
    • Hair & Beauty Posts
    • Recent Outfit Ideas
  • Entertaining
    • Entertaining and Party Ideas
    • Food & Drink Recipes
    • Tablescapes
  • Shop
    • Shop Our Home
    • Shop My Instagram Feed
    • Gift Guides
    • My Amazon Storefront
    • Sale Alerts
    • Wednesday Watch List
Life On Virginia Street

Life On Virginia Street

DIY . Home Decor . Travel . Style . Life

hanging the pelmet boxes

DIY Projects

6 shares
  • Share
  • Tweet

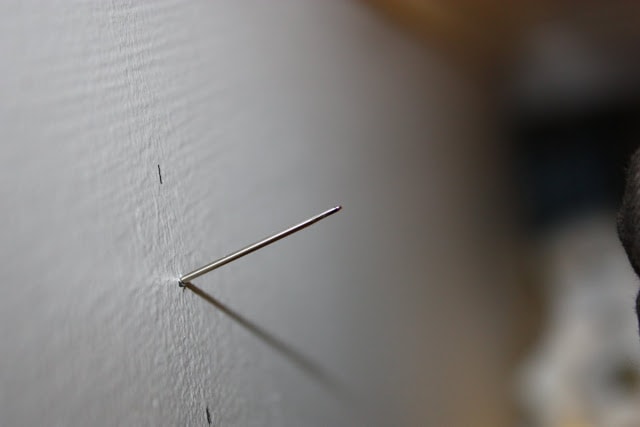
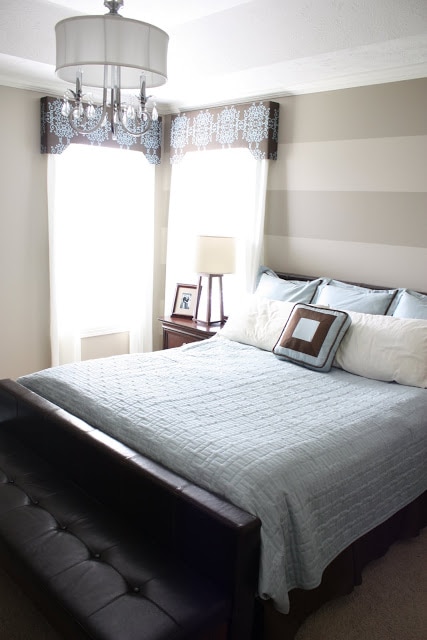
This post is to answer a few questions from some prior posts.Here is how I hung the pelmet boxes with needles.  It was really hard to take pictures of this so hopefully this makes sense.  I only used two needles per pelmet box {since they are so lightweight and it is really just a balancing act}.  You want to measure carefully since these two spots are the only points that will be hanging the boxes.

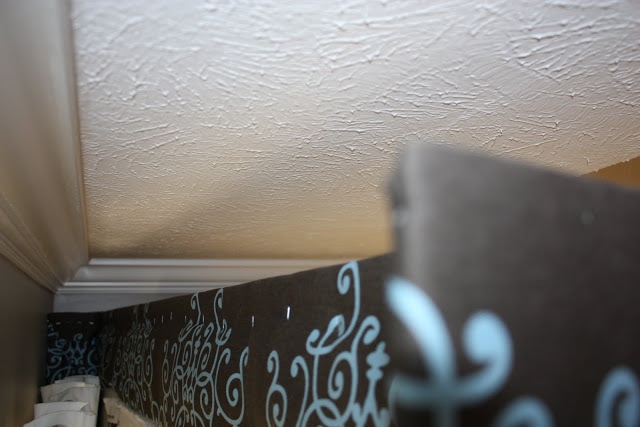
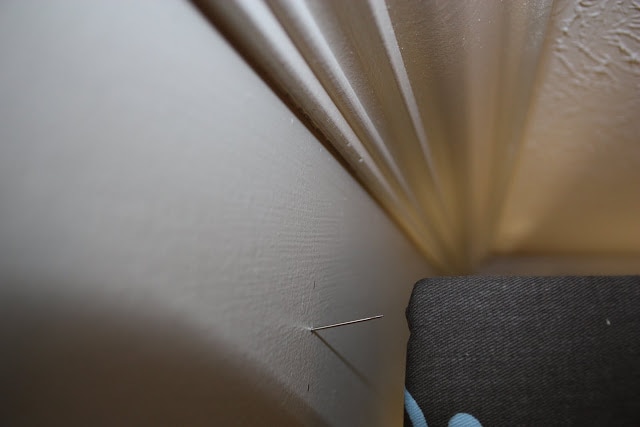
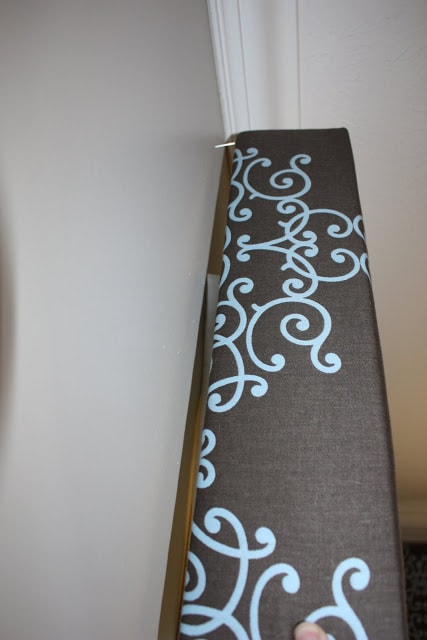
I first measured the exact width of the pelmet {once the fabric and batting had been added} and centered that over the window.  I then measured from the ceiling down so each end was the same height.  We then hammered the sharp end of the needle into the wall and left about and inch or so poking out.  I used a metal mechanical pencil to “pre-drill” the hole on the pelmet.  I measured about an inch down {from the top corners} on each one and then just punched through the fabric (with the metal tip – not the lead) and into the foam core board so it would have a natural track.  Make sure you are centered side to side so you are in the middle of the board at your point.  This step made the pelmet glide into place without a lot of effort.  The bottom does not require a needle and as long as you cut your board straight, it will lie perfectly against your wall.  Hopefully this all makes sense!

Secondly, yes, I got the nailhead trim kit for our guest bedroom headboard {also seen here – I know you are surprised I still have not put photos or pictures in the frames} in Denver at JoAnn’s {the Omaha store did not carry it}.  You definitely want the kit {rather than free-handing individual nails} because you only have to nail every fifth nail in so it looks much straighter.  I believe it only comes in the one color {french natural}.  It doesn’t appear to be online any longer but I just bought it when we were there in November so hopefully they still have some.Feel free to email me if you have any questions!

If you would like to follow along on more of my home decor, DIY, lifestyle, travel and other posts, I’d love to have you follow me on any of the following:

Pinterest / Instagram / Facebook / Twitter / Bloglovin’ / Google

disclosure: some affiliate links used

6 shares
  • Share
  • Tweet

June 17, 2010 · Leave a Comment

free email course!

5 Secrets to Re-Designing a Room You Love

Learn my foolproof system for designing a room you’ll love that you can enjoy for many years to come!

Previous Post: « product reviews
Next Post: “manly projects” weekend »

Reader Interactions

Leave a Reply Cancel reply

Your email address will not be published. Required fields are marked *

Recipe Rating


Primary Sidebar

Welcome To Life On Virginia Street!

Let’s Get Social!

  • Amazon
  • Facebook
  • Instagram
  • Pinterest
  • Twitter

Subscribe By Email

Receive an email each time a new post goes live on Life On Virginia Street!

Tour Our Home

Footer

Disclosures + Photo Usage Policies
Privacy Policy

Copyright © 2026 · Farmhouse Theme by Restored 316

This website uses cookies to improve your experience. We'll assume you're ok with this, but you can opt-out if you wish.Accept Read More
Privacy & Cookies Policy

Privacy Overview

This website uses cookies to improve your experience while you navigate through the website. Out of these cookies, the cookies that are categorized as necessary are stored on your browser as they are as essential for the working of basic functionalities of the website. We also use third-party cookies that help us analyze and understand how you use this website. These cookies will be stored in your browser only with your consent. You also have the option to opt-out of these cookies. But opting out of some of these cookies may have an effect on your browsing experience.
Necessary
Always Enabled
Necessary cookies are absolutely essential for the website to function properly. This category only includes cookies that ensures basic functionalities and security features of the website. These cookies do not store any personal information.
SAVE & ACCEPT