I will show you how to make these gorgeous shower curtains with this no sew curtain tutorial.
On Monday, I shared the before and after pictures of our guest bathroom makeover. Today I’m going to share the details on how I made the stylish shower curtains. I took some of these pictures last night. Isn’t it crazy how much darker the vanity looks at night time?! I actually dig the saturated darker navy color. I’d say most of the time the color is a mix between how it looks here and the shots from Monday.
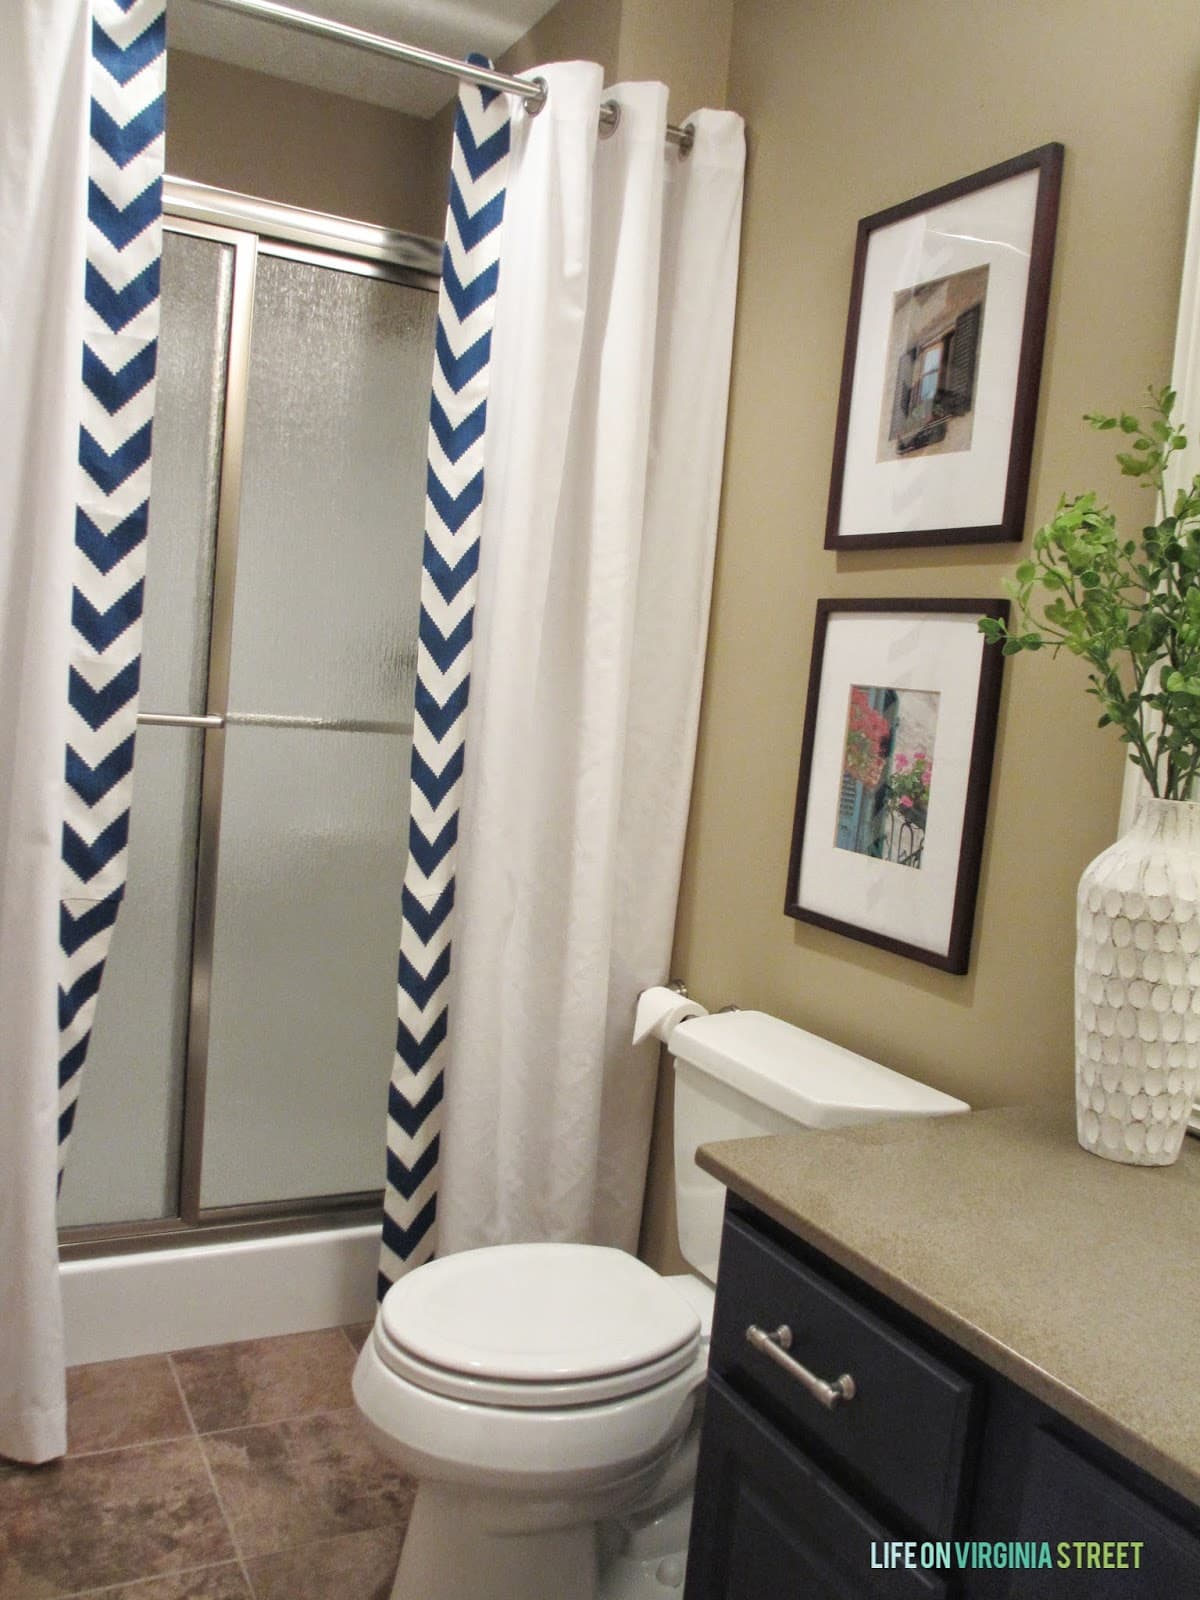
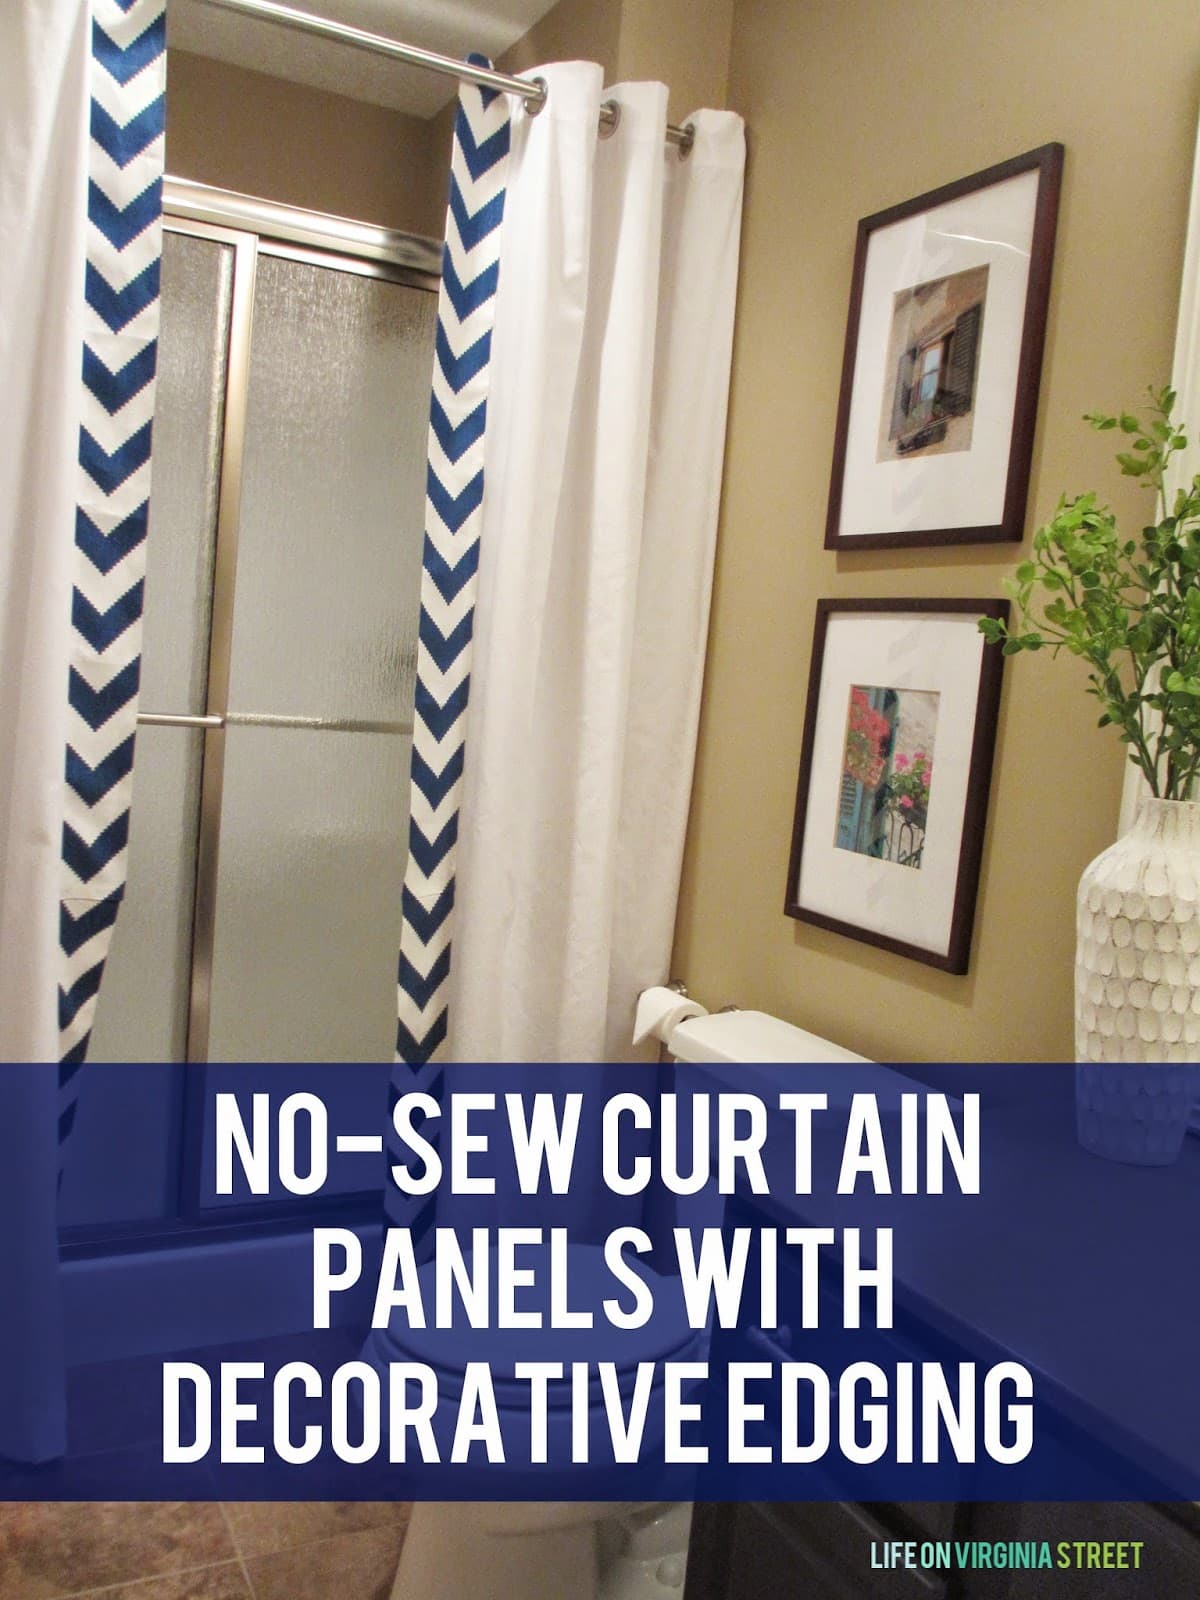
I love how these no sew shower curtains turned out. I really feel like they help tie the blue vanity in with the other elements in the room, thanks to the decorative strips of fabric I added. It creates a cohesive look. And although you couldn’t tell in Monday’s post, there are actually two panels in the room, one on each side of the shower.
Now, first things first. These technically aren’t shower curtains since they don’t have liners and quite honestly, aren’t necessary for this type of shower. But, the shower doors are ugly and I wanted to disguise them as much as possible.
This image from Sarah Richardson became my inspiration. I happened to have the same Kravet Jonathan Adler Limitless Marine fabric on hand. So I knew it would be perfect in this room.
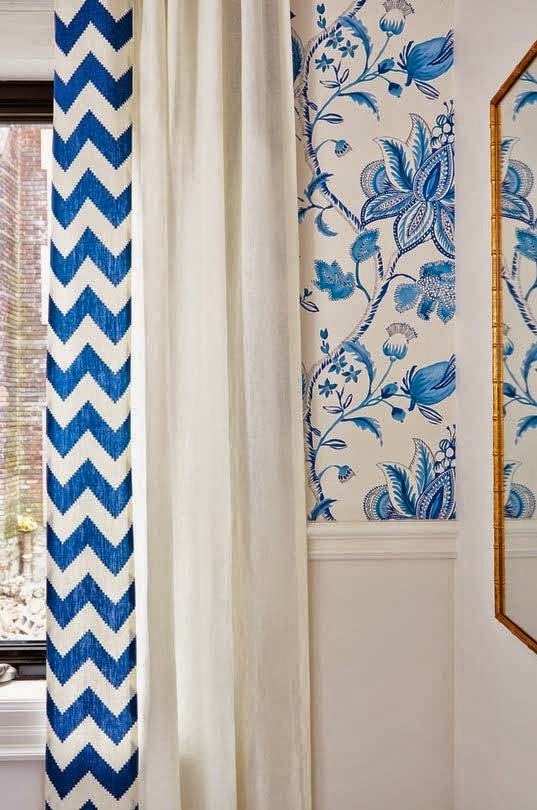 |
| {Sarah Richardson via The Inspired Room} |
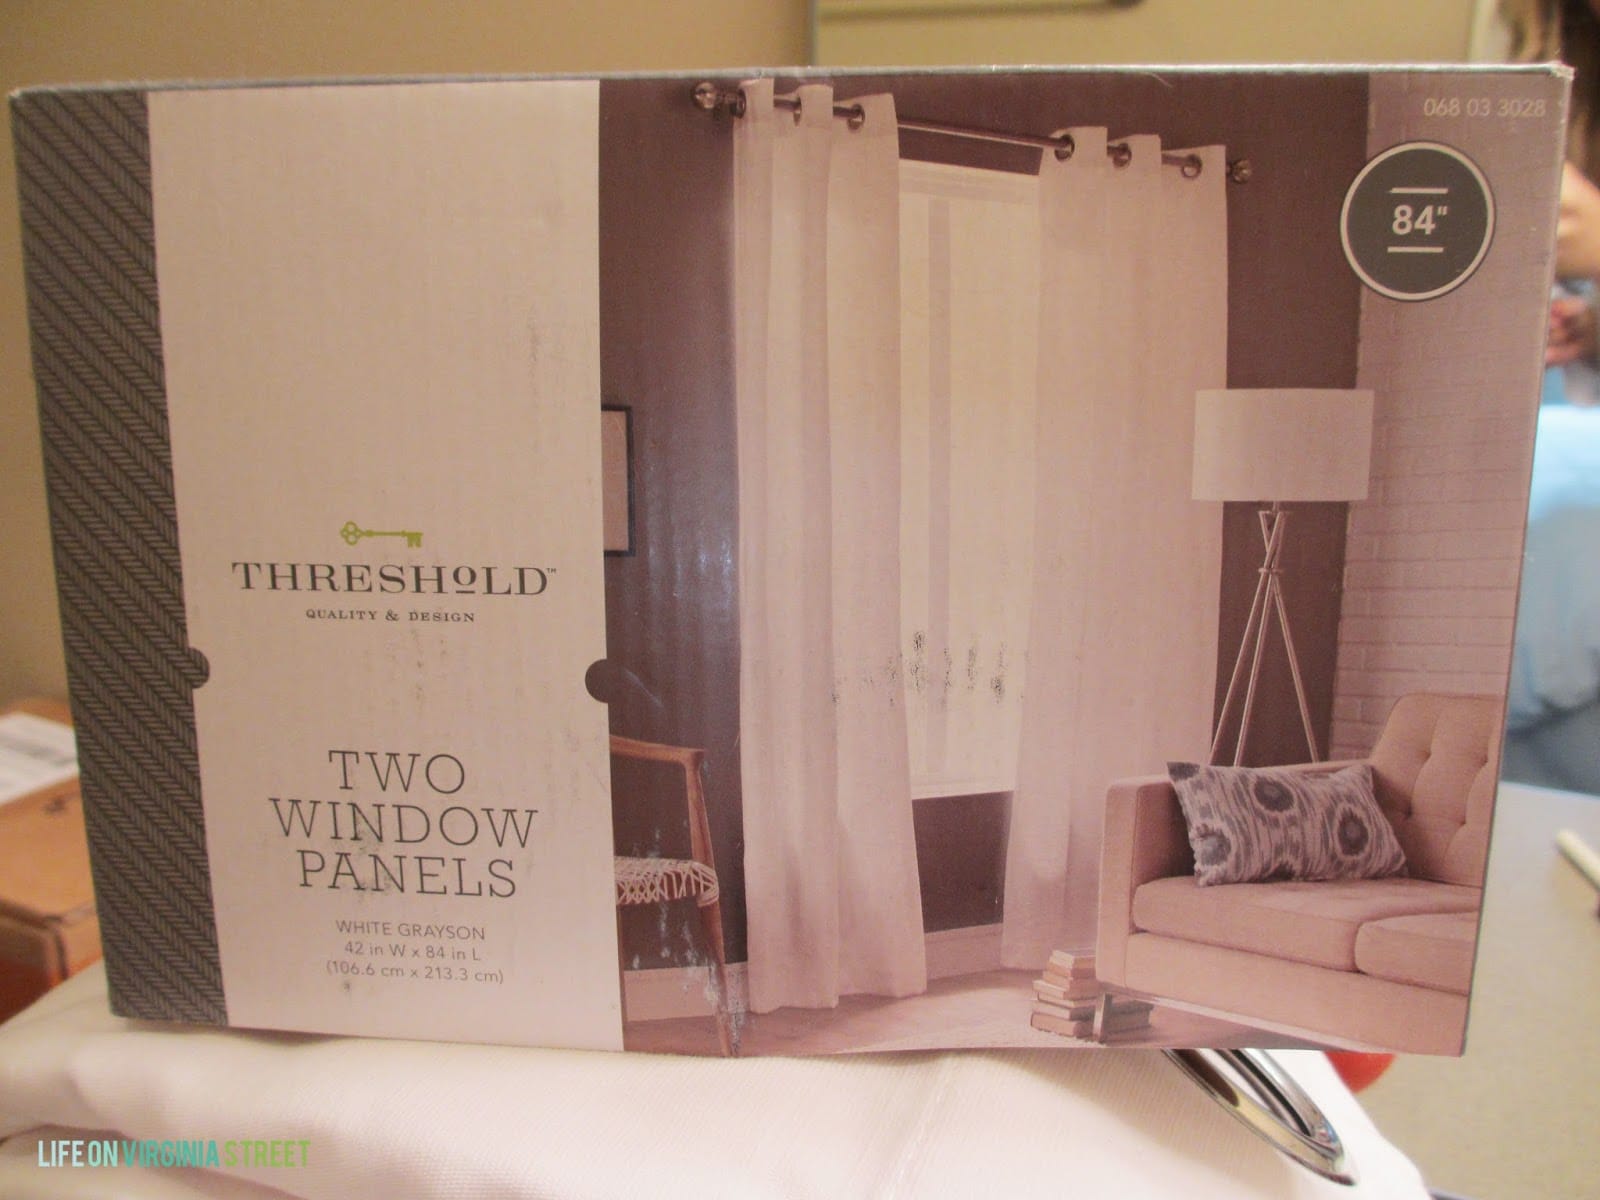
I started out by buying this pair of plain white curtain panels from Target. I went with the 84″ length, because I wanted something longer than a standard shower curtain {which I feel always look too short}. I also selected a grommet style for easiest use on a shower rod. Bad picture, but here is the pair I bought from Threshold at Target. I believe it was $34.99 for the pair.
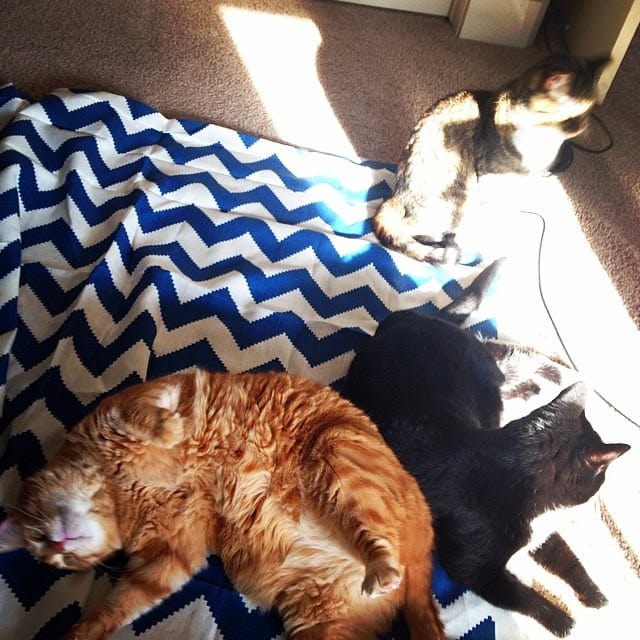
And if you follow me on Instagram, you saw how most of my sewing projects start out. This one was no exception. Everyone always wants to be a “helper”.
I knew the fabric strip I added couldn’t be too wide, or I would have to look into adding an additional grommet due to the weight. I also preferred the less busy look of just one full chevron pattern – not the full zig zag like in the inspiration photo.
I cut my fabric closely to size {slightly larger}, doubling the width I wanted for the panel {so the print would be on the front and back} and leaving room for a small fold around all the edges {to leave a nice clean edge on the front side}. I folded the panel/strip of fabric in half and then also did the small edge folds and pressed with a hot iron to make the folds more permanent. You can see what I’m referring to in the next two photos.
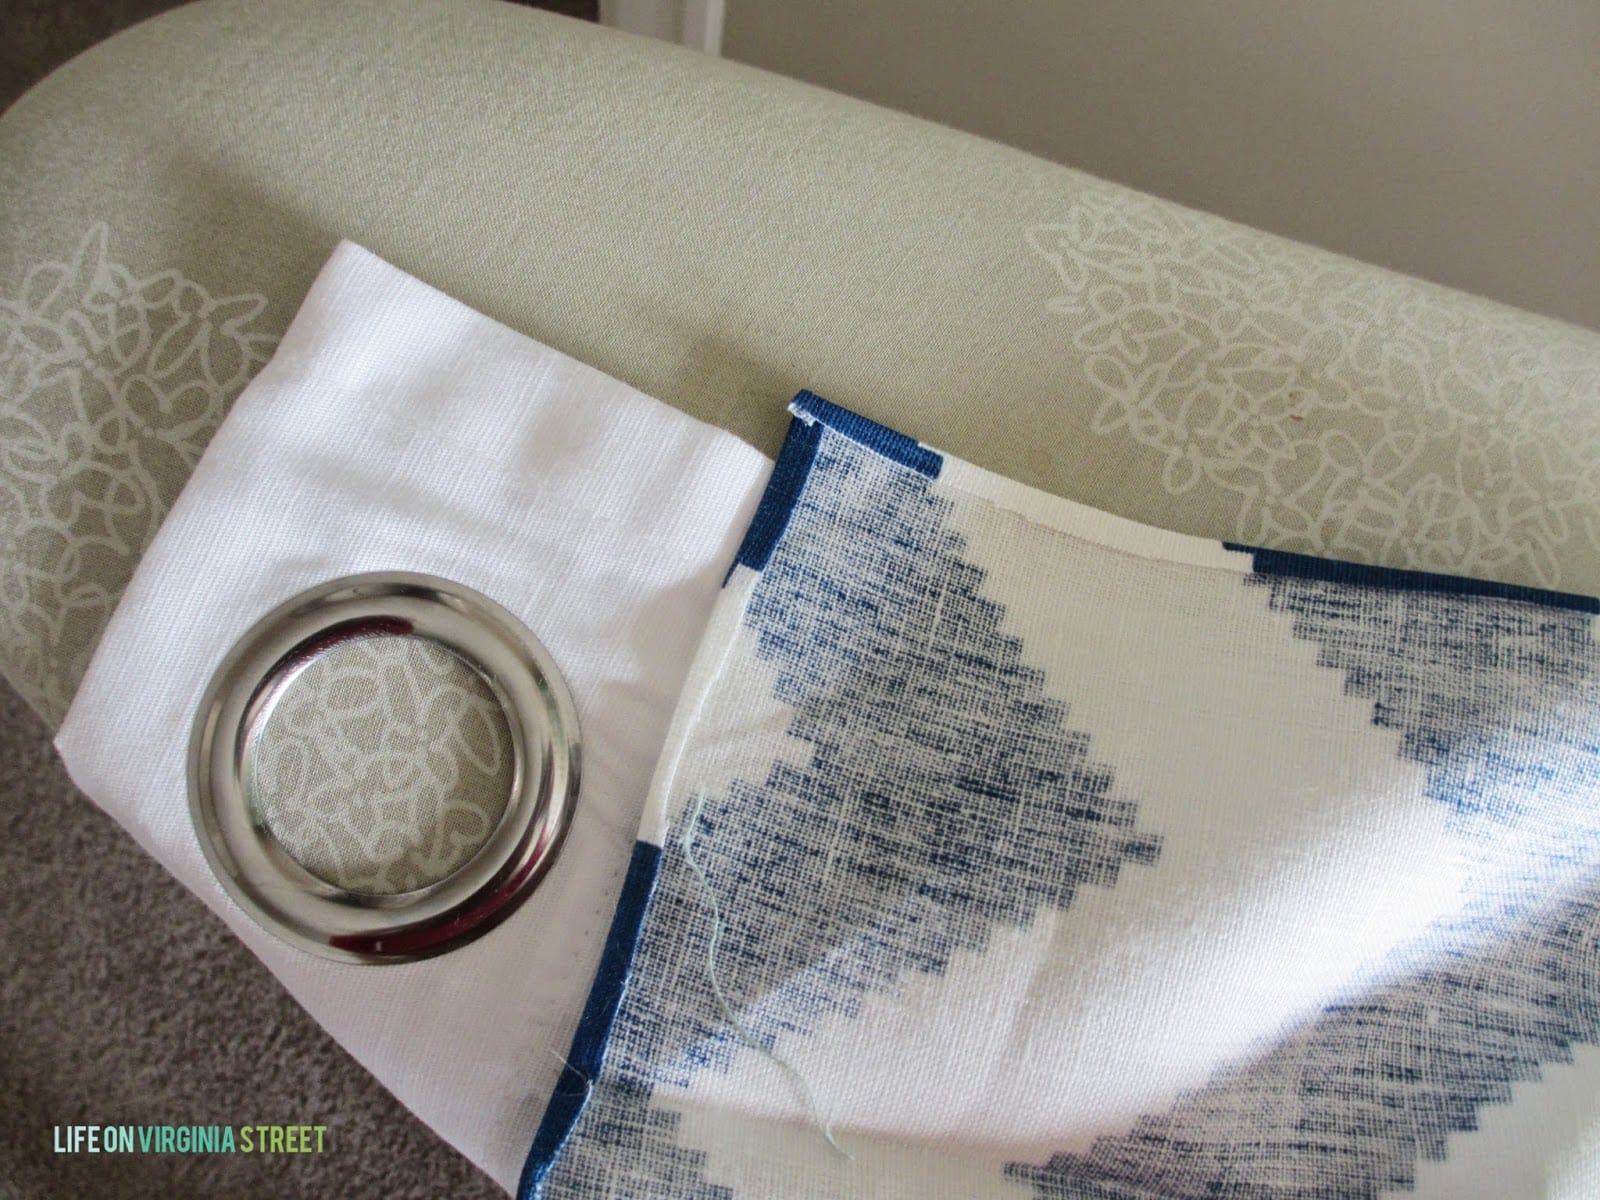
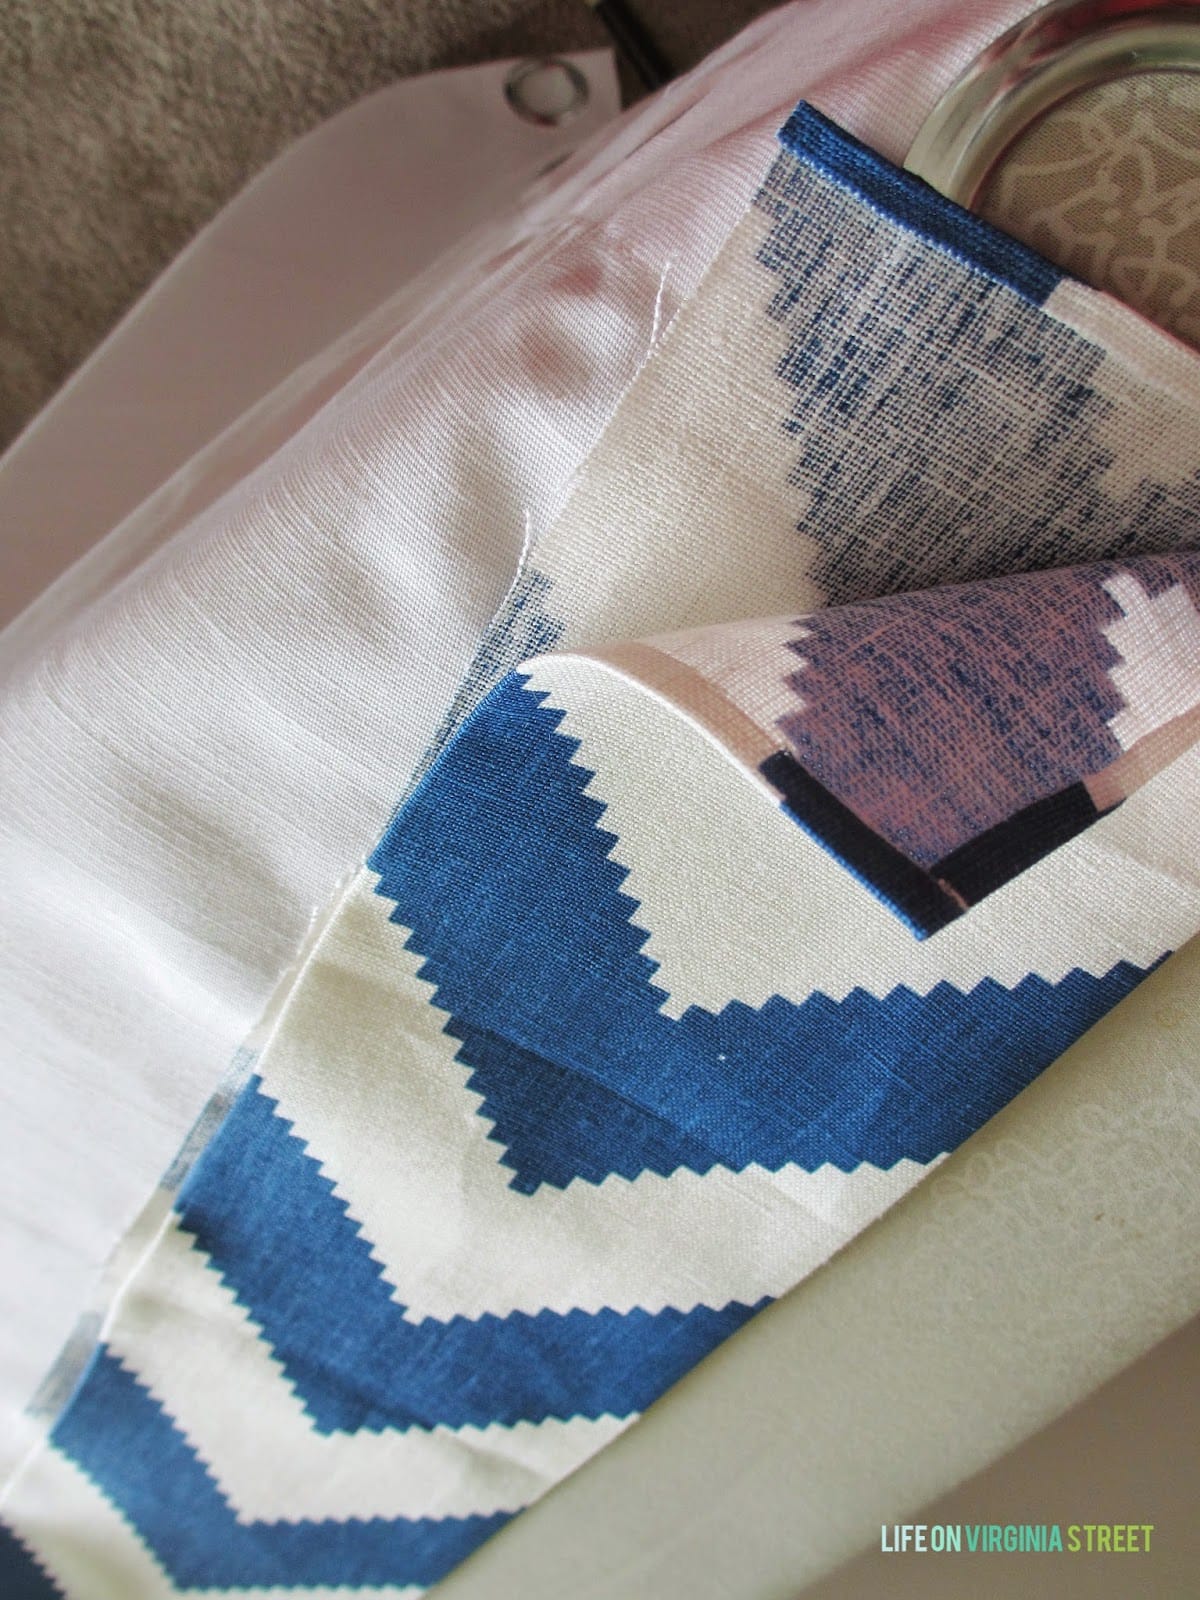
I then wrapped the two sides of the patterned fabric around the edge of the curtain panel and inserted a piece of Stitch Witchery {I used this brand and size} between the pieces of fabric and the curtain. See below two photos. I used the stitch on the curtain as my line where I matched up the patterned fabric. I simply followed the directions on the Stitch Witchery package and pressed the iron over the fabric once it was all aligned properly. It was my first time ever using this product and it worked like a charm! Definitely sold for future projects.
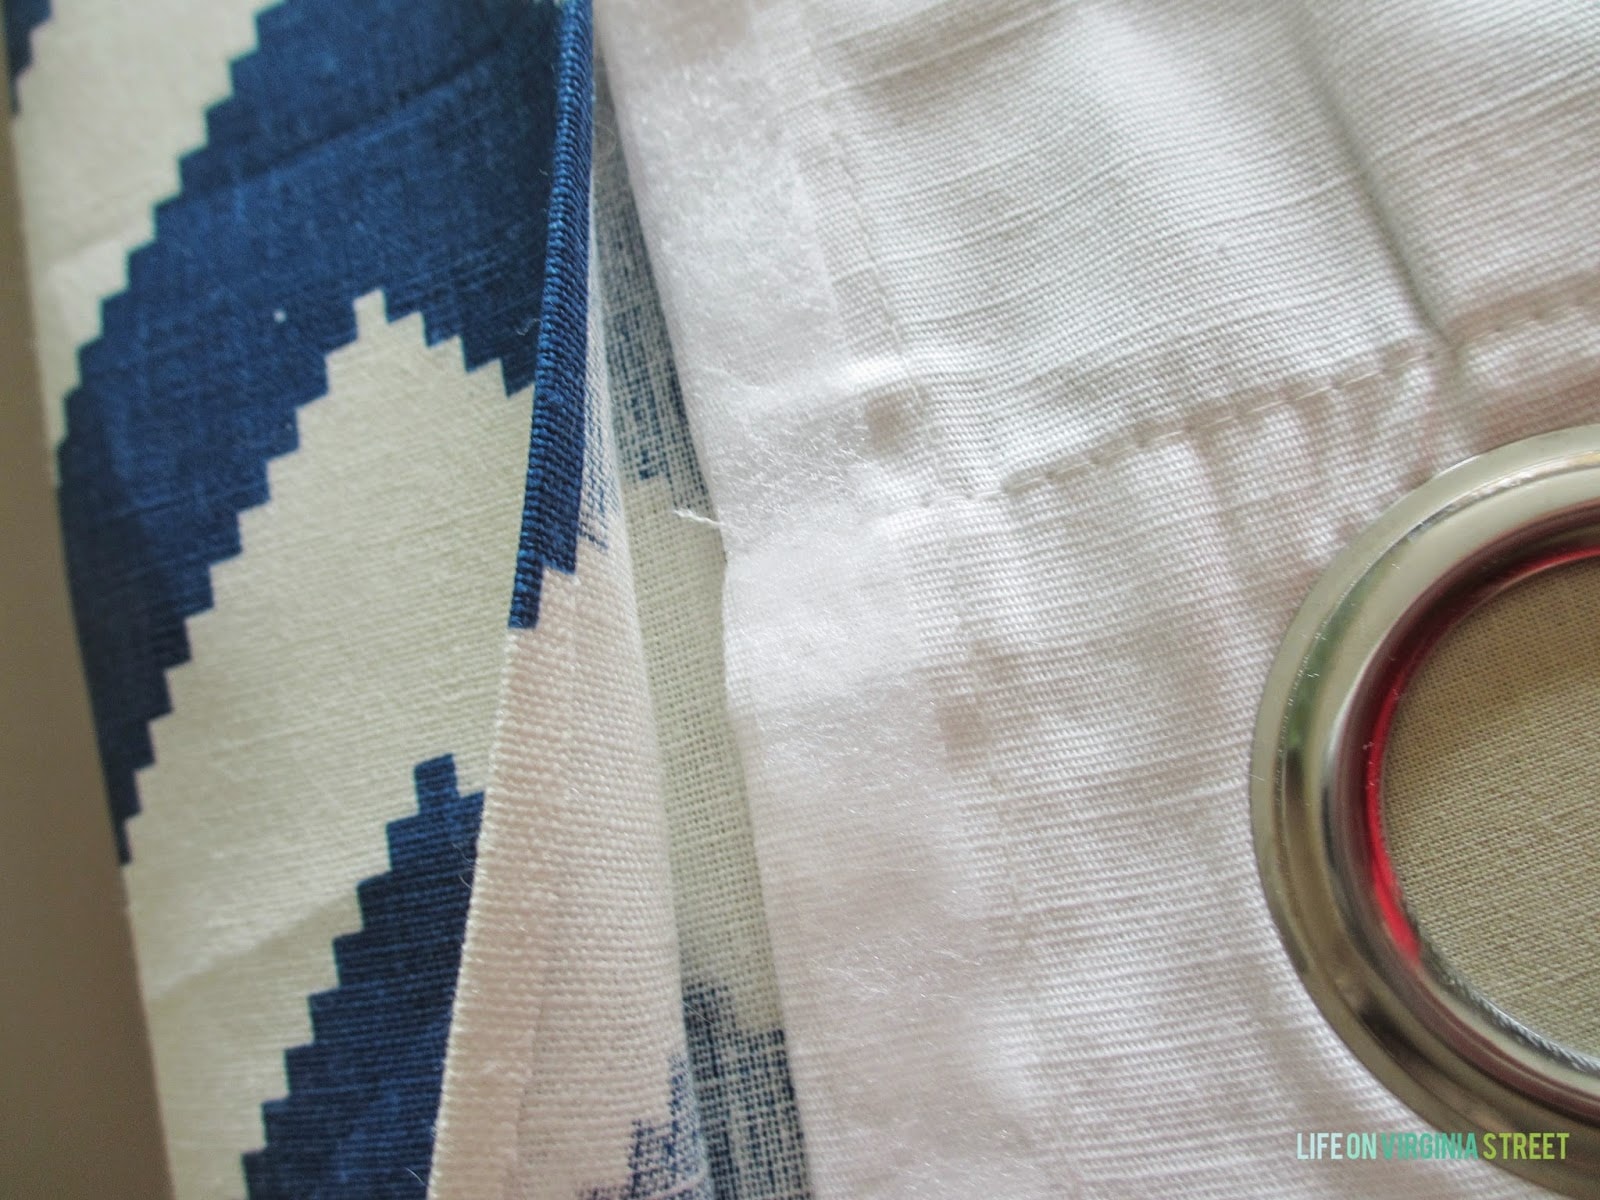
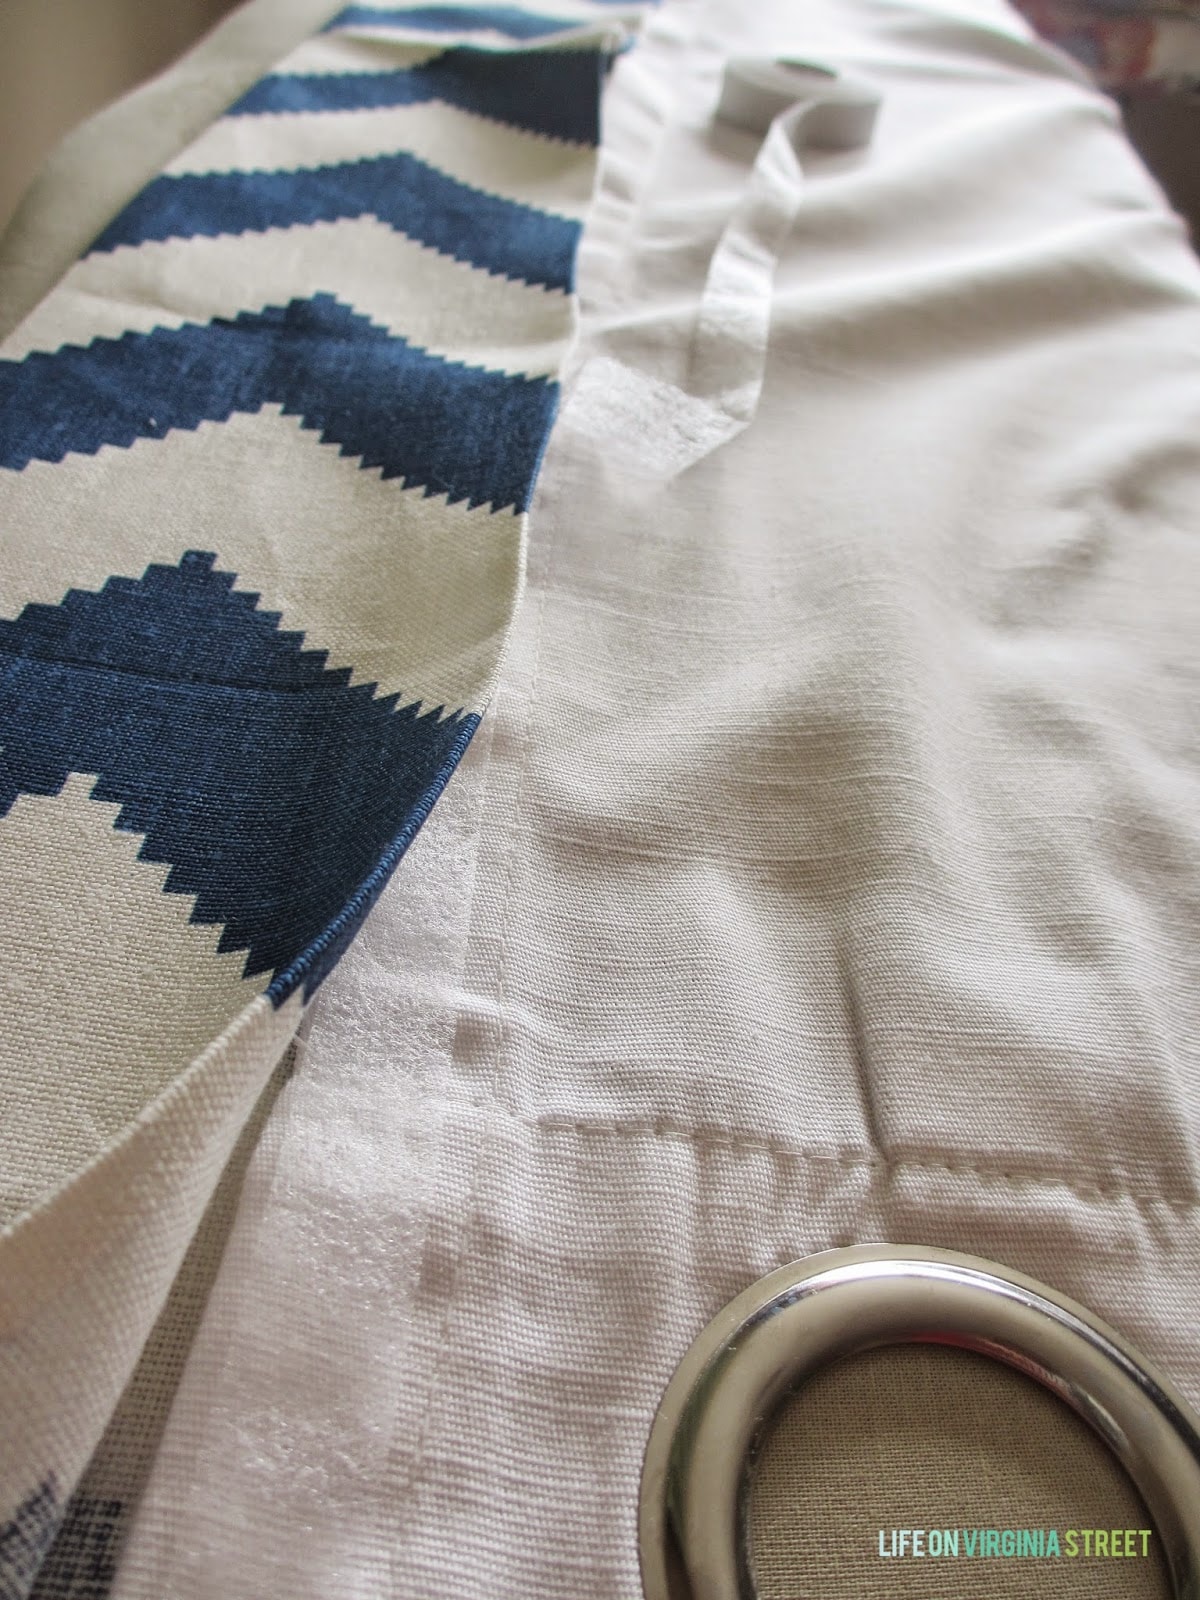
And that was it! I also added a piece of Stitch Witchery to the top and bottom to secure the patterned fabric. So easy and you would never guess it wasn’t sewn on!
I love how much these panels add to the overall look of the bathroom. They definitely help to add a little fun and also hide those ugly shower doors. I also love that this process could be applied to window treatments as well. Can’t wait to try it out on other projects!
Check in later this week for tutorials on painting the bathroom vanity cabinets and the light fixture!
*Affiliate link used
love it! thanks for the tutorial. I bought some white drapes from west elm and a chevron print for this very idea but have been putting off pulling out the old sewing machine. off to buy some stich witchery today!
I love these, they’re so fresh! I have the same shower door. And what kills me is that it’s silver, but the soaker tub faucet is ORB, and the door knobs and faucets are this weird grayish metal that is between ORB and nickel. I know mixed metals is on trend but my bathroom is definitely not. Great job!
These panels turned out great! I love that I can do this project too because I absolutely hate sewing!
You had me at ‘no sew’ Sarah! Thanks for the tutorial, these turned out great!
I can’t get over this awesomeness. I’m totally using your method for Quinn’s big girl room drapes! Thanks for sharing the tutorial!
Love the tutorial…this is great, you did a wonderful job.
http://frugaliciouschick.com
A great idea. I’m doing new living room curtains now using ribbon as a trim. I’ll go with the stitch witchery.
I am gonna add an edge to the bottom! of my shower curtain to extend the length using your technique. Thanks!
BEAUTIFUL!! What is the paint color on the walls please
Thank you! Unfortunately, I don’t know the color as it was there when we moved into the house. Sorry!
How did you make the shower rod stay propped securely between the two walls?
We just used a tension rod that allowed us to tighten to fit. I hope that helps!
It never occurred to me to use gromet panels for a shower curtain!!! Absolutely gorgeous idea!!!!