• Skip to primary navigation
  • Skip to main content
  • Skip to primary sidebar
  • Skip to footer
  • About
  • Home Tours
  • Read By Category
  • Sources
    • Life On Virginia Street Paint Colors
    • Shop Our Home
  • Contact
  • Nav Social Menu

    • Amazon
    • Facebook
    • Instagram
    • Pinterest
    • Twitter
  • HOME DECOR
    • Decorating Ideas, Tips and Trends
    • Home Tours
    • Look for Less
    • Outdoor Spaces
    • Room Makeovers + Design Plans
  • DIY Projects
    • Cleaning and Organization Tips
    • Crafts
    • Paint Projects
    • Rental Properties
    • Room Makeovers
    • Tutorials
  • TRAVEL
    • 30A Florida
    • Cruises
    • European Travel
    • Mexico & The Caribbean
    • U.S. Travel
    • Packing Ideas
  • Fashion & Beauty
    • Fashion Posts
    • Hair & Beauty Posts
    • Recent Outfit Ideas
  • Entertaining
    • Entertaining and Party Ideas
    • Food & Drink Recipes
    • Tablescapes
  • Shop
    • Shop Our Home
    • Shop My Instagram Feed
    • Gift Guides
    • My Amazon Storefront
    • Sale Alerts
    • Wednesday Watch List
Life On Virginia Street

Life On Virginia Street

DIY . Home Decor . Travel . Style . Life

Bathroom Vanity Makeover Using Country Chic Paint

DIY Projects, Paint Projects, Room Makeovers + Design Plans

539 shares
  • Share
  • Tweet

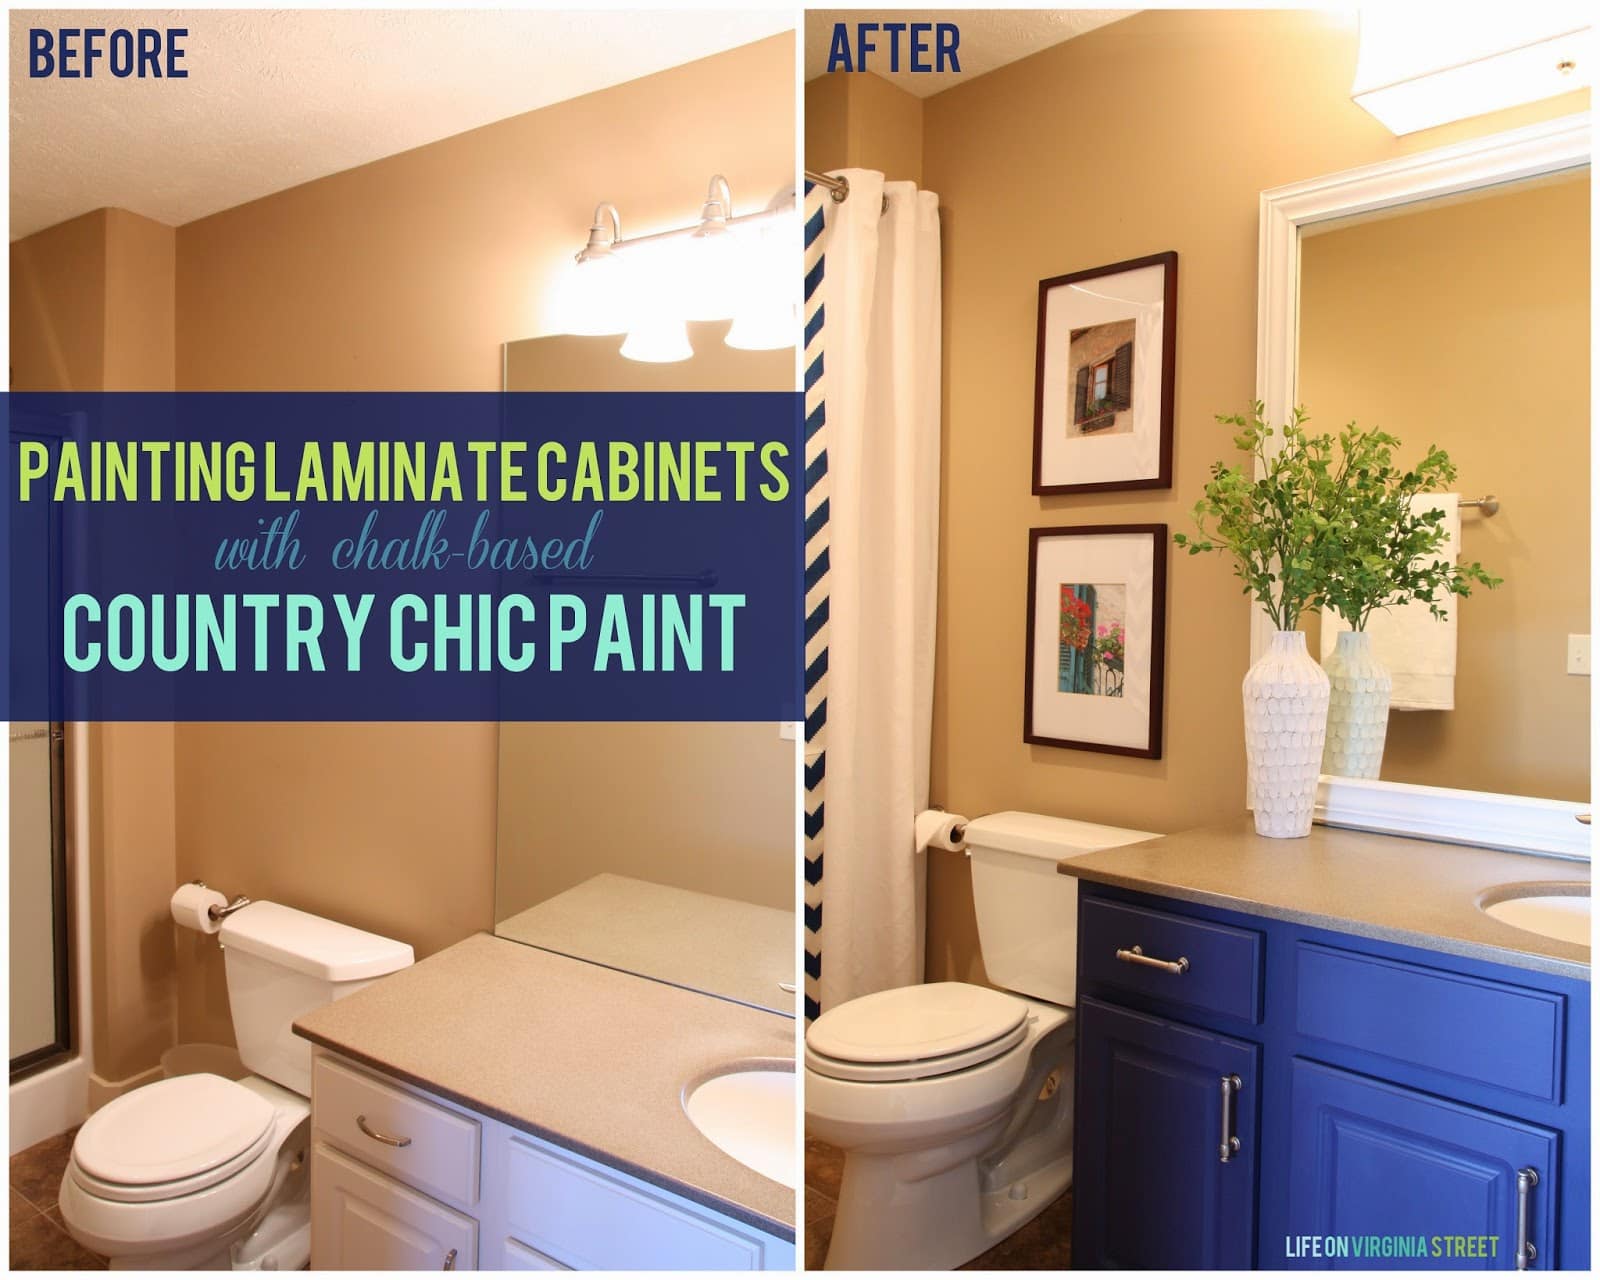
I showed you the full reveal of our guest bathroom on Monday and today I’m sharing how I took the laminate cabinets from blah to bold. One of my 2014 Home Goals resolutions was to update all of our builder-grade beige bathrooms. The “white” laminate cabinets {which were really a weird cream color} were painted the same color as all of our trim and I knew it wouldn’t work for any plans I had to update the room. And you all know how much I love my “white” trim 😉 So, I knew the starting point would be changing the cabinets.

Boring beige bathroom alert! We have so many bathrooms that look like this and  I'm going to brighten every single one of them!


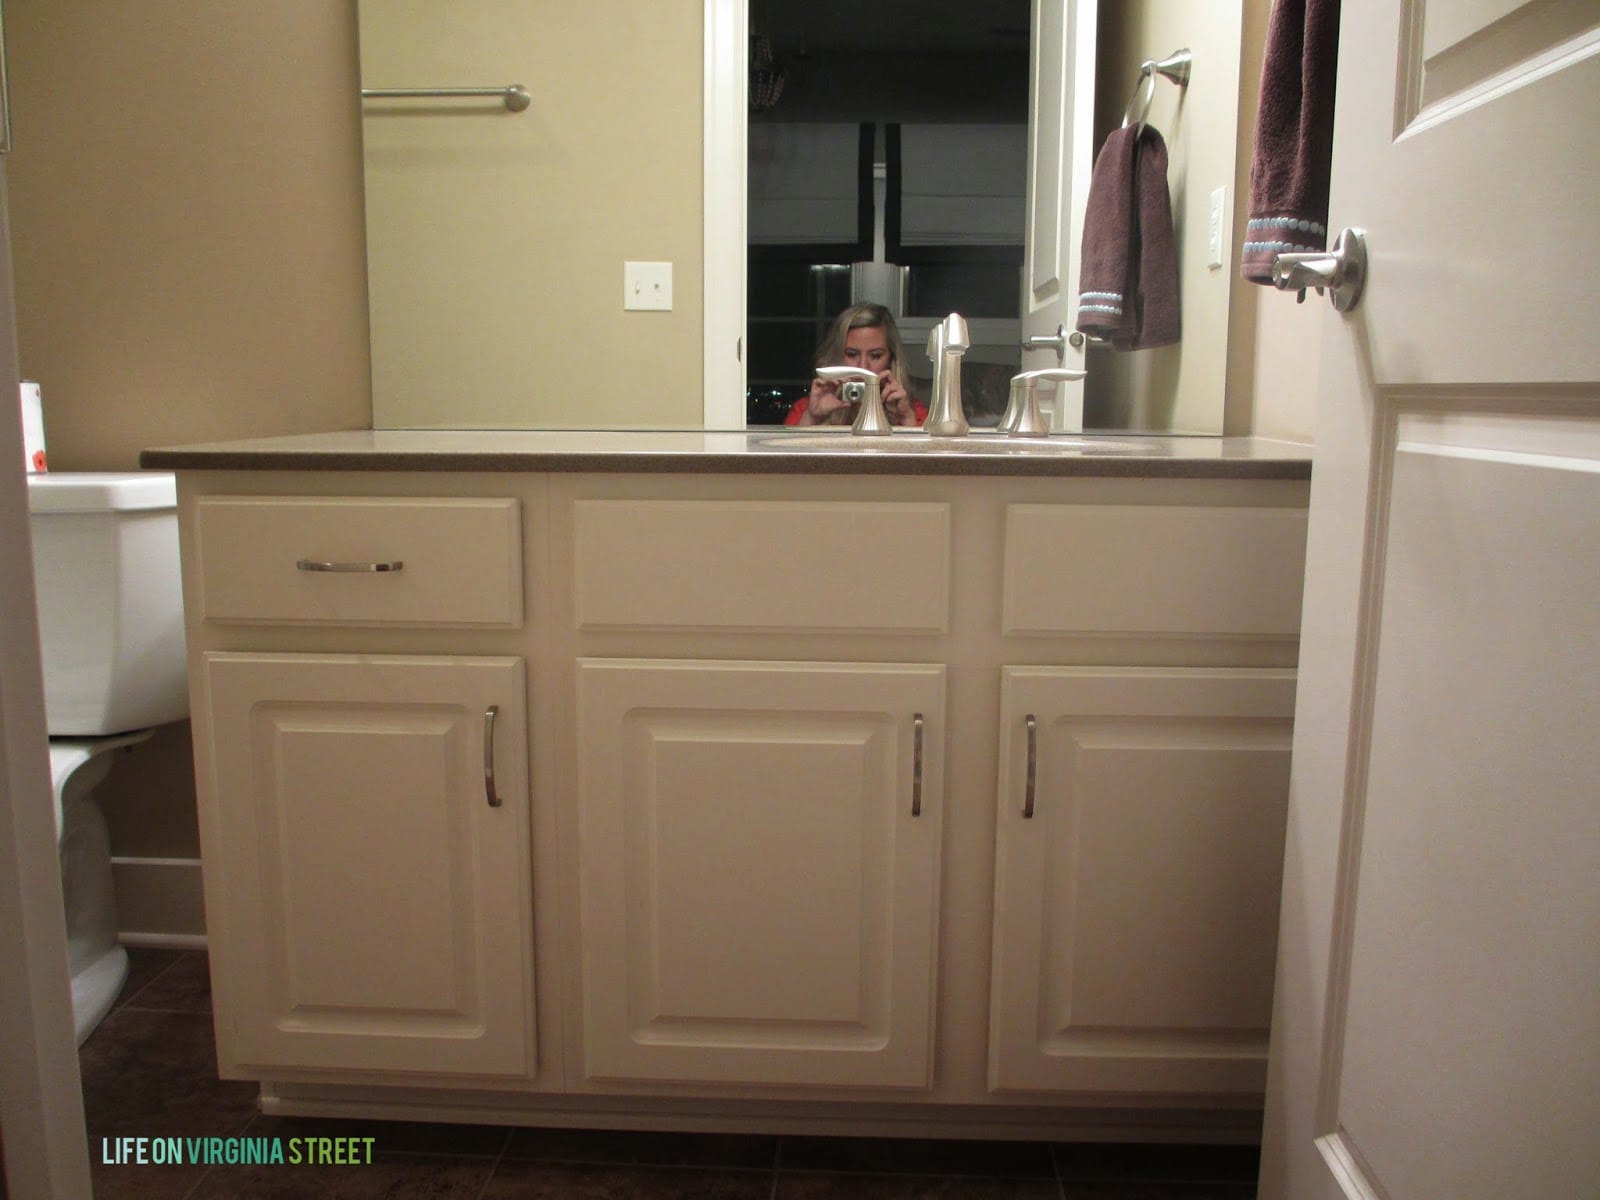
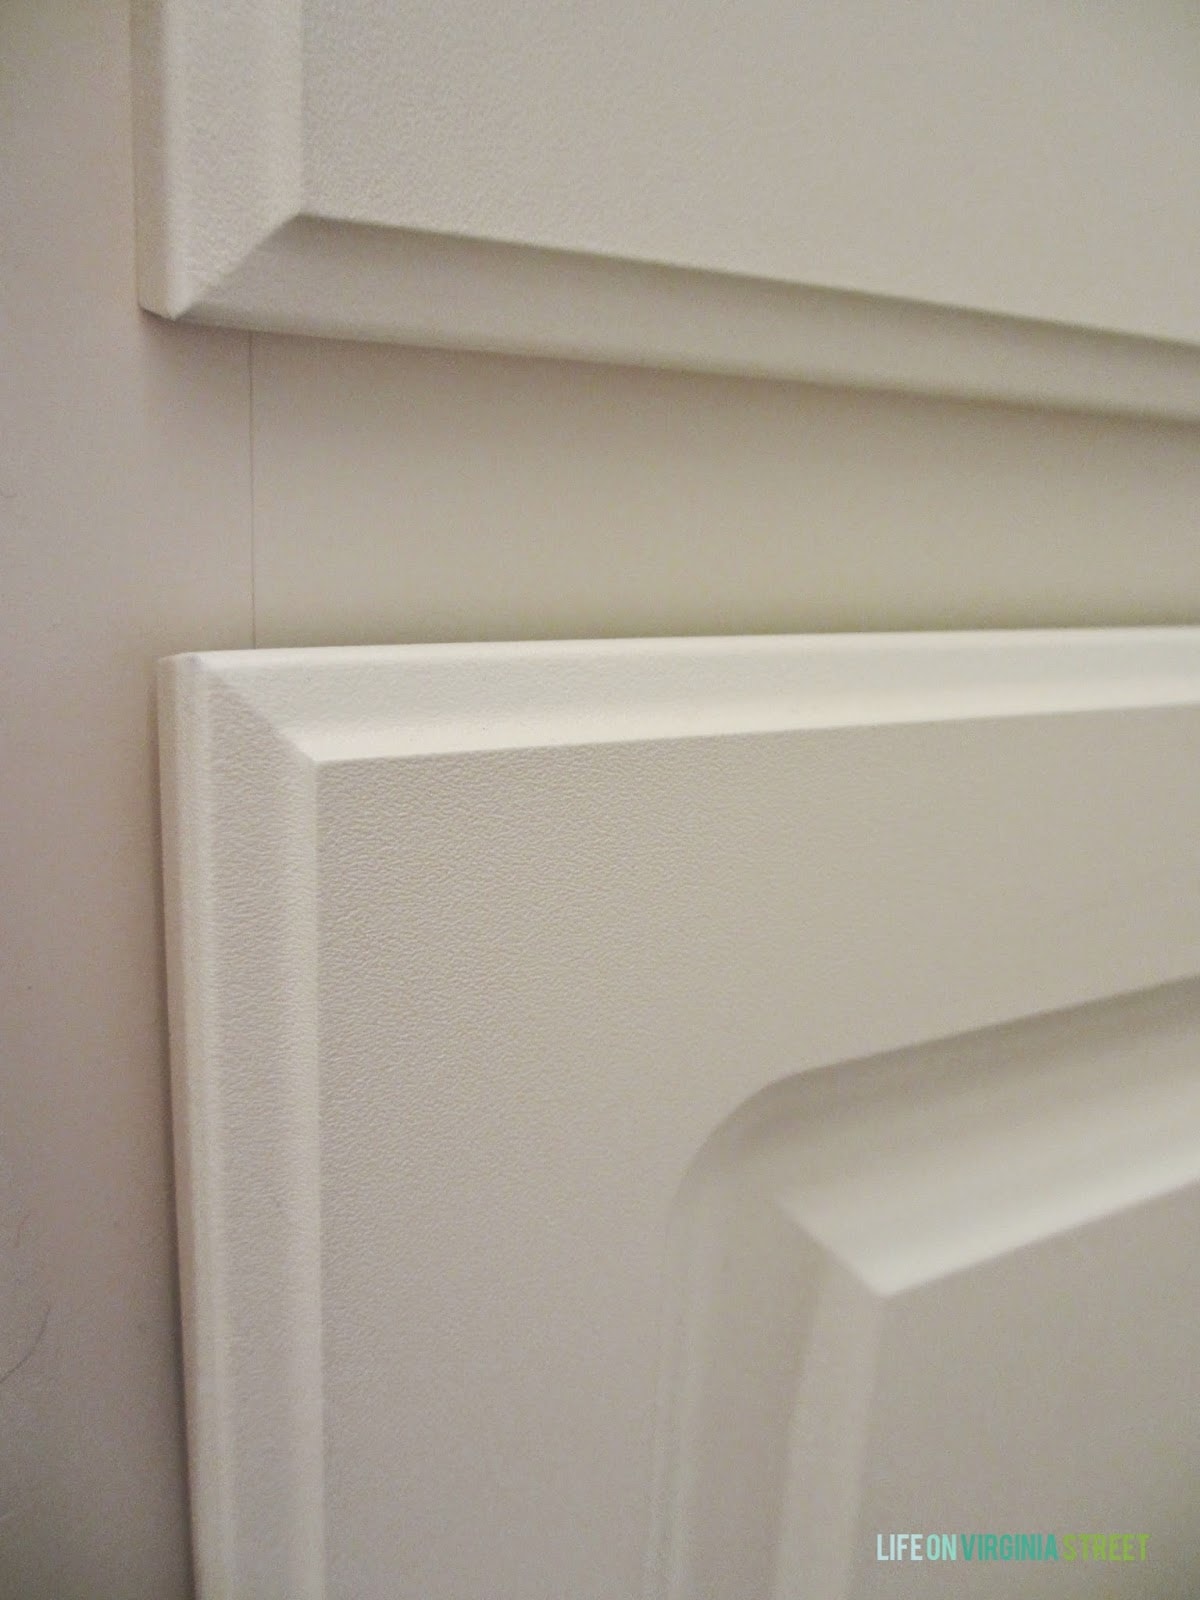
Could this space look any more boring and builder-generic? Beige walls, stock cabinets, frameless mirror… Something definitely needed to be changed. Here’s a close-up of the cabinets so you can see the laminate texture I was working with.

Close up of the cream white laminate bathroom cabinets I'm planning to paint.


I decided to go bold and selected Country Chic Paint’s Midnight Sky as part of my 2014 Blog Squad status. I could tell immediately this color would play well off of the bedding in the adjoining guest room and it was nearly a dead ringer for the headboard. I will say that when I initially ordered the color, I expected it to be more navy. I was a little concerned at first that it was a little too “blue” but I think it actually works well in the space now that everything is finished.

Painted laminate bathroom cabinets in bold blue.

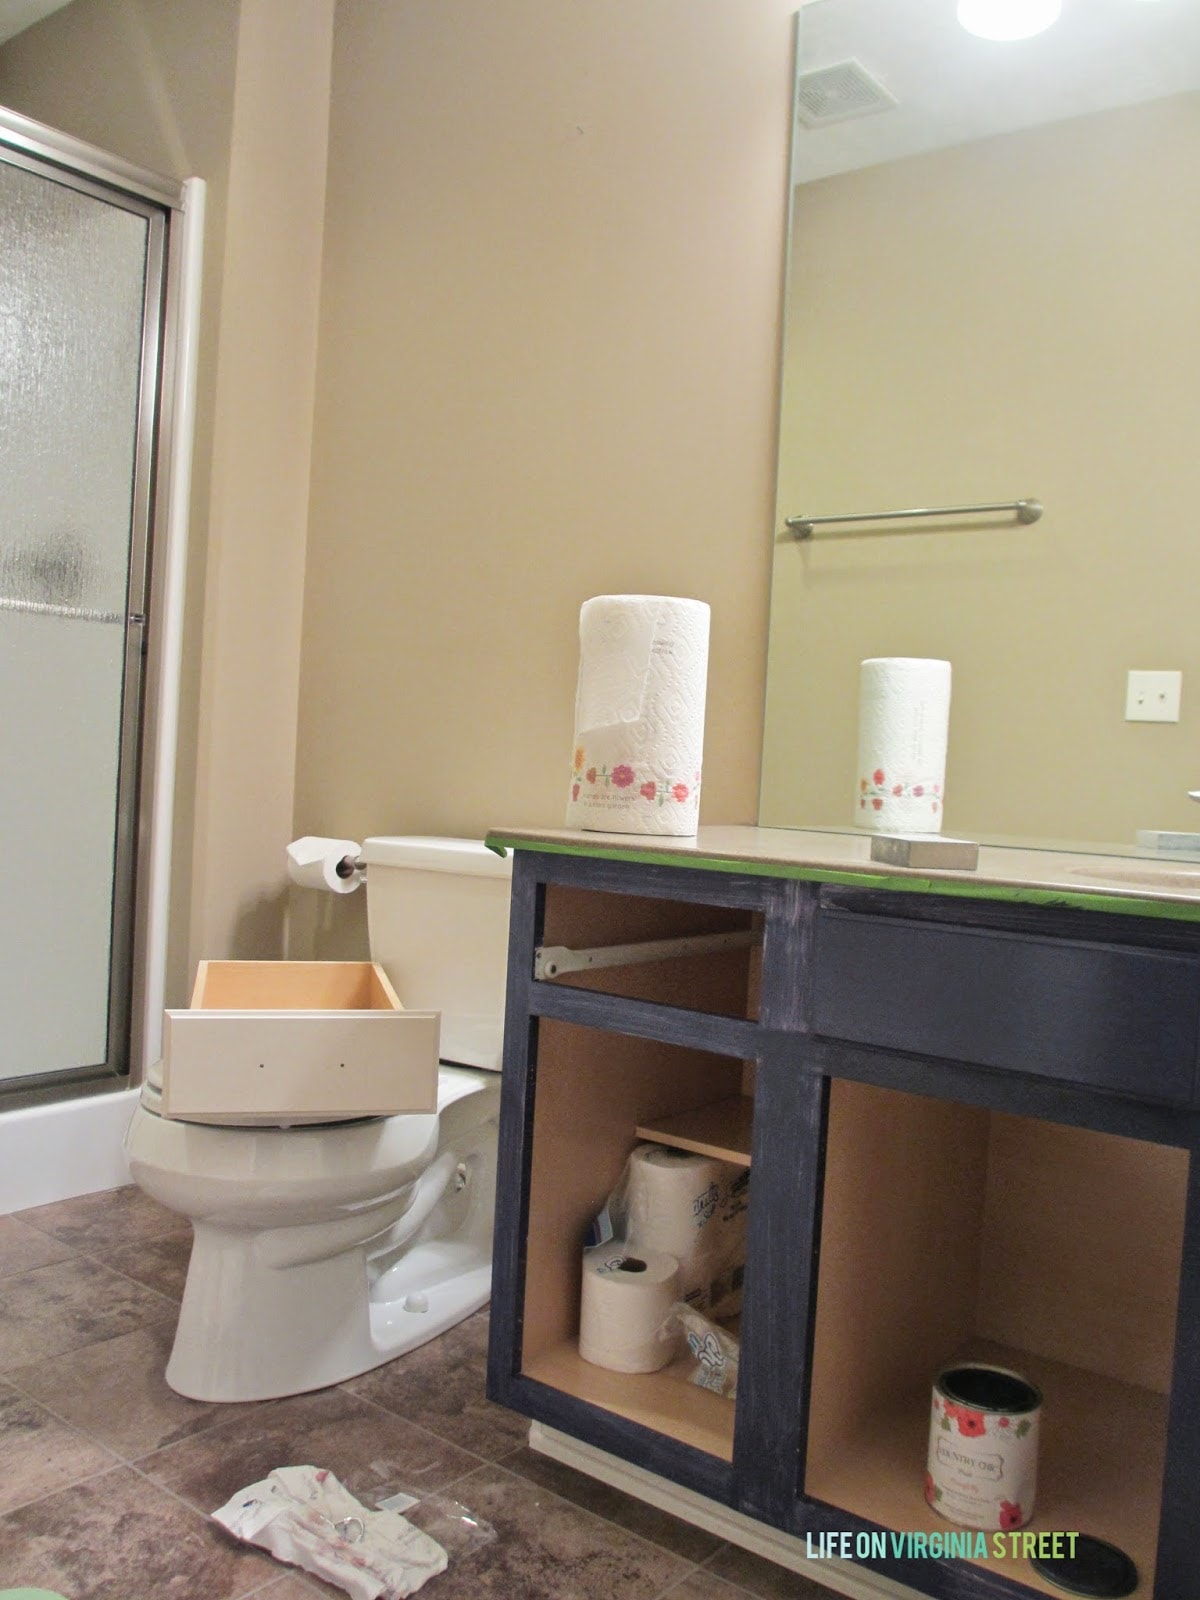
I began by removing all the hardware, doors and removable drawers {two were permanently attached}. Since I was dealing with a laminate-like surface, I closely followed the instructions provided by Country Chic Paints, washing everything down, sanding all the surfaces, and then washing everything off again. This helps the paint to adhere to this tricky surface. There were places I missed sanding and it was very noticeable with the first coat, so be sure NOT to skip the sanding step. It will save you a lot of time in the long run! If I had to do it again, I would also prime first just to help the adhesion process as much as possible. I’ll likely try the paint again in a few other rooms, and I will plan to prime those first.

Since the paint is VOC free, I was easily able to paint everything right in the bathroom without having to open windows during the frigid temperatures outside – a huge plus this winter 😉 The paint dries so quickly that I could almost reapply by the time I had applied the first coat to all of the surfaces.

After only one coat, the cabinets looked really streaky but I could tell the paint was adhering. Don’t panic if this is how your surface looks after only one coat. You can see the intensity of the color is different as well, especially with all the “white” peaking through.

Blue cabinets partway through painting. This is one coat.


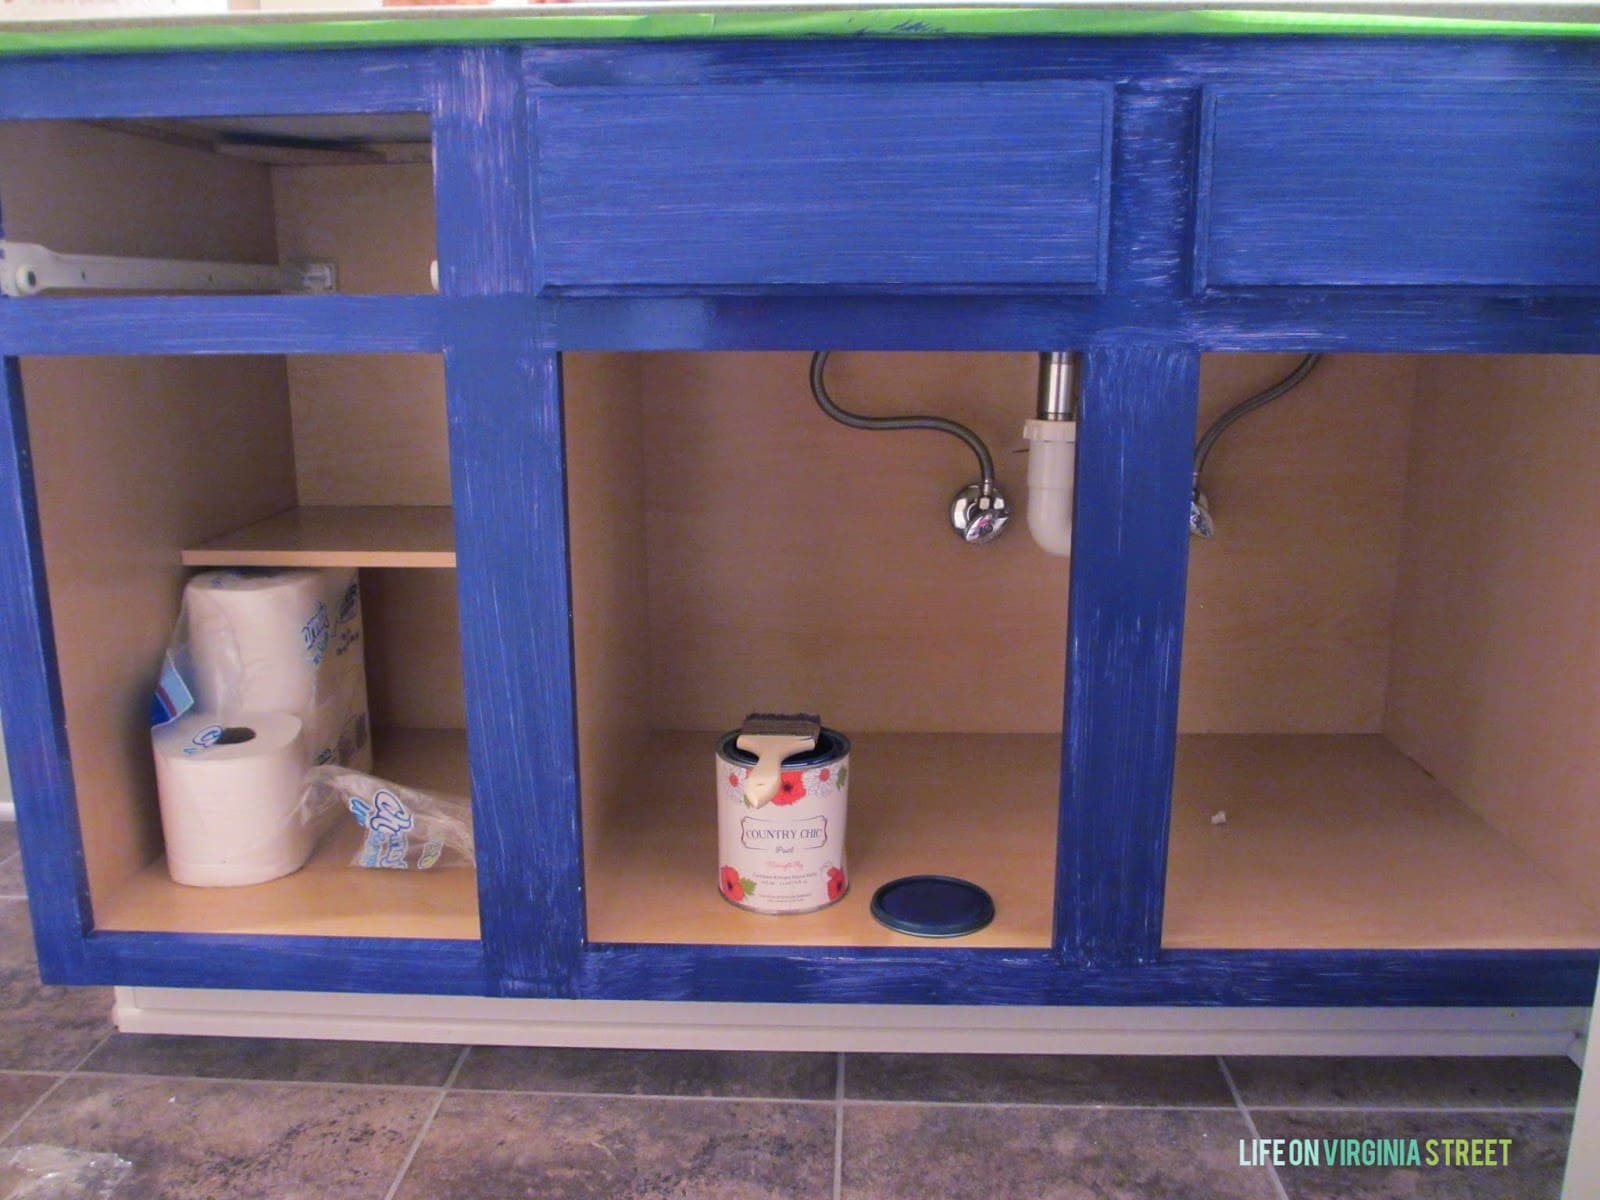
After I had applied two coats and allowed for them to fully dry, I lightly sanded everything down again to smooth out the surface. I then applied a top coat of the Midnight Sky over everything again. Here is a shot with only one coat on the frame and two coats on the faux drawers. You can see how the color intensified significantly with that second coat. This is a night shot, so it definitely reads more navy here.

Here's the front piece with two coats - you can see the excellent coverage here. It's nighttime in this shot and the color looks much more navy blue.

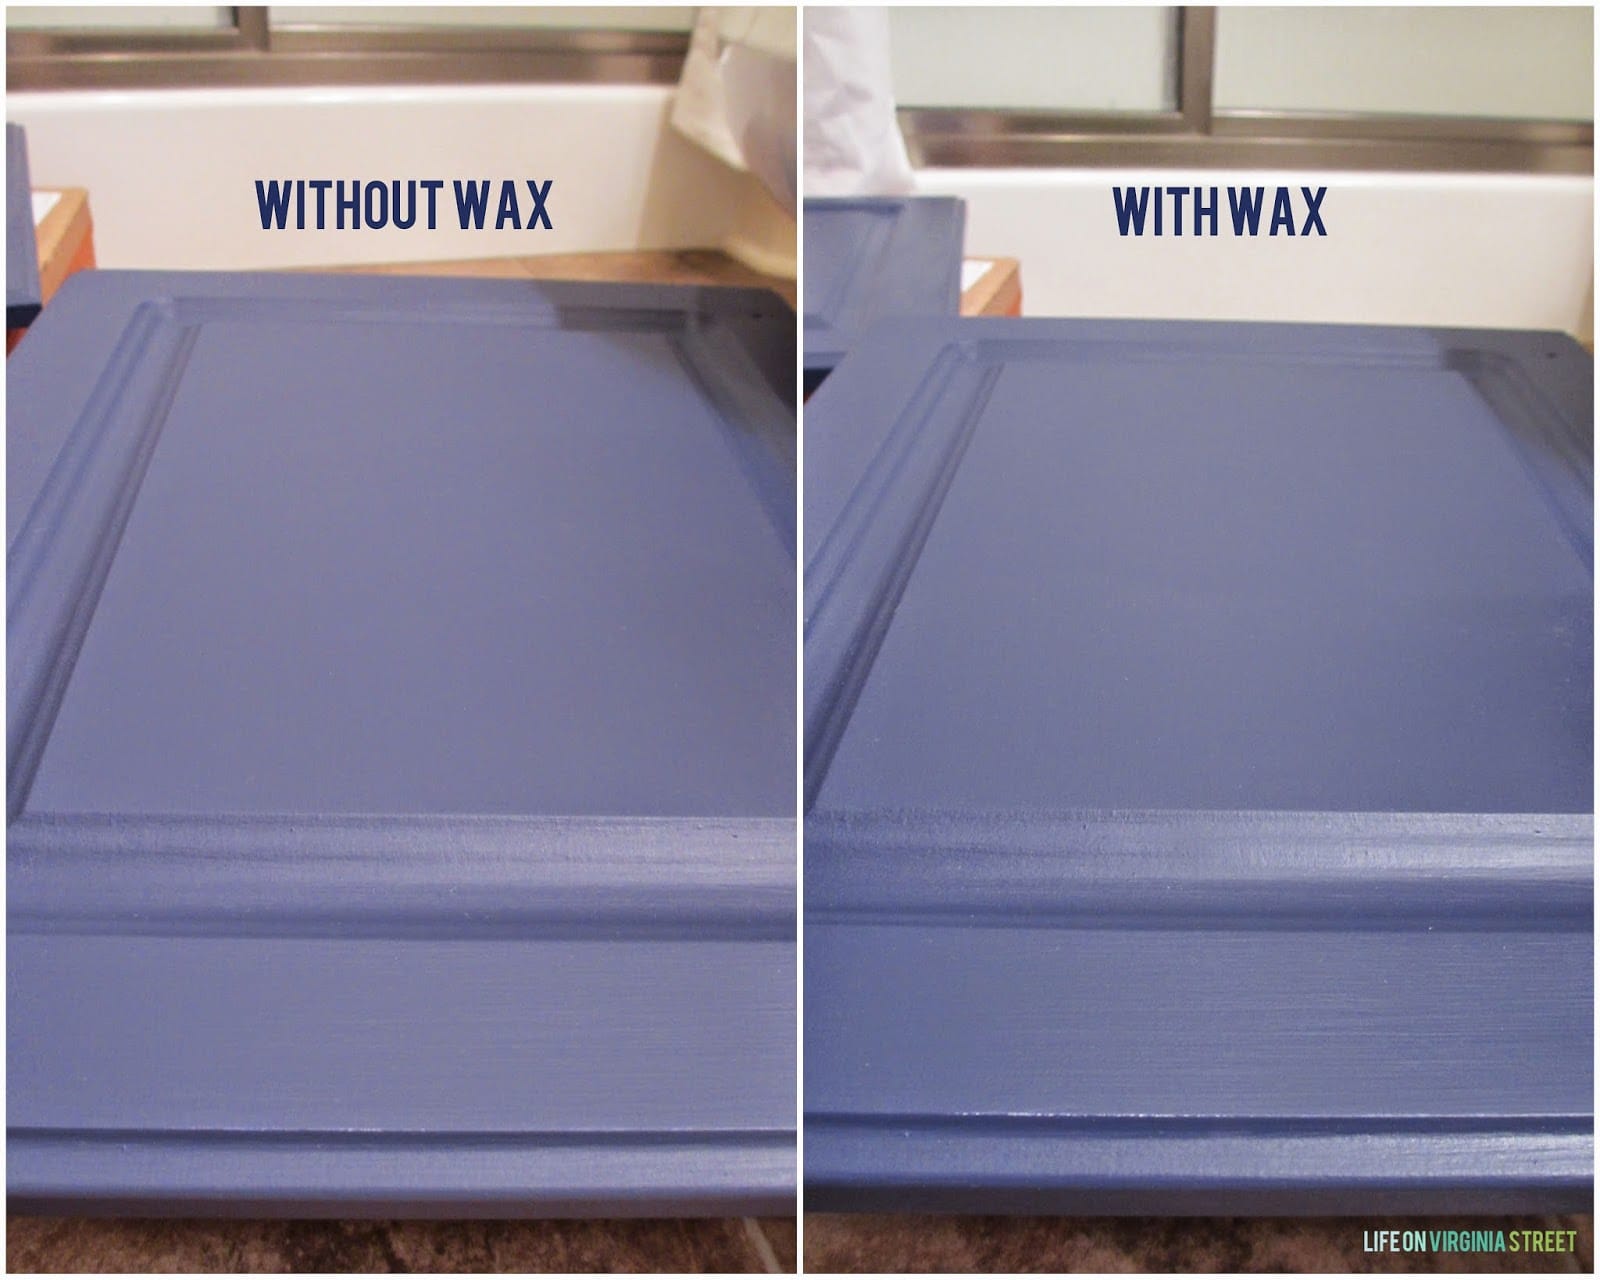
Once all the paint was ready and smooth, I finished everything off with a coat of Country Chic Paint Natural Wax. I love the durability it added in addition to the beautiful, subtle sheen it added to the surface. You can see the difference the wax makes below. The color also darkened slightly, which I loved!

I finished off the vanity with a coat of wax and I love how smooth and shiny everything looks!
The bold blue cabinets are definitely the focal point of this bathroom makeover! Chalk-based paints really are the best and easiest to work with. So forgiving and such amazing final results.
Here's the finished look of our new bold bathroom! I love the blue vanity and the DIY no sew shower curtain.
In addition to making over the vanity, I also added a lot more interesting pieces and accessories to the space like these small round mirrors with gold trim and this white vase.

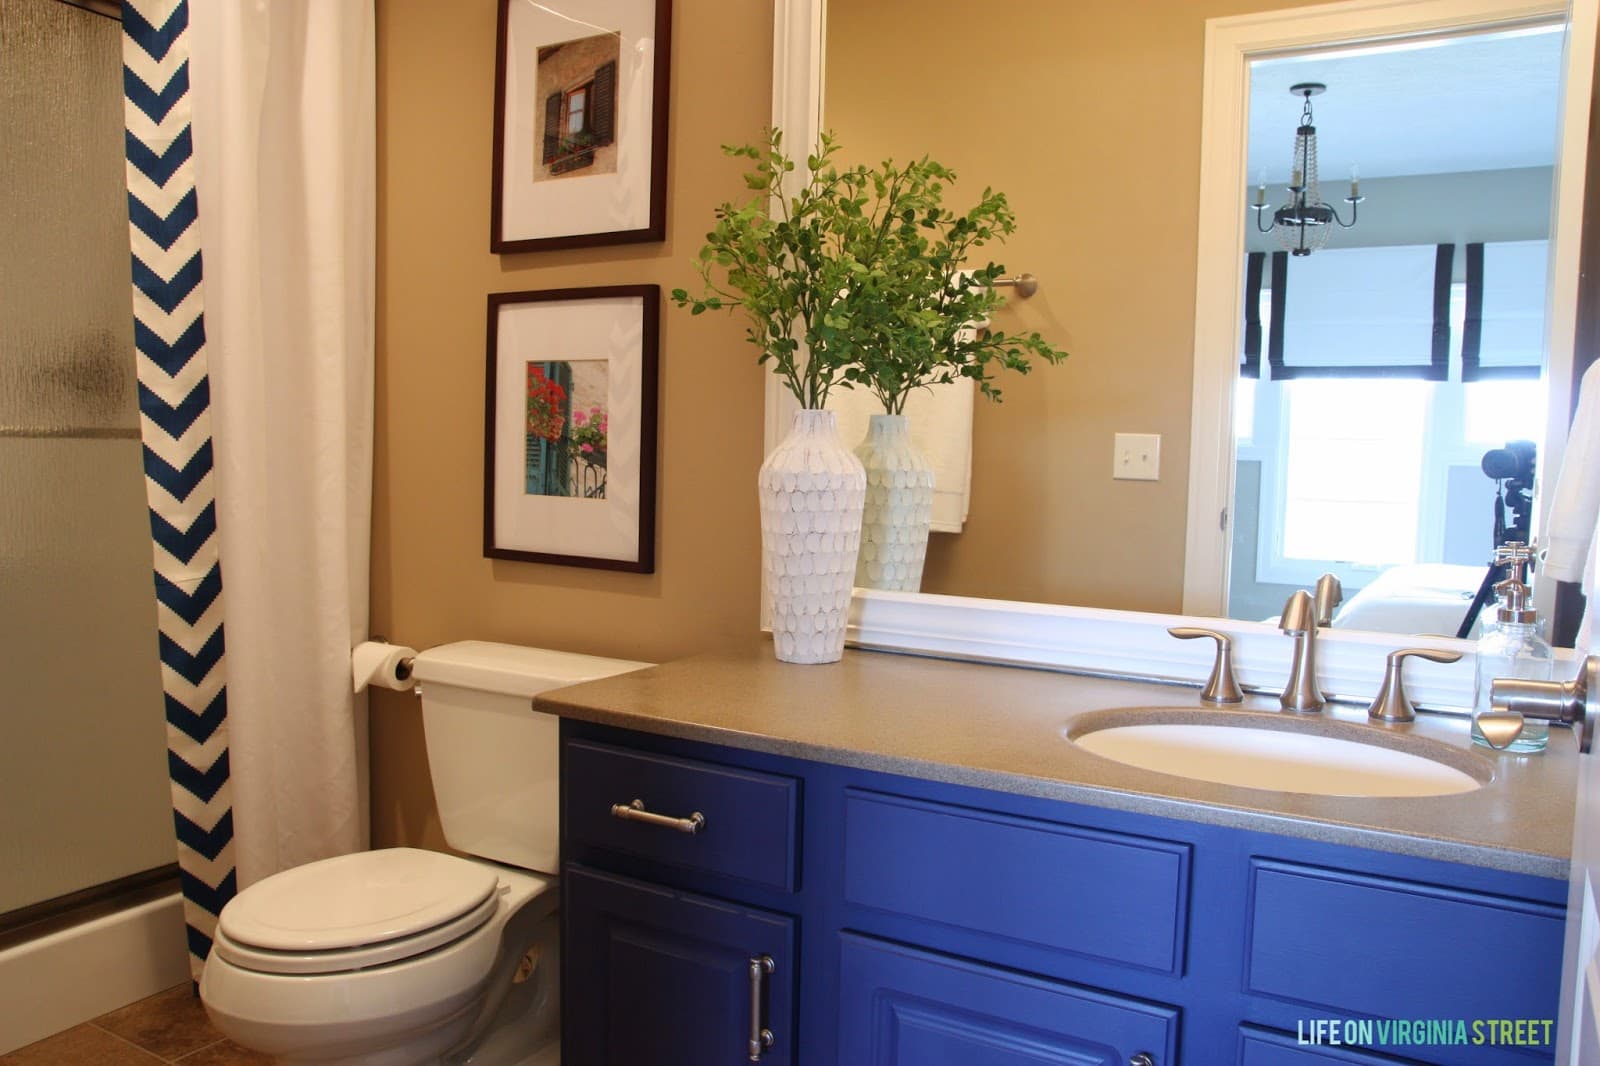
I couldn’t be happier with the end result. The blue adds the perfect amount of personality to an otherwise rather bland bathroom and it ties in perfectly with the adjoining guest bedroom. And if you missed my tutorial on making the no-sew shower curtains, you can check it out here.

Painted laminate cabinets before and after

A huge thank you to Country Chic Paint for kicking off this bathroom makeover! They provided me with the paint and wax for this project but as always, all opinions are my own. One bathroom down, three to go!

539 shares
  • Share
  • Tweet

April 3, 2014 · 7 Comments

free email course!

5 Secrets to Re-Designing a Room You Love

Learn my foolproof system for designing a room you’ll love that you can enjoy for many years to come!

Previous Post: « Guest Bathroom: No-Sew Shower Curtain Tutorial
Next Post: A Year of Change: April’s Project »

Reader Interactions

Leave a Reply Cancel reply

Your email address will not be published. Required fields are marked *

Recipe Rating


Comments

  1. Desaree Martin says

    April 3, 2014 at 7:54 pm

    I love it! Now I want to get started on our builder grade cabinets!

    Reply
  2. Selene @ Restoration Beauty says

    April 3, 2014 at 10:55 pm

    They look amazing!! What a great update!

    Reply
  3. Amber Tysl says

    April 16, 2014 at 1:48 pm

    I love this pop of color!

    Reply
  4. Emma says

    January 4, 2015 at 11:27 am

    Looks great. I am thinking of chalk painting our bathroom vanity but I’m a little apprehensive about durability since it’s exposed to water and humidity. Can you tell me how is yours holding up? Thank you!

    Reply
    • Sarah says

      January 4, 2015 at 12:04 pm

      As long as you use a wax or topcoat to seal it, you should be good. This bathroom has held up really well but it doesn’t get much use. I have chalk paint in on our laundry room cabinets and they have held up extremely well also!

      Reply
  5. tabitha says

    January 26, 2015 at 1:30 pm

    What color are the walls? That’s the color I’ve been looking for!
    Thanks!

    Reply
    • Sarah says

      January 26, 2015 at 2:44 pm

      Unfortunately I didn’t paint the walls in this room – they were already painted when we bought the house so I don’t know the color. Sorry!

      Reply

Primary Sidebar

Welcome To Life On Virginia Street!

Let’s Get Social!

  • Amazon
  • Facebook
  • Instagram
  • Pinterest
  • Twitter

Subscribe By Email

Receive an email each time a new post goes live on Life On Virginia Street!

Tour Our Home

Footer

Disclosures + Photo Usage Policies
Privacy Policy

Copyright © 2025 · Farmhouse Theme by Restored 316

This website uses cookies to improve your experience. We'll assume you're ok with this, but you can opt-out if you wish.Accept Read More
Privacy & Cookies Policy

Privacy Overview

This website uses cookies to improve your experience while you navigate through the website. Out of these cookies, the cookies that are categorized as necessary are stored on your browser as they are as essential for the working of basic functionalities of the website. We also use third-party cookies that help us analyze and understand how you use this website. These cookies will be stored in your browser only with your consent. You also have the option to opt-out of these cookies. But opting out of some of these cookies may have an effect on your browsing experience.
Necessary
Always Enabled
Necessary cookies are absolutely essential for the website to function properly. This category only includes cookies that ensures basic functionalities and security features of the website. These cookies do not store any personal information.
SAVE & ACCEPT