How’s that for a long title?! Prior to our departure for Italy, we got quite a bit of yard work done so that once we got home (and it would almost be July!) we wouldn’t have to put much more effort into the yard for the remainder of the summer season.
In my recent post about our new trees, I shared that I had plans to expand some of the tree rings into the nearby flowerbeds. Today I’m going to share some updates as well as a quick tutorial on removing grass without a sod cutter.
Several years ago, we had promised ourselves we would never, ever tear out grass again on our own. It’s amazing how quickly the pain of one job fades when you don’t want to spend the money to have someone else do it down the road 😉
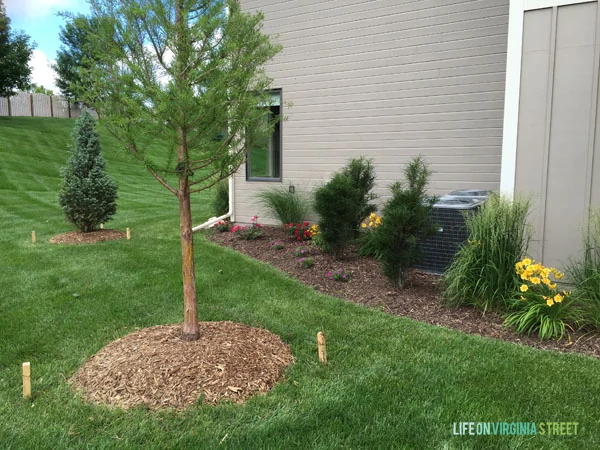
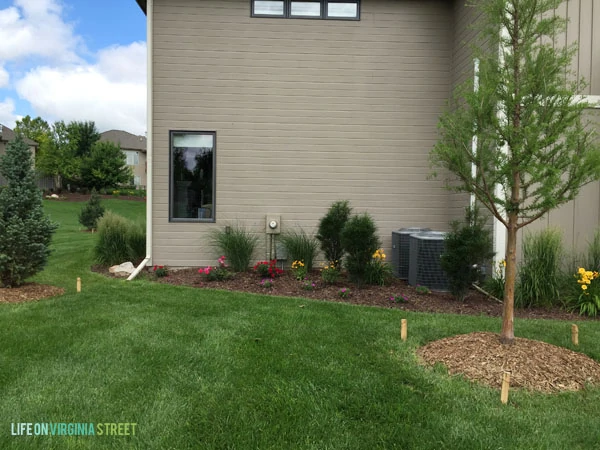
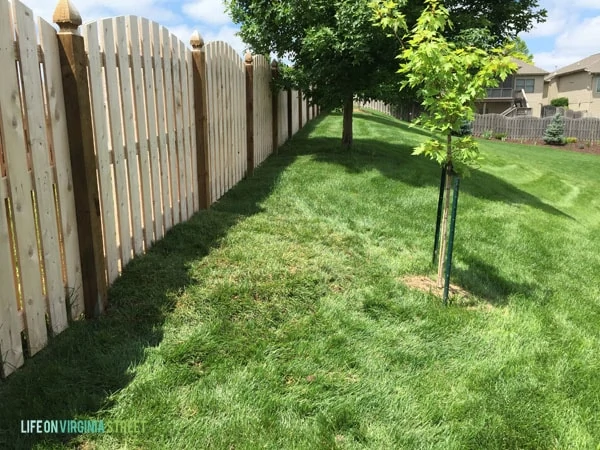
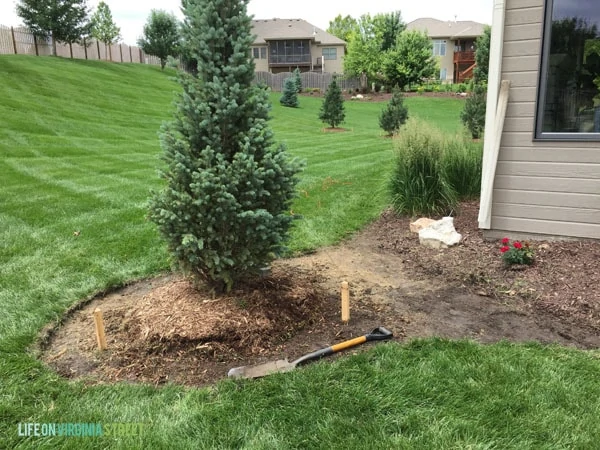
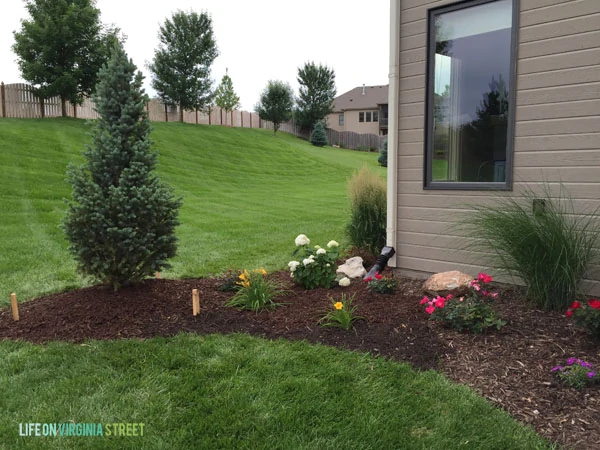
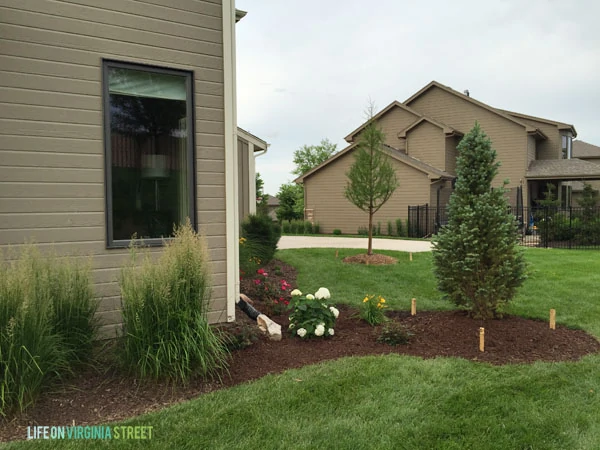
You can see in the three ‘before’ photos below, where our trees sat in relationship to the flowerbed. I ultimately plan to add the bald cypress tree ring to the bed as well, but for this time around we simply incorporated the columnar Colorado blue spruce. You call also see that our flowerbeds had taken on a weird shape after we had a landscape company expand their size a year or so back to accommodate the plants as they had grown. The shape of the bed was just blah.
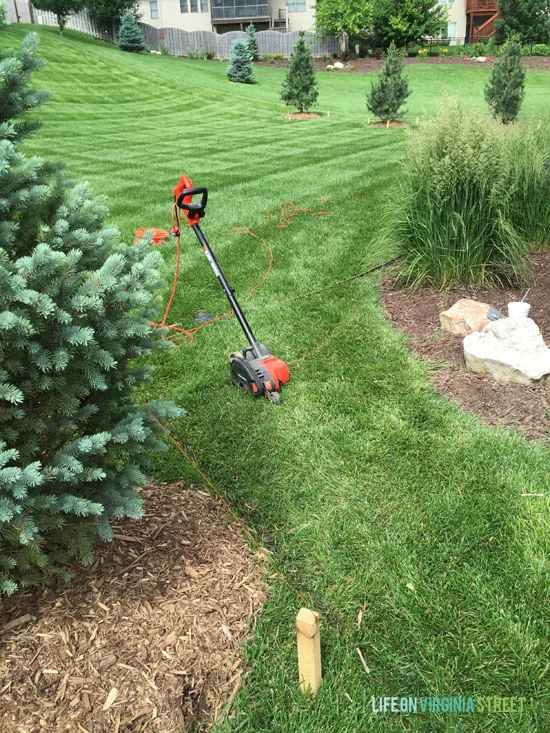
First up, I always like to make an “outline” with a hose or other object to visualize the lines I want for the new flowerbeds. Removing grass is not easy, so you want to ensure you get the lines right the first try so you spend less time digging up more grass to get the look you want. For large flowerbeds like this one, I prefer a wavier line.
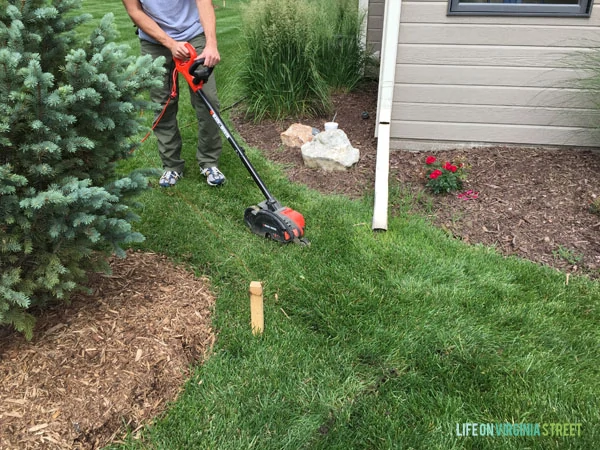
We then used our lawn edger (the machine you use between your lawn and concrete for that nice sharp line) to cut our pieces of “sod”. We cut the pieces in approximately 2’x4′ pieces. We couldn’t go much larger or they were really hard to lift!
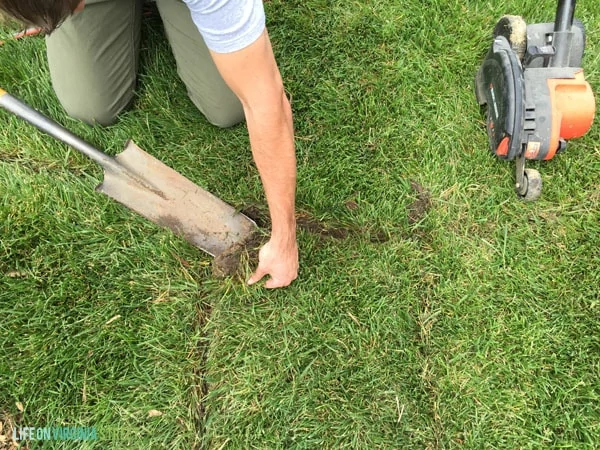
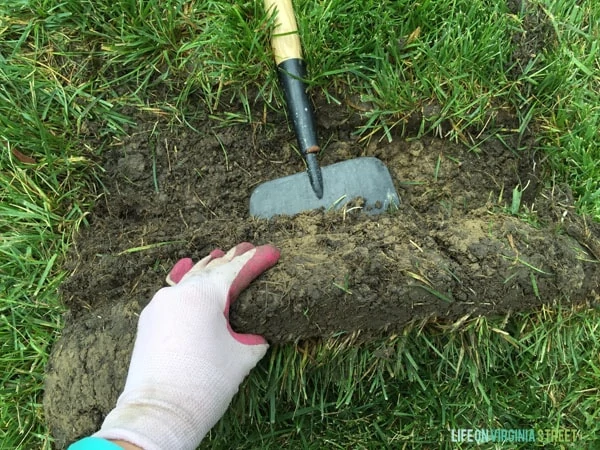
Once we had scored everything with the edger (ours is similar to this one), we would gently lift the corner of the grass. I would pull the corners and then my husband would slice the roots. we used a mix of a flat shovel and a hoe to cut. Basically I would pull backwards and then he would just chop in a horizontal motion to free the roots and then I would roll the grass backwards as we went.
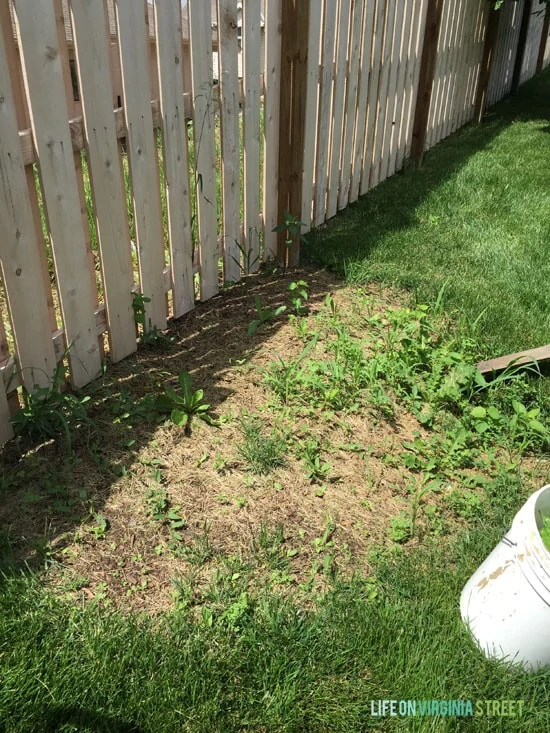
The good news is, we didn’t have to waste all the grass we tore out either. We had this area where you may remember we had to have a pine tree cut down when we had the fence installed. It had been planted dead center on the lot line, so there was no getting around having it removed. And so the area sat for the past year looking super classy as you can see in the image below.
We cleaned the area all up, removed a little of the topsoil and then laid the grass out like pieces of sod, careful to pull the seams as tight as possible. It ended up working out perfectly and I think it will fill in really nicely over the coming weeks!
Once we had finished removing grass from the area where we wanted the expanded flowerbed, the bed looked like this.
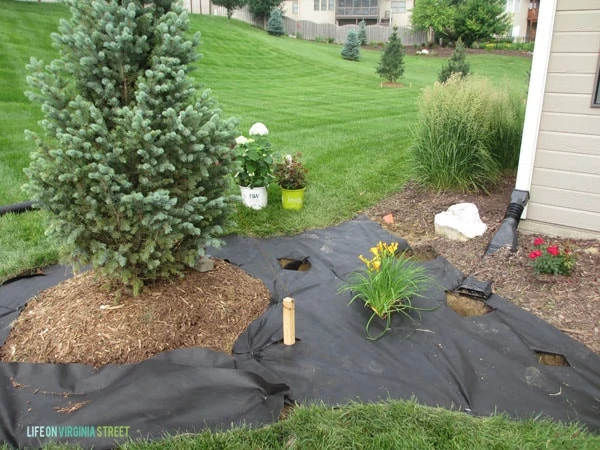
Next, I dug holes where I wanted my new plants to go, and then we laid down black weed preventer paper. None of the rest of our yard has this preventer on it, and I am constantly battling weeds. We used this stuff at our last home and it worked fairly well so we’re giving it a try again since we were down to topsoil at this point. It takes a little extra time, but SO worth it in the end. I then cut holes in the weed preventer where the plants should go and planted them, careful to ensure there was no remaining topsoil on the weed preventer.
Once done with that, we added fresh mulch over the black paper. It doesn’t quite match the mulch that was added in the spring, but I’m sure the new stuff will fade within another week or so.
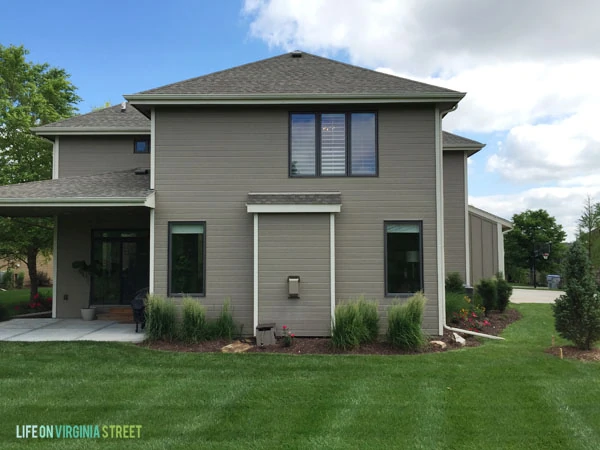
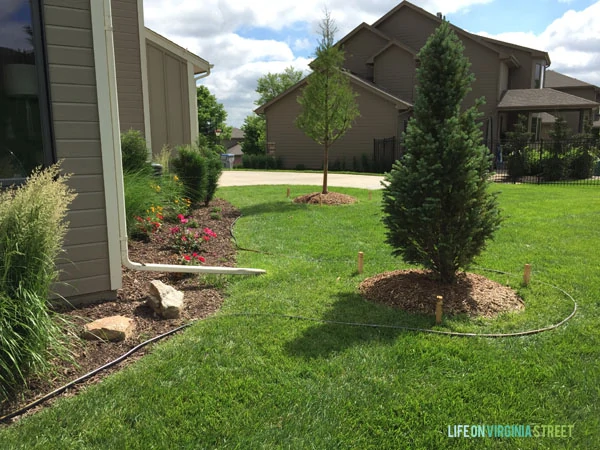
And now, the final results! I added some simple day lilies, knockout roses, and a new breed of hydrangea (Incrediball) that gets fairly large and is supposed to do well in the sun. I think it will look so pretty once all the new plants mature a bit.
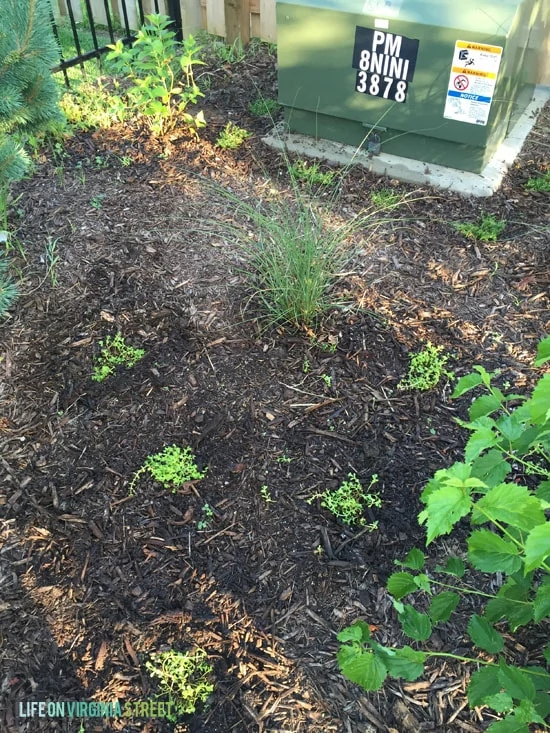
In other news, I also added some ground cover, cat mint and day lilies to our back hill in an effort to help stop all the weeds. There’s just so much free space that the weeds have free reign. These little sedum and creeping thyme should eventually get 3-6″ high and 18-24″ wide so I hope they eventually become one giant ground cover that kills weeds in it’s tracks. They’re a little small now so let’s hope they grow quickly! 😉
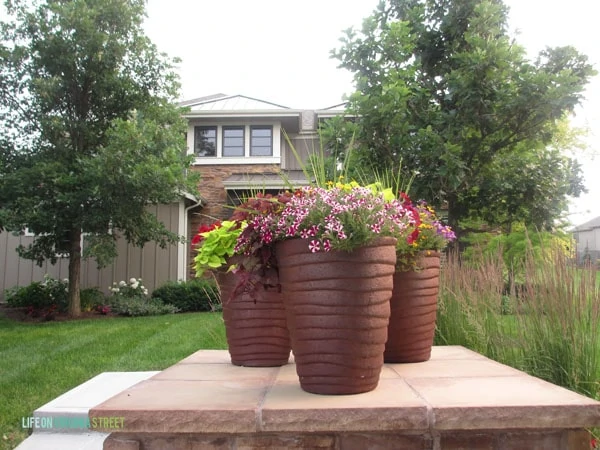
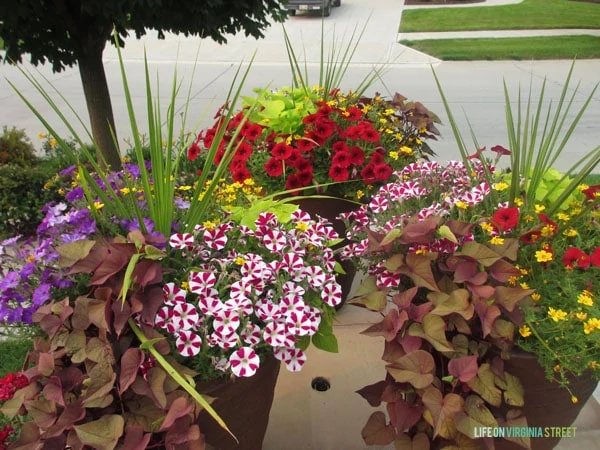
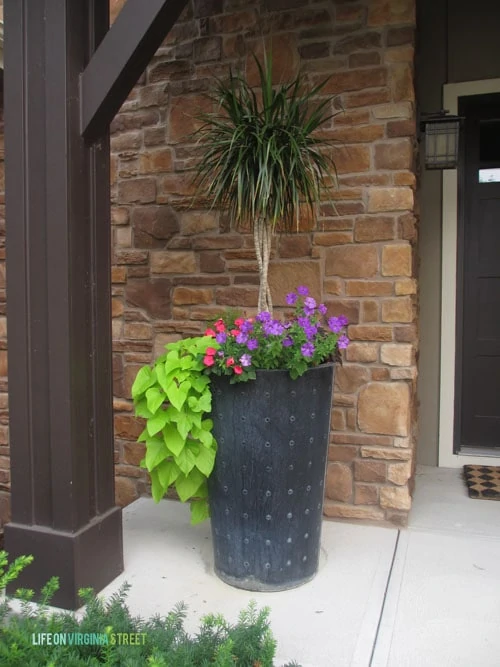
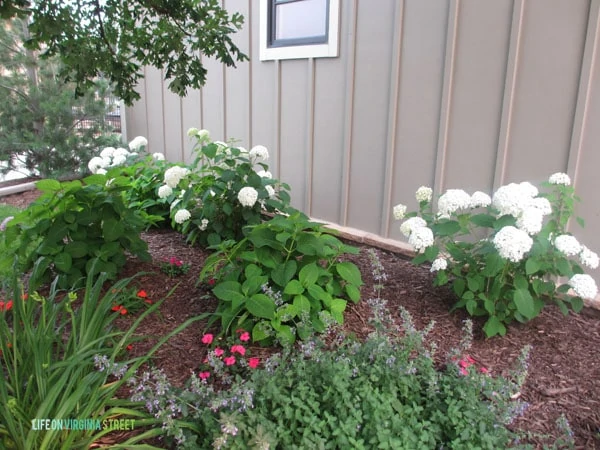
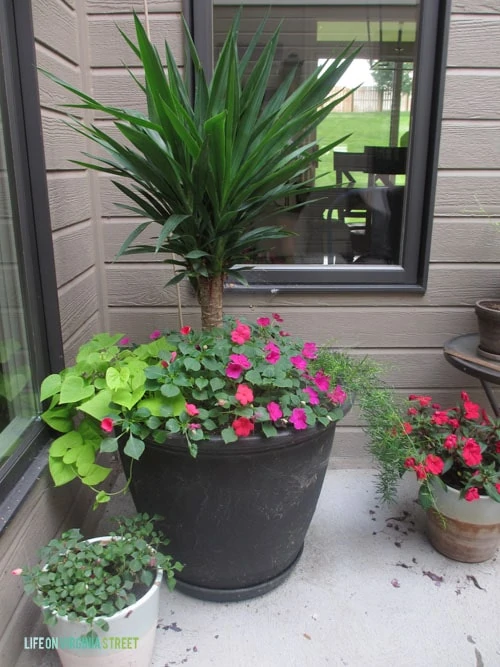
Lastly, a quick update on the rest of the yard. My planters are really starting to flourish now that they’ve had some sun, rain and my favorite fertilizer. My Annabelle hydrangeas are starting to bloom as well! I can tell the limelight hydrangeas are only another week or two away. Can you believe the growth that has already occurred?!?
All these plants are just some of my favorite parts of summer. They seriously make me so happy!
If you would like to follow along on more of my home decor, DIY, lifestyle and other posts, I’d love to have you follow me on any of the following:
Pinterest / Instagram / Facebook / Twitter / Bloglovin’ / Google
disclosure: affiliate link used

Sarah, your yard looks amazing! The expanded garden beds look fantastic and I love the hydrangeas you planted. Absolutely beautiful!!!
Your outdoor landscaping is beautiful!!
If you want a faster growing groundcover, check out Ajuga. it comes in some pretty colors and has the cutest purple flowers in spring.
Thanks for the recommendation! I’ll definitely have to check that out! 🙂
Hi – Looks great – FYI – I can’t quite tell from the photo but it is not a good idea to pile mulch up around a tree – the root flare should be showing – Piled up mulch smothers the tree- I know some landscape companies do it – but they should not – it is a really bad thing to do. Mulch should not be any closer to the trunk of the tree than 12″-18″