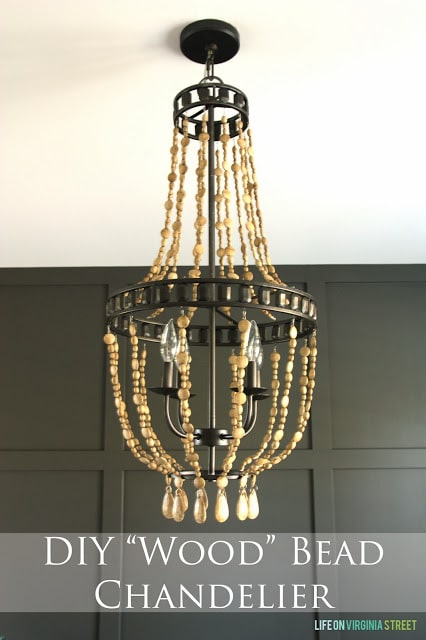
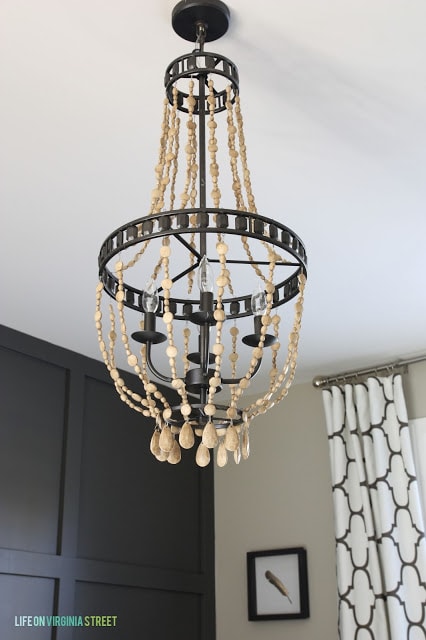
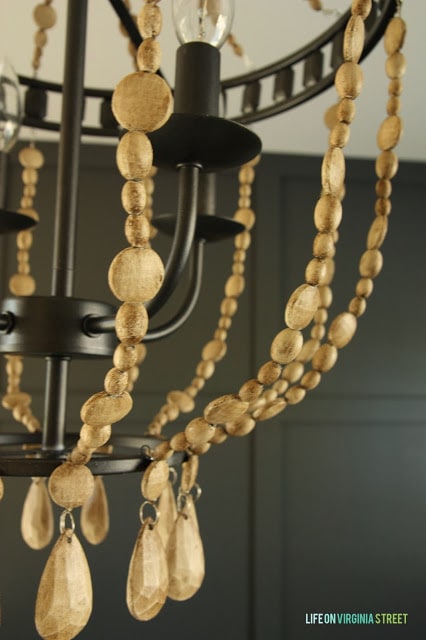
I will show you how to make a DIY wood bead chandelier using chalk paint.
You may remember my office lighting design dilemma. Bottom line – as much as I love natural wood bead chandeliers, they are pricey! After my failed attempt using the Feiss Charlotte Chandelier in the office {it was much too small} I hung it in our guest bedroom. But I was back to square one for the office.
I then stumbled upon this pin from Dear Lillie. She used Annie Sloan chalk paint to transform an old brass chandelier into a “wood” one. After my success with the AS chalk paint on the office desk and upstairs table, I figured a light fixture would be equally as easy.
DIY Wooden Bead Chandelier
I was in Lowe’s one day shortly after the other chandelier didn’t work and saw this piece. It had just been marked down from $169 to $139. More than I wanted to spend for a DIY wooden chandelier makeover but I liked the lines of the fixture, shapes of the wooden beads and the scale was right. I bought it, praying I wouldn’t end up botching the whole thing. Then I scoured the internet once I got home to see if I could find a similar project for tips, but came up empty-handed {everything I found involved buying and stringing your own beads and building out your own frame for the chandelier}. So, I was going to have to make it up as I went along if I wanted to turn this into a “wood” chandelier.
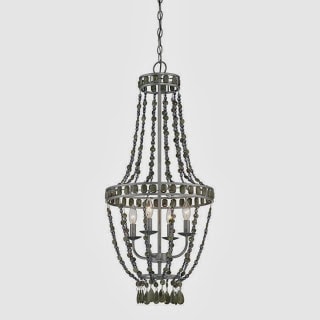
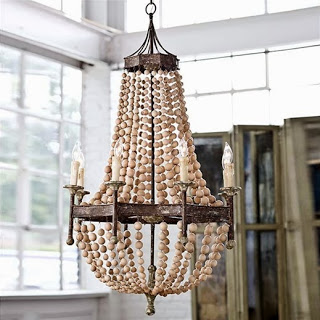
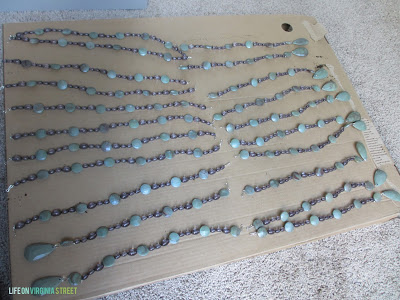
I thought about keeping the piece as it was, but I knew I didn’t want a brushed nickel base in the office. I actually didn’t mind the larger “jade” beads, but the clear ones had a purple tint that made the whole piece feel like it belonged in a little girls room – not an office. So, I picked up some spray paint, chalk paint and wax. This $1,248 Regina Andrew Lighting Wood Bead Chandelier from Serena & Lily became my inspiration:
 |
| {via} |
It also happens to be the same inspiration light I used in my design board. It’s amazing how little I have swayed from this original plan. So not my regular M.O. 😉

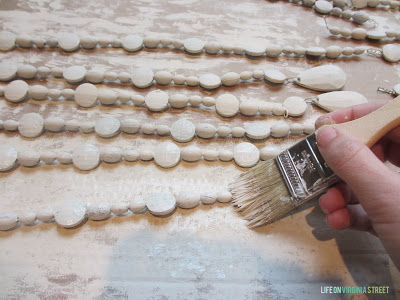
- Annie Sloan Chalk Paint in Old Ochre – I bought a quart because they were out of sample sizes, but a sample pot would have been more than enough to cover this project (and much cheaper)
- Annie Sloan Dark Wax
- Cheap Chip Paint Brush
- Rustoleum Oil Rubbed Bronze Spray Paint
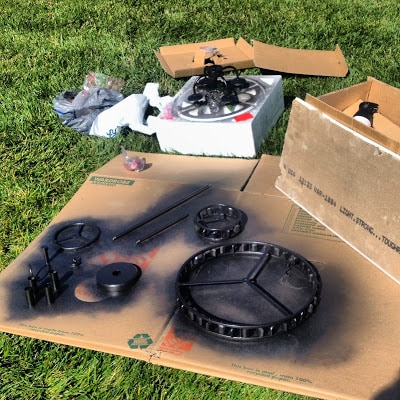
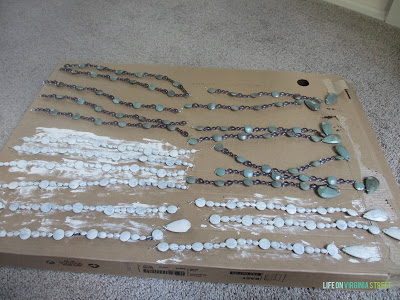
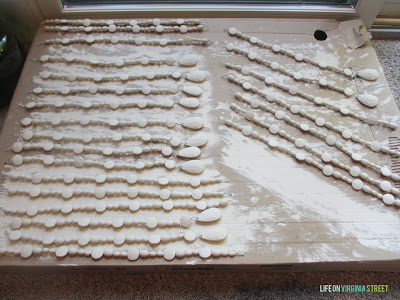
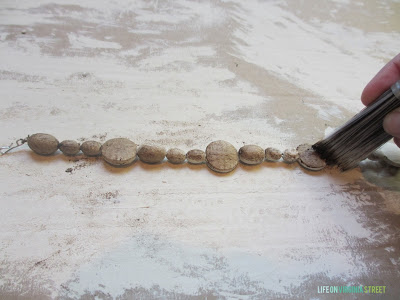
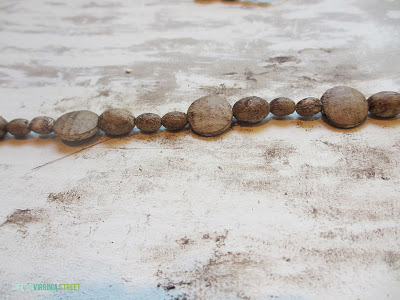
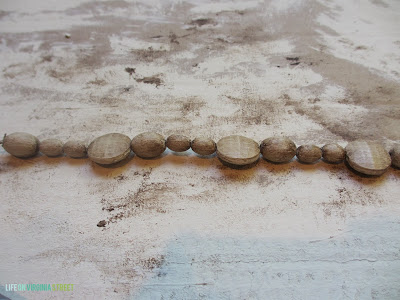
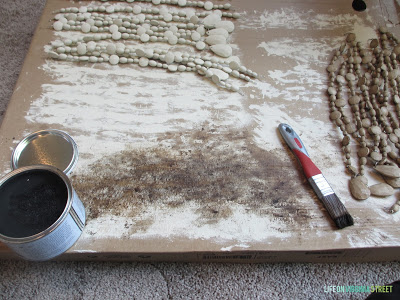
And now for the fun pictures!
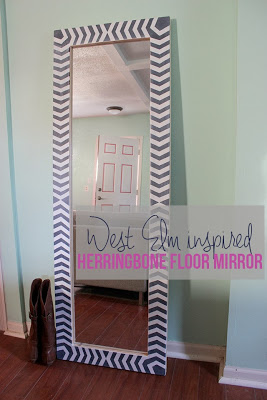
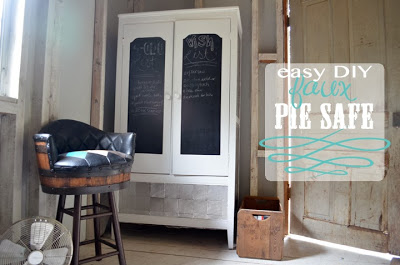
The good news is, the fun doesn’t end here. Be sure to check out all the other great projects in our line-up. There are six more amazing bloggers with projects that are equally as amazing.

The talent in the blogging community never ceases to amaze me. Each of these projects is completely different from mine yet all are so inspirational. Check them out!


disclosure: some affiliate links used
Oh my goodness, Sarah! I’m so incredibly impressed! WHO KNEW that chalk paint could give you that incredible “wood like” finish. AWESOME DIY! Thanks so much for sharing 🙂
xo Kylie
This is amazing! I would have never thought to paint the beads with chalk paint. It really looks like wood. Great job!
This turned out so great. Such an improvement over what it looked like from the store! I love it!
That turned out amazing! Great job!
That turned out awesome Sarah! Good work!
That turned out awesome Sarah! Good work!
Awesome job Sarah!
Loving this project so much! What a transformation! I also work best under pressure :)…
I’m losing my mind on this DIY. You did a stunning job!!! Just started following you via Bloglovin’, can not even wait to see what else you do!
Amy @ http://www.delineateyourdwelling.com
That looks amazing! I can’t believe the transformation. You did an awesome job.
Tammy @ thecoloreddoor.blogspot.com
Wow, excellent job. I love it…..
I seriously thought you actually beaded lines to make this but painting a already made chandelier is awesome!! Whenever I get a house that can handle a chandelier I’m gonna try this out fo sho!
Love how it turned out. Way to time consuming for me. I am afraid if I started a project like that I wouldn’t finish. Nice job.
This turned out amazing. Love it! (coming over from Amy’s at the Blissful Bee)
Ummm, I LOVE this! I’ve never heard of or thought about giving a faux wood look with chalk paint. I’m going to have to give this a whirl at some point. Pinning!
Your version is way better than the inspiration. You did an amazing job!!
Oh I LOVE IT! So beautiful!
Oh my word, this is totally amazing. I love it. Fabulous tutorial too. Don’t forget to link up to Inspire Me Tuesday. It will go live on Mon. at 2:30 PT. http://www.astrollthrulife.net Hope to see you there. Hugs, Marty
This is just so beautiful! I think would be pretty nervous about messing with a brand new light…but it looks way more expensive and classy after your paint job! Amazing work!
I love those chandeliers! I have a little obsession I must admit!
cantbuymelovvve.blogspot.com
wow, that is truly impressive. excellent job!
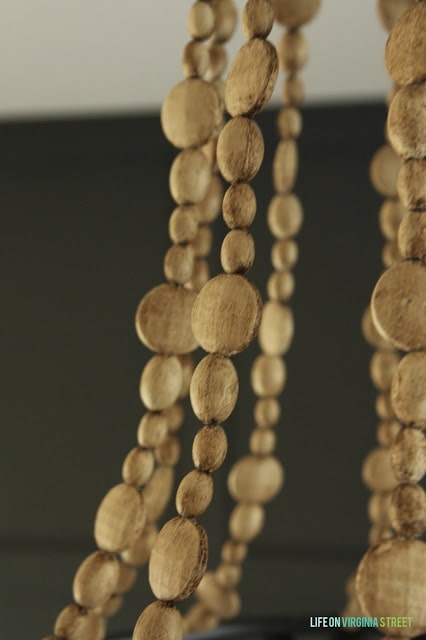
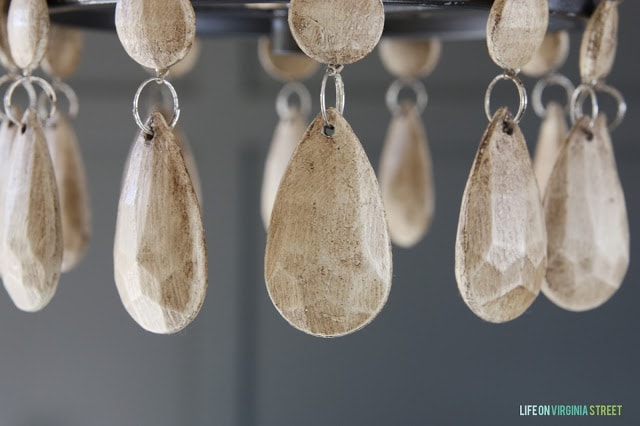
Hi, first time visitor, I checked out this post at the Shabby Nest Frugal Friday. What a wonderful project. I can’t get over how MUCH the beads look like real wood, even in the close-up photos. What a beautiful chandy, too. $139 was NOT too much to pay, it does look very much like a thousand bucks.
Wow, these really do look like wood! Excellent work and thanks for sharing your creativity!
Looks like a TON of work but it paid off! It’s fabulous! Thanks for linking up to ITS PARTY TIME. Pinned it. xoxo
Wow — that’s all I can say! This is incredible. New follower simply because of this post — can’t wait to check out all of the other goodness you have going on!
WOW! That is an amazing transformation. I can’t get over the painting technique on the beads. Love it! I am visiting from the @twelve0eight linky party. Glad to have found this post there! -Tasha (www.trappeddesigner.blogspot.com)
love this! I have a similar inspiration piece I want for over my master bath…and now I think it may come sooner verses later….new follower! :o)
Wow Sarah- this is seriously fabulous. Thanks for sharing this at Work it Wednesday this week. Absolutely must pin it:)
~Krista from the happy housie
The chandy looks FAB! Too funny – I have the same (original version) chandy in my office. Love the wood looking beads! Related – what’s that gray color on your wall? Looks so good!!! xx, b being-bianca.com
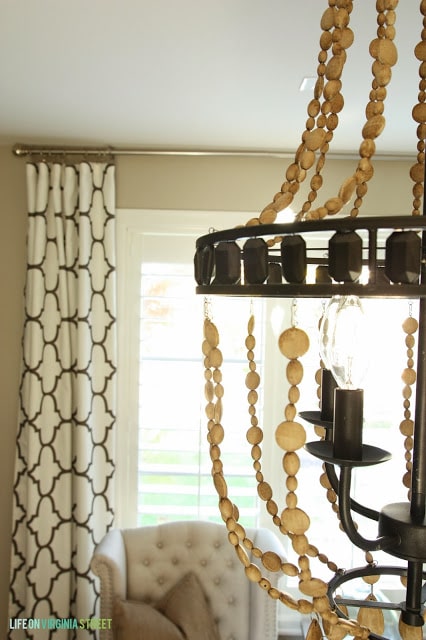
Thank you! The color on the wall is Behr Castle Path.
Oh my goodness we are in love with your chandelier. We are featuring you on Friday since you are one of our favorites this week. Thank you so much for linking up with The Party Bunch!
Desiree
Congratulations…this post was featured on Create It Thursday #27! Thanks so much for sharing such a great idea with us last week!
No way – those beads look exactly like wood! That’s crazy! I love the outcome!!!
GORGEOUS! Love it!
I thought it was wood! Such a brilliant project. It looks gorgeous in your home.
Such an impressive DIY! You totally got the look of your pricey inspiration fixtures. Love it! Pinning!
This is fantastic! Thank you for sharing. You are one of the features today at the Make it Pretty Monday party at The Dedicated House. Pop on in and grab a feature button for your blog. Here is the link to this week’s party. http://thededicatedhouse.blogspot.com/2013/11/make-it-pretty-monday-week-75.html Hope to see your prettiness again at the bash! Toodles, Kathryn @TheDedicatedHouse
Came from Thrifty Decor Chick. Did you see the price now? I really don’t like time consuming projects (my etsy shop uses my free time), however, I have really loved the look of these lights. I wasn’t sure if too trendy, the cost of some, or husband would poo-poo the idea. But I have to do this!!!! You did such an amazing job!! If we build our mudroom or bonus room I could use it in there??? I don’t want to pass up this DIY–it is just that great!
Yes, I saw the price dropped even further! Even more incentive for you to give it a try now 🙂 I would love to see your end results if you do try it out!
Sarah, this is legit awesome! Seriously, you killed this whole DIY! Love, love. Great job!
Thanks Michelle – and thanks so much for the feature 🙂
That turned out AMAZING! Love it!
I hope you ca hear me screaming “OH WOW!!!!!!” this is awesome.. I love your chandelier! My God this by far one of the best knock-offs I’ve ever seen
This is crazy!!! A month ago I bought this exact light with the EXACT same intentions with faking a wood finish. I was randomly searching for something entirely different when I came across one of your images. I can’t believe my eyes! Great minds, let’s be best friends?!? ????
Wow!! You are a brave soul with great vision to take on that project. What an amazing outcome! Well done.