Today we’re back with another edition of our DIY Summer School! As you may recall, every two weeks I team up with my DIY Summer School crew (designPOST Interiors, Dimples & Tangles, Thou Swell, Charming in Charlotte, Lindsey Brooke Design, Claire Brody Designs, and Avery Street Design) to bring you a fun challenge and a link up party.
Today we were challenged to make a project from the tool store, and I created some incredibly easy and quick DIY cork coasters.
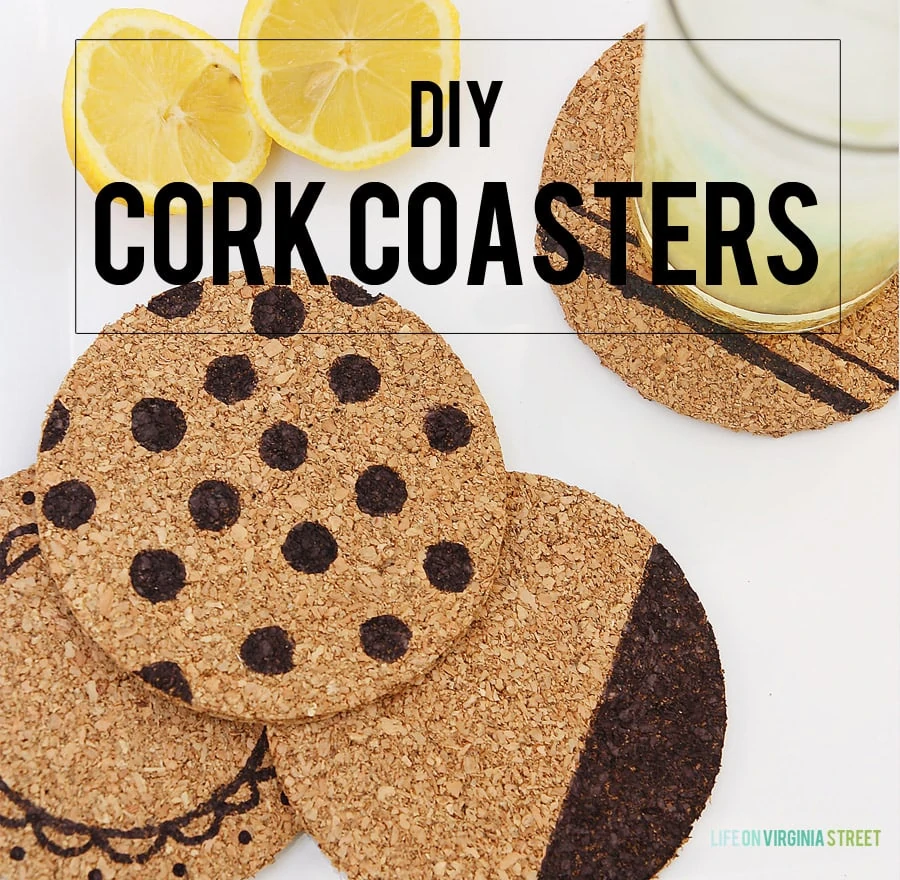
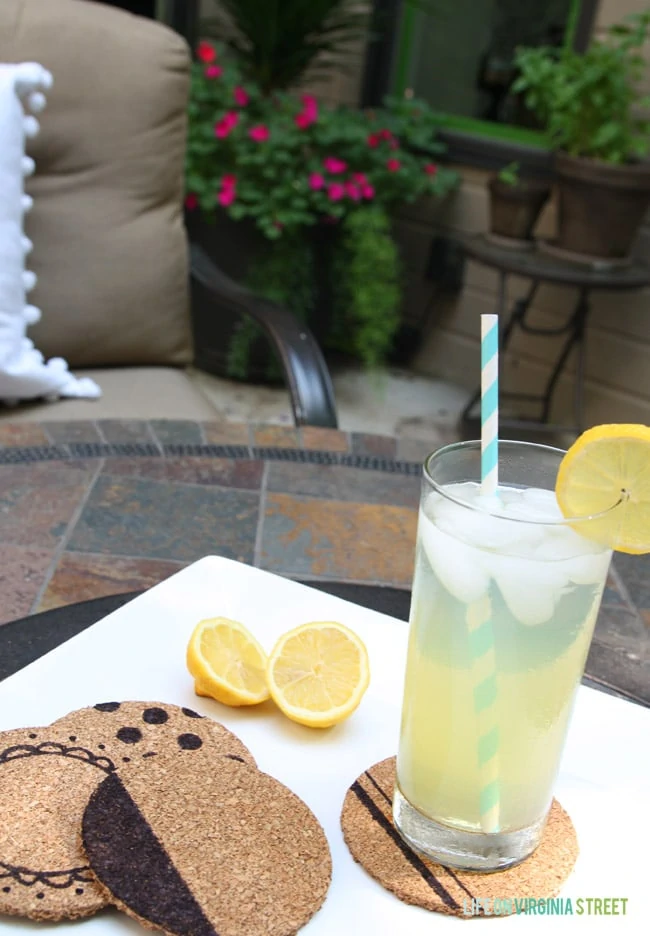
DIY cork coasters certainly aren’t a new idea and I’ve seen tons of versions online. I just happened to have all the items on hand that I needed for this project so I decided to give it a try! I was in need for some coasters to use outside in our courtyard when we spend time there. Most of our other coasters were breakable or stainable, so I wanted something I wouldn’t have to worry about outside.
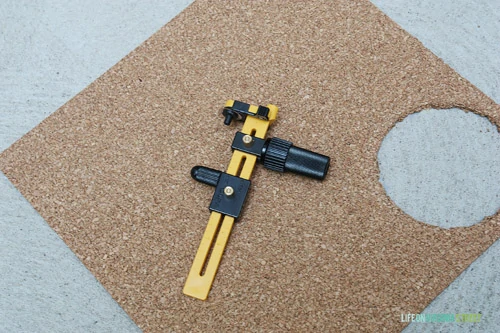
I started with a pack of 12″ by 12″ cork tiles I had purchased some time ago at Lowe’s. I knew I could use them for something, but never really had an actual plan. I also put to use my circle rotary cutter (remember what a godsend it was for my felt ruffle wreaths)? I’m not exaggerating, I was able to cut each of these out in under 60 seconds with the rotary. Don’t worry – in the shot below, the cut was my first attempt so I definitely hadn’t perfected my technique.
The key to super clean lines is to ensure the rotary blade is cutting all the way through. If you get to the end and there are still parts connected, do not pull it. You’ll want to ensure you let the blade do the work!
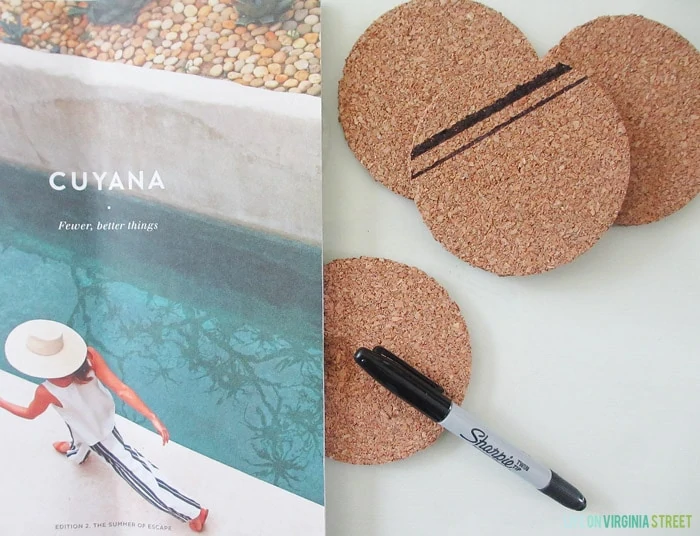
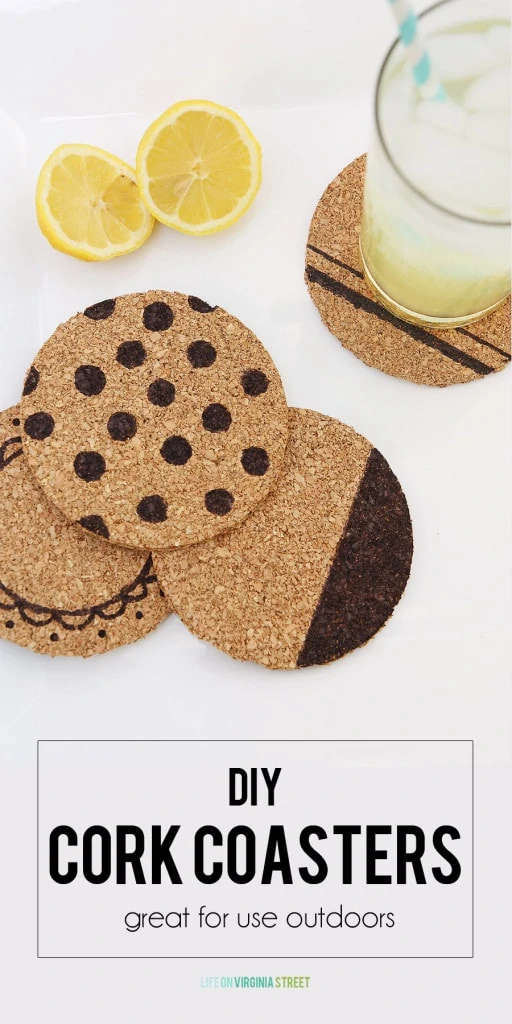
Once I had cut out the four coasters I wanted, I decided to spice them up with some patterns. For the most part, I free-handed everything because I wanted more of a fun, whimsical look that anything too serious (they were going outside, after all). For the straight edges, I simply used a catalog I had on hand that had a nice firm edge – perfect for using with the Sharpie.
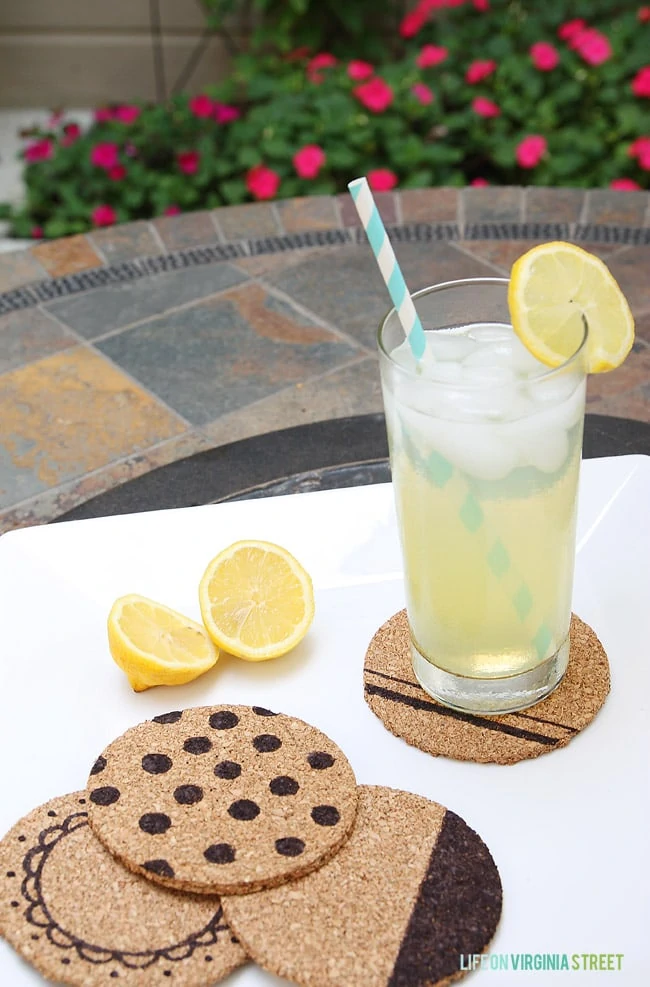
Admittedly, in the photo below, I shouldn’t have photographed the polka dot one on top. When I was editing all the pictures, all I could think of was chocolate chip cookies! I love this easy little project and I’ll like double my collection here in the next few days. It is great to have extra coasters on hand, and I love that I don’t have to worry about damage to these.
I hope you enjoyed this project! Be sure to check out all of the other projects before you link up your own below!
It’s hard to believe, but we only have one more session of DIY Summer School, so be sure to check back:
Now it’s your turn! Link up any of your projects you made using items found in the tool store:
If you would like to follow along on more of my home decor, DIY, lifestyle, travel and other posts, I’d love to have you follow me on any of the following:
Pinterest / Instagram / Facebook / Twitter / Bloglovin’ / Google
disclosure: affiliate links used

Cute idea. I love this.
These are darling, Sarah, and I think the polka dot one totally deserves the top spot! 😉
These are adorable Sarah! And that lemonade.. I could go for some right now!
These are so fun, and there are so many possibilities for the design on top!
How fun! These are adorable!
So simple and sweet! Love these!
Cute and easy–the perfect combination for a summer project!