This DIY marble paint ornaments tutorial will show you how to customize your Christmas ornaments! Plus get a sneak peak at our office Christmas tree!
I hope you all had an amazing Thanksgiving weekend! Today I’m sharing our office Christmas tree, along with my DIY marble paint Christmas ornaments tutorial that went a bit wild on Instagram a few weeks ago! I can’t believe how many of you loved this project and have already replicated it. It’s certainly not one I invented (I think it’s been around for decades) but I created my own process and love the end results!
This post is sponsored by JOANN and contains affiliate links. As always, all thoughts and opinions are my own. Click here to read my full disclosure policy.
Blue, White & Metallic Christmas Tree
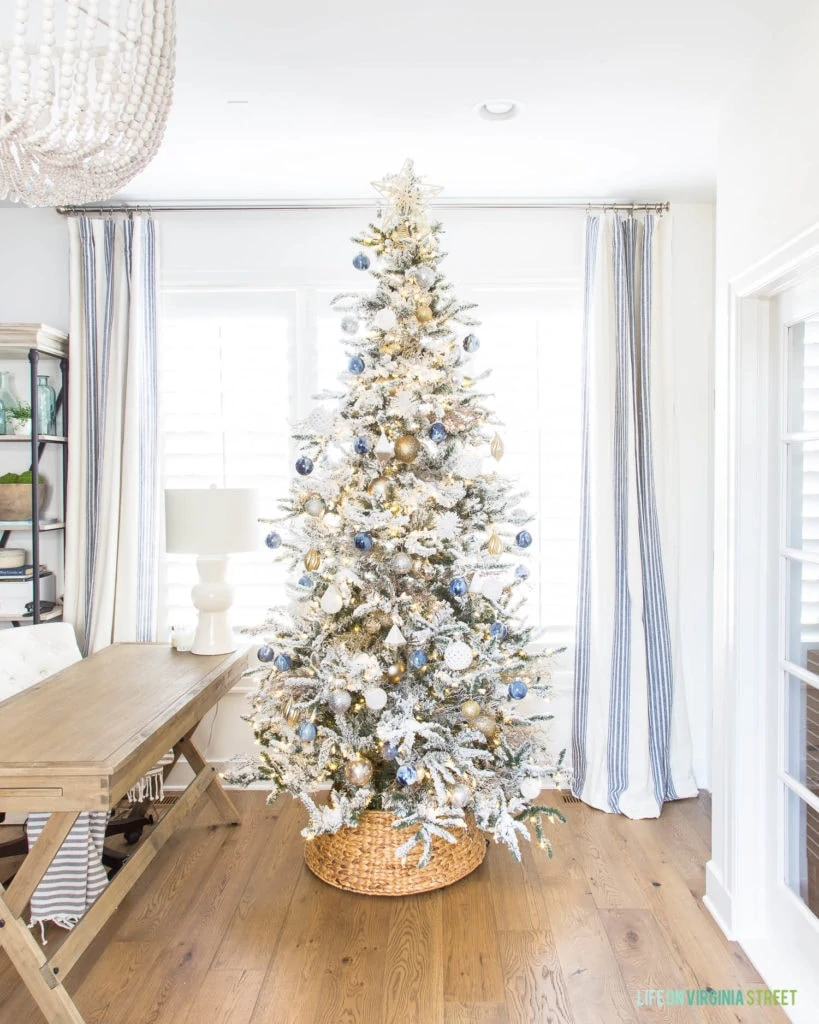
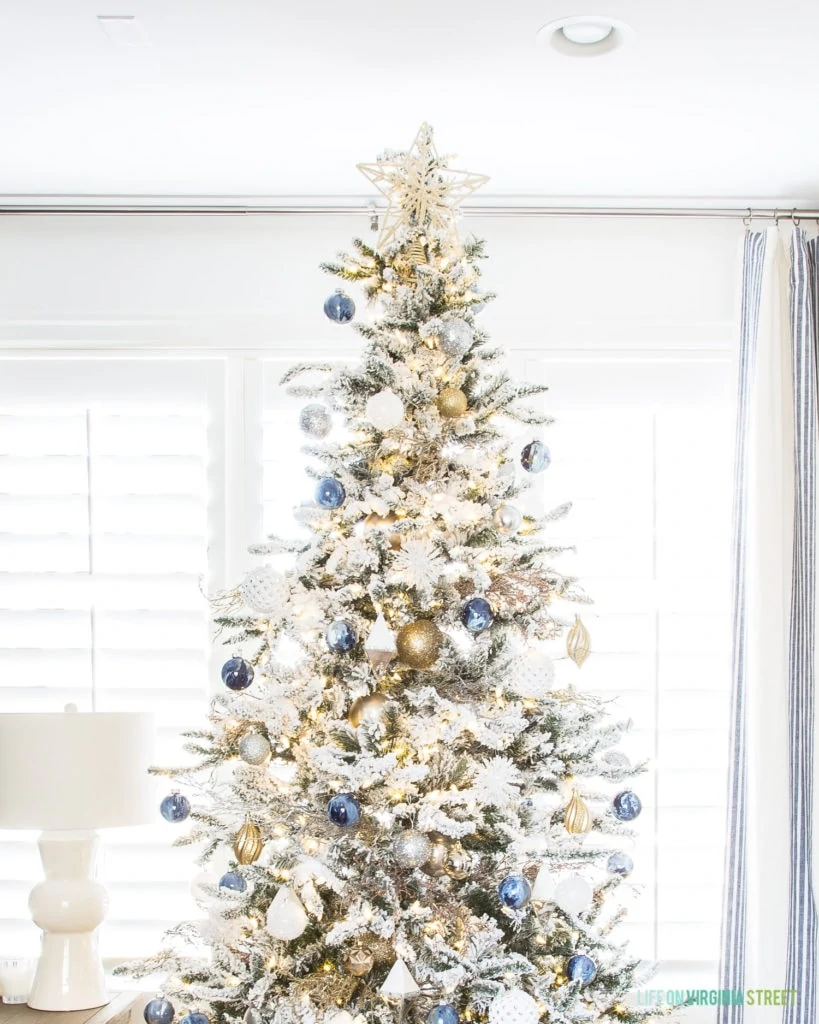
Without further delay, here is our office Christmas tree! I absolutely love the combination of blues, whites, and metallics in this space. Along with our entryway, this is the only room in our entire home where I didn’t decorate with red for the holidays! But this look is so “me” and I love the serene and peaceful vibe this color combination offers!
And would you believe every single item on the tree is from JOANN? They had so many gorgeous offerings this year and everything I needed to create the perfect tree. Following are the specific items I used on my tree. You can click any of the names to go to the product listing:
- Silver Glitter Grass Spray
- Champagne Glitter Grass Spray
- Champagne Glitter Bud Branch
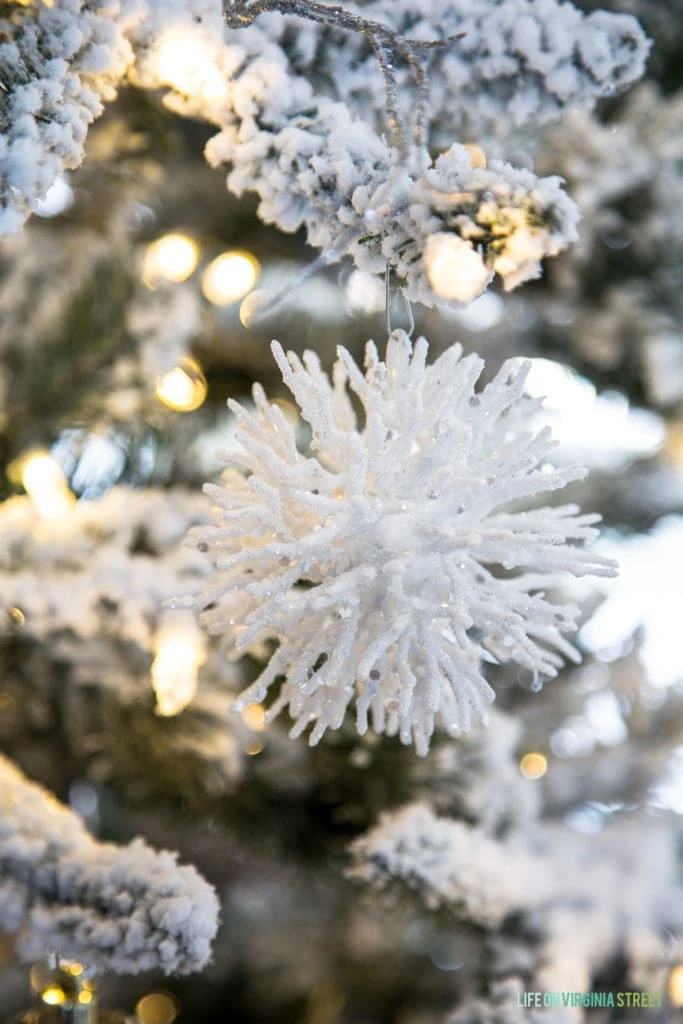
- White Tinsel Ball Ornaments
- Boxed Variety Pack of Silver & Gold Ornaments
- Coral Ornament
- Star Tree Topper
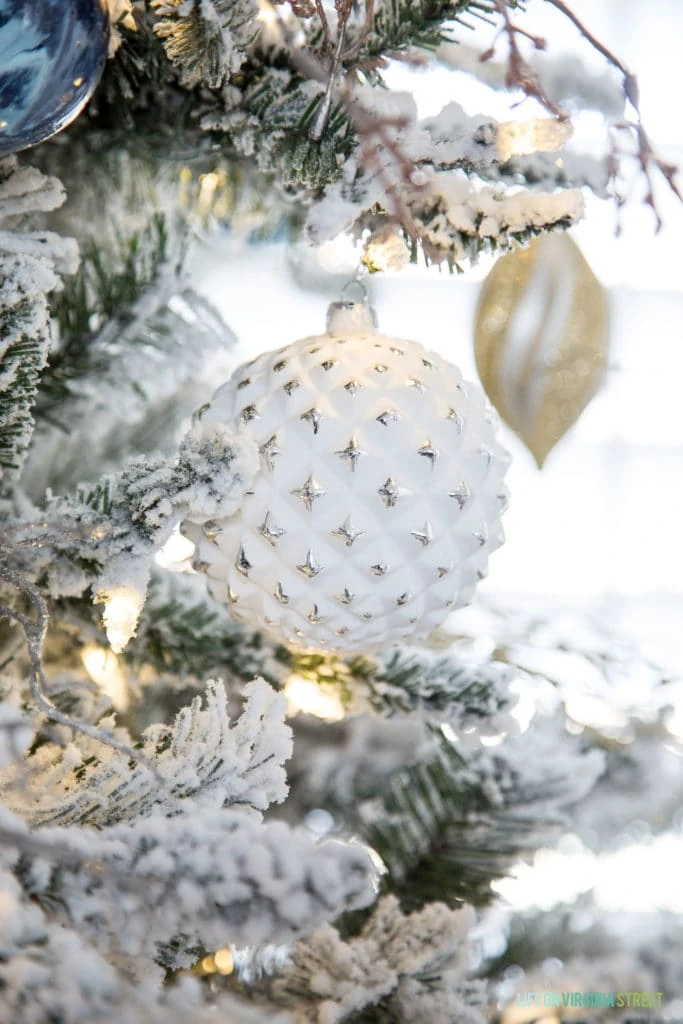
- White Textured Ornament
- Diamond Ornament
I love using sprays layered on branches on the tree and I used a combination of three versions (linked above). The texture and fullness they add to the branches are perfect! They add so much visual interest and beauty to the tree!
Once the sprays were all in place, I then layered in the unique ornaments in shades of white, silver and gold. These white textured ornaments are one of my favorite finds!
And these coral ornaments add a fun coastal flair to the vibe! I love that they’re fairly soft so I don’t have to worry about them breaking when I put them in storage!
And if you’re like me and buy the same size height of tree as your ceilings, don’t feel like you can’t add a tree topper! I simply bend the top of my tree (only an inch or two) and then add the star. Or, if you buy a larger one like this cute coastal star tree topper, you can just wedge it in the top layers of your tree and try and hide the base with branches. It isn’t always perfect but I love the addition of our star on our trees!
DIY Marble Paint Ornaments Tutorial
One of the stars of the tree are the DIY marble paint ornaments! When I began planning my Christmas decor this year, I searched high and low for navy blue ornaments (that weren’t glass). I couldn’t find anything I loved, so I took matters into my own hands with these custom ornaments! I love how they turned out and how unique each and every one of them are!
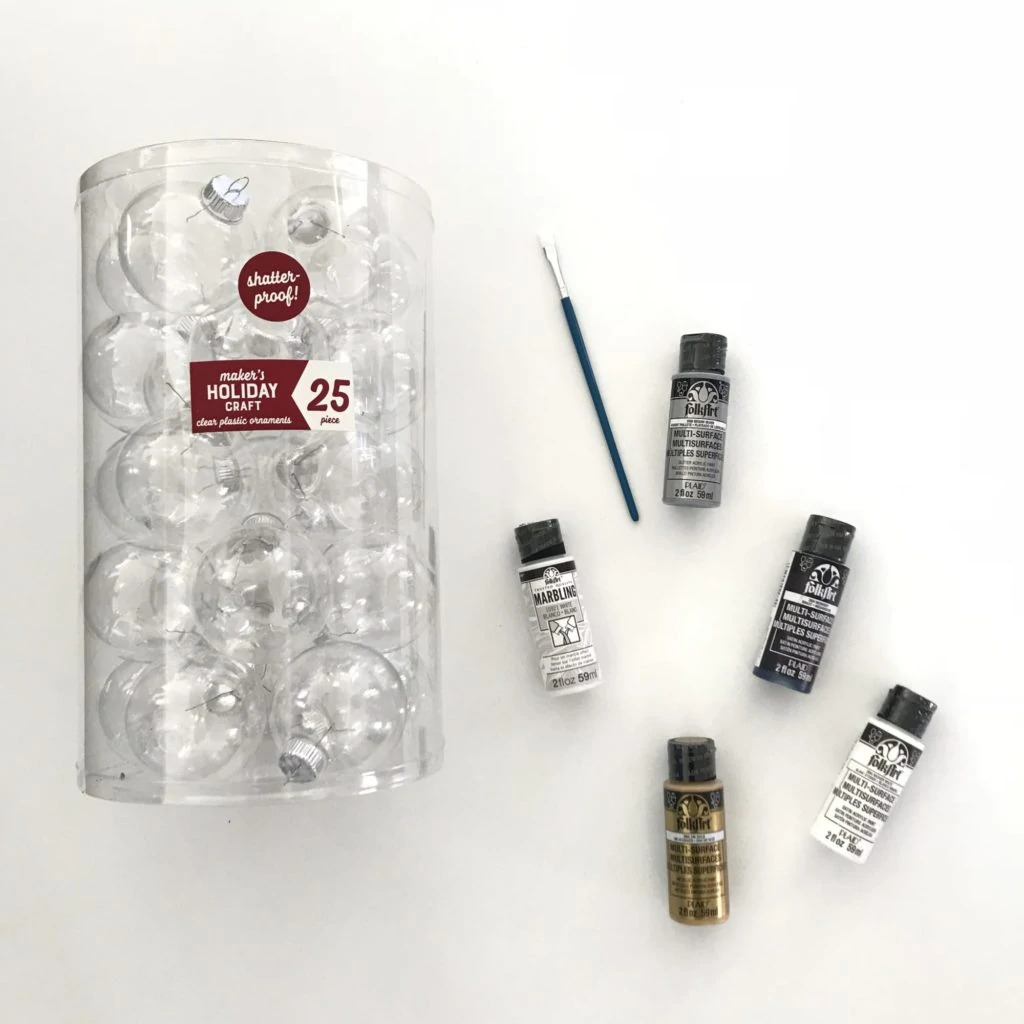
To make the marble ornaments you need the items listed below. You can click any of the names to go to the product listing:
- Plastic Clear Ornaments
- FolkArt Paint Multi-Surface Paints in the colors of your choice – I used 14K Gold, Midnight and Wicker White
- FolkArt Marbling Paint in White (a few readers tried other brands and didn’t have great luck, as the paint would slide off the ornament walls)
- Small plastic or paper cups you’ll be okay throwing away – look for ones that will keep your ornaments off the bottom of the cup
- Small craft paint brush (optional if you feel like you need to move some paint around)
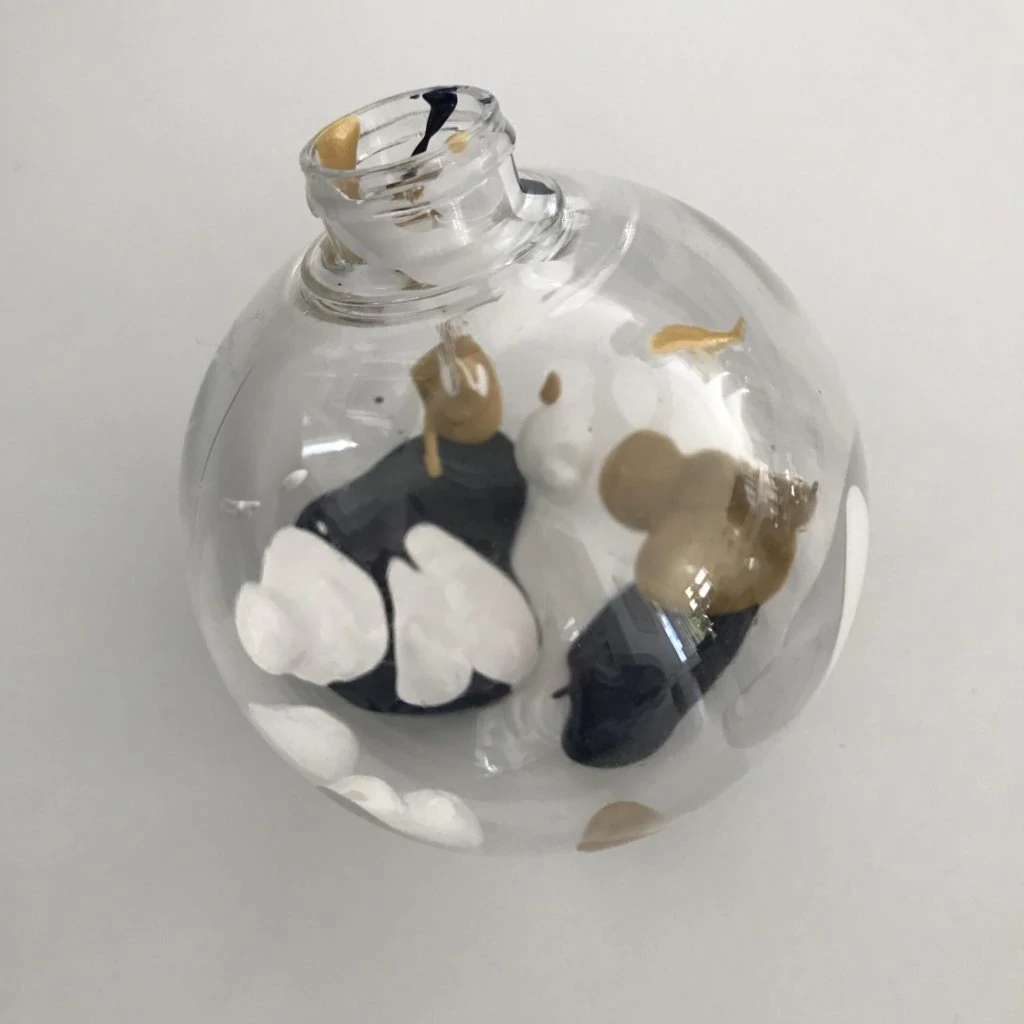
To start, you’ll some drops of colors to the base of an ornament. You’ll want to have a few decent “blobs” to get started. I’d consider your first one or two practice, because once you get a few under your belt, it goes much more quickly and you’ll realize what styles you like!
Next, squirt in some of the marbling paint. I liked to add it as close as possible (or on top of) my colored painted blobs. You’ll notice that a little marbling paint goes a long ways because it is much more liquified than the colored paint! You’ll then simply swirl, shake or spin the ornaments until the paint will no longer move. You’ll then continue to add colored paint to bare areas, and repeat the marbling paint and swirl/shake/spin motion! If you want to see this step in action, you can go to my Instagram page and simply click/tap the circle under my bio that says “Marble Ornament”.
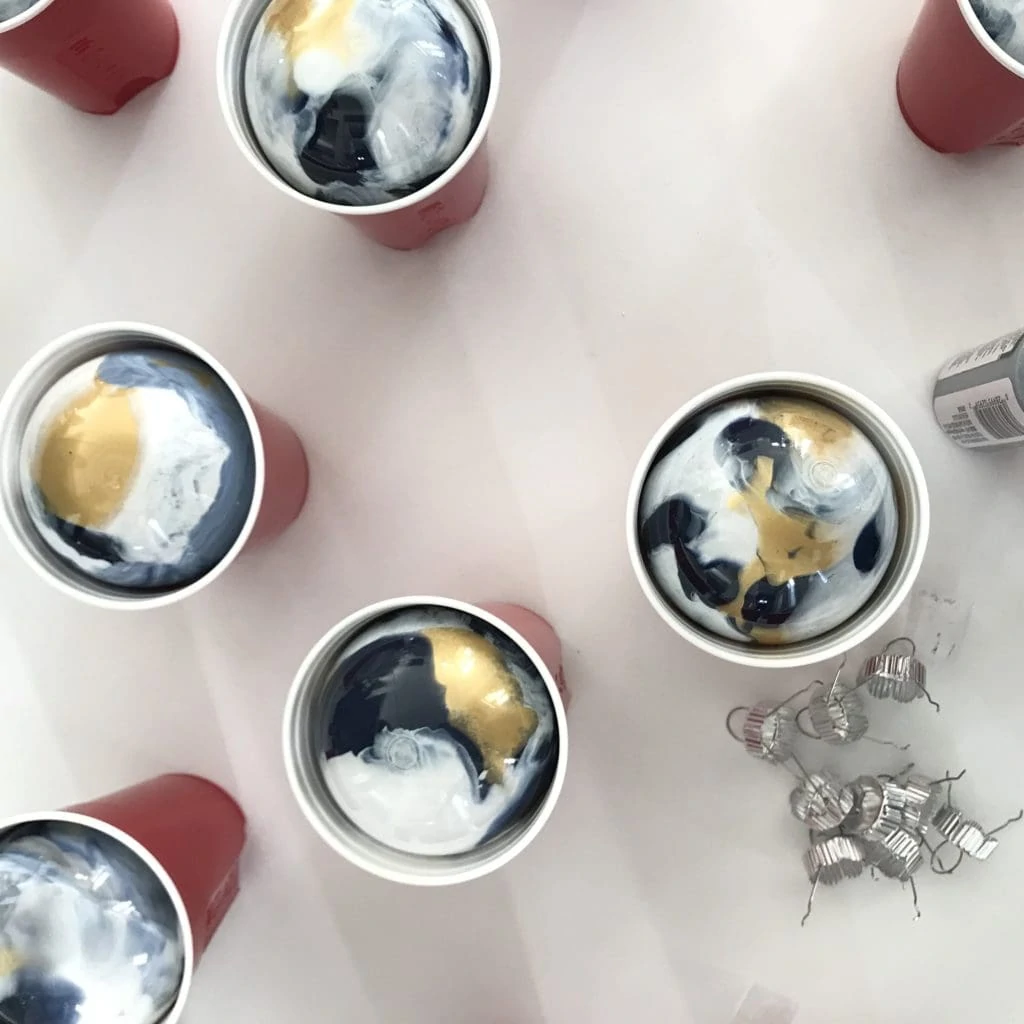
Once you feel like you’ve finished your ornament, place it upside down in the cup to let it drip dry (this will take 1-3 days depending upon how much paint you used). It’s so fun to see the varying patterns, swirls, and marble effects that show up!
I love all the messages and photos you guys have sent to me if you’ve tried this craft at home! It looks like everyone from age 5 to 70 has been enjoying this project and I love all enthusiasm you’ve shown so far for it!
I hope you enjoyed this blue, white and metallic Christmas tree along with my DIY marble paint ornaments tutorial! I’ll be sharing more details on the rest of our office decor next week during my Christmas home tours!
If you would like to follow along on more of my home decor, DIY, lifestyle, travel and other posts, I’d love to have you follow me on any of the following:
Pinterest / Instagram / Facebook / Twitter
disclosure: some affiliate links used




These ornaments are so fun and your tree is gorgeous
Your tree looks beautiful! Where’d you get the sea grass tree collar?
Thank you! I got it from Hayneedle last year but it has since sold out. However, I have a full post dedicated to ones that are available this year! https://lifeonvirginiastreet.com/2018/11/christmas-tree-collar-ideas-picks/
Sarah,
This is such a great project. I plan to do this with my daughter for teacher and hostess gifts. Assuming you made all 25 ornaments that came in the tub, how many bottles of paint did you need in each color? Was one of each enough or did you need more or less of any one color? Thanks!
Thanks Claire! We bought two of several of the colors, but had plenty of paint leftover. You may be able to get away with just one depending upon how heaving you add it (and how many colors you use)! I also found that you probably use a lot more on your first few not knowing the process yet, but by the end, you use far less paint. I hope that helps!
where are the drapes from?
Here’s the link for them: https://shopstyle.it/l/bknKp.
Hi, I didn’t see a source for this tree and wondered if it is one on your artificial tree post from this year. I’ve only ever had real trees, but have decided I would like an artificial flocked tree for my bedroom. Thanks!