This post is sponsored by The Home Depot
Today I have a really fun DIY project that is perfect for summertime! I’m sharing my version of The Home Depot DIY Workshop‘s Father’s Day Football Toss along with all of these lovely ladies who also built the same project (I have links to all of them at the end of this post)!

I don’t know about you, but my family and friends are all competitive. But we always have tons of fun in friendly competitions, especially outdoor games (remember our fierce cornhole tournament a few weeks back?). I figured another game customized for our backyard would never go to waste, and this turned out to be a really fun (and cute) project!
The Home Depot is not only home to virtually every item a DIYer needs, but did you know they also offer free DIY workshops that you can take at your local store? The Father’s Day Football Toss we’re sharing today is just one of the many classes you can take. They offer everything from takeaway projects, instructional classes, and even kid workshops – for all ages and experience levels! You can check your local store’s calendar here.
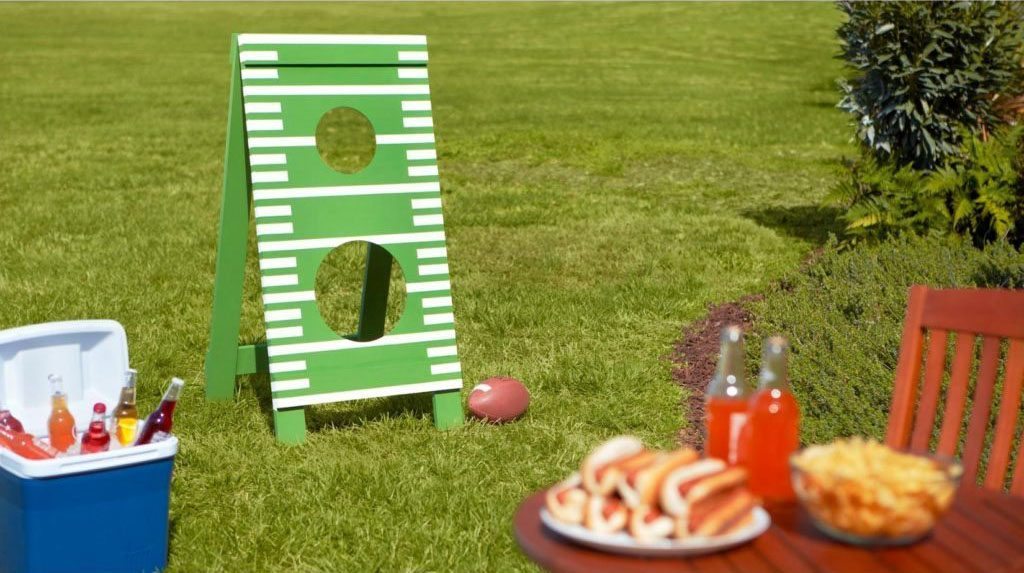
We were all given the same basic guidelines to build our project, but then we each put our own fun spin on it. Following is the inspiration picture we received along with basic directions for assembly. Then we were all able to get a bit creative!
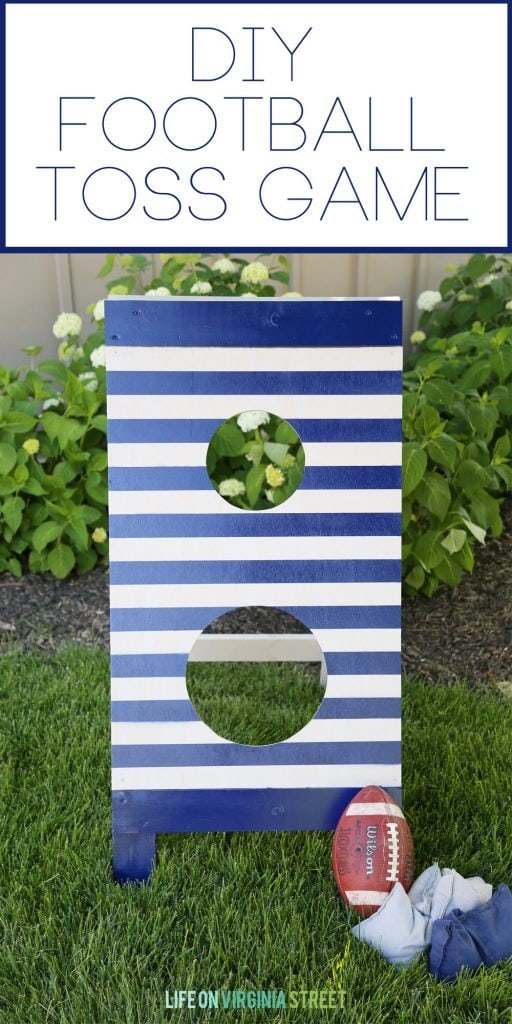
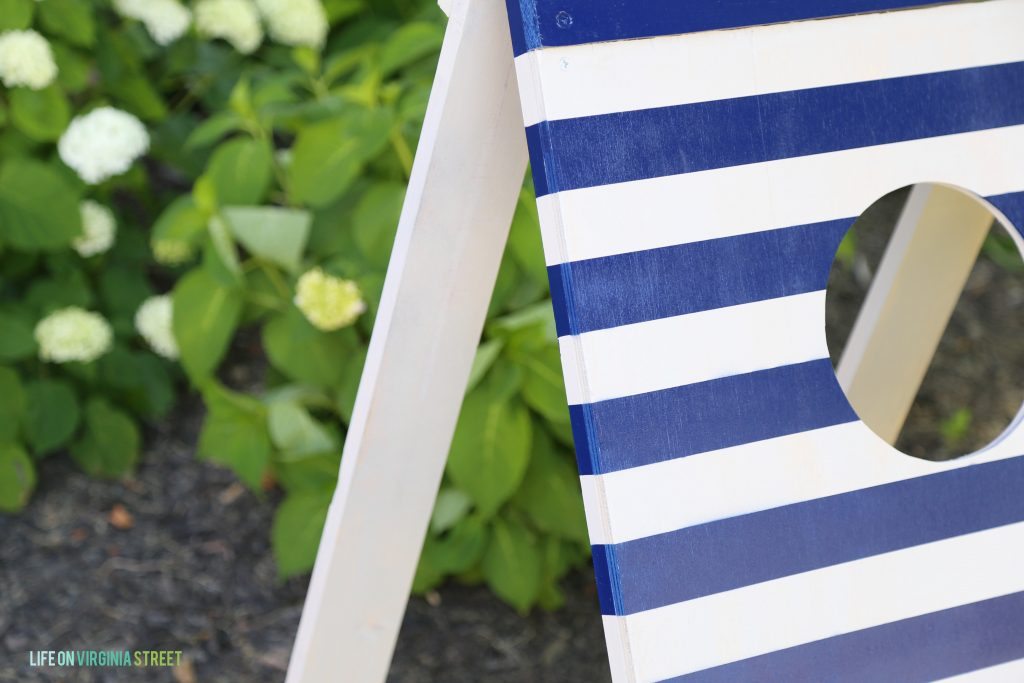
Here’s how mine turned out. I know you’re really surprise that blue and stripes are involved, right?
To make this project, simply follow my directions below.
Following is a list of supplies and tools from The Home Depot that I used to complete this project:
SUPPLIES
- (1) 1/2″ x 2′ x 4′ Sanded Plywood Board
- (2) 1″ x 4″ x 12′ Common Board
- helpful tip: if you don’t have a truck to haul 12′ board, you can also buy three 8′ boards and the cuts will still work out okay!
- (2 Packs) Everbilt #10 x 1 1/4″ Phillips Zinc-Plated Flat-Head Wood Screw (8 per pack)
- (1 Pack) #10 x 3/4″ Phillips Zinc-Plated Flat-Head Wood Screw (12 per pack)
- (1 Pack) Everbilt 2 1/2″ Zinc-Plated Narrow Utility Hinges (2 per pack)
- Paint or Stain
- One Foot Length of String or Twine
- One Small Nail of Any Type
- helpful tip: if you have an 8″ and 12″ circle template (a bowl/plate can work well), you can use that in lieu of the string/twine and nail
TOOLS
- Circular Saw
- Reciprocator Saw or Jigsaw
- Drill
- Drill Bits 1/2″ and 1/8″
- Heavy Duty Stapler/Staples
- Pair of Snips or Wire Cutter
- Measuring Tape or Carpenters Square
- Pencil
- Safety Goggles
- Sanding Block
INSTRUCTIONS
First up, cut your 2′ x 4′ board down to 2′ x 3′ and set aside (the remainder is scrap wood).
Next, cut four 4-foot long boards from the 1″ x 4″ x 12′ (or the 8′ boards). You should have four 1″ x 4″ x 4′ boards.
With the remaining wood, cut four 2-foot boards. You should have four 1″ x 4″ x 2′ boards.
Take your 2′ x 3′ cut board and grab your pencil, along with the circle templates. If you don’t have circle templates, you can use the nail and string to draw circles at the right length. You want the center of the 8″ diameter circle to be 9″ from the top of the board. The center of the 12″ diameter circle should be 9″ from the bottom of the board. Once you have them all lined up, cut them with a jigsaw. (It’s best if you use the 1/2″ drill bit to first drill a hole in each of the circles to get started, before you use the jigsaw).
![IMG_2470[1]](https://lifeonvirginiastreet.com/wp-content/uploads/2016/06/IMG_24701-e1465777364746-768x1024.jpg)
Here was all the wood once we had made our cuts.
![IMG_2566[1]](https://lifeonvirginiastreet.com/wp-content/uploads/2016/06/IMG_25661-e1465733970834-768x1024.jpg)
The most time-consuming portion of the project is done. Now it’s time for assembly! You start by building the front and back frames.
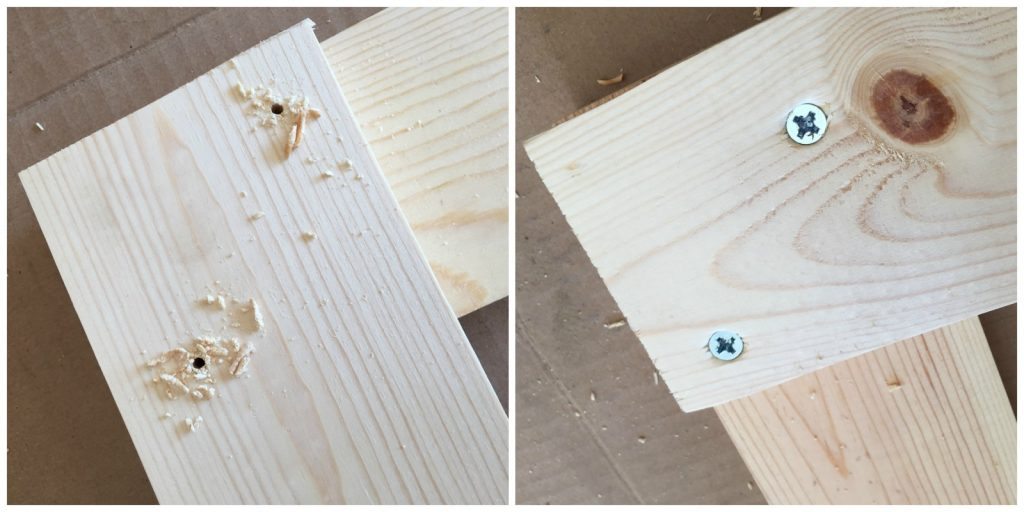
Lay two of the longer legs flat, 2 feet apart. Next, lay two braces (the shorter pieces) on top of the legs, one flush with the top of the legs, and one 3 feet below the top. Using a drill and 11⁄4″ screws, secure each brace. Tip: You’ll want to first pre-drill your holes before adding the screws, to ensure the wood doesn’t tip. I used a 1/8″ drill bit to pre-drill. Also note that I used two screws in each location – but only one is likely necessary (we like to over-engineer things around here). If you do opt to do two like I did, you will need an extra bag of the 1 1/4″ screws.
![IMG_2570[1]](https://lifeonvirginiastreet.com/wp-content/uploads/2016/06/IMG_25701-e1465733860429-768x1024.jpg)
Repeat to build the second frame.
Take a built frame and place the 2′ x 3′ front panel between the braces, making sure it lines up flush with the top of the legs. Using four of the 1⁄4″ wood screws, attach the front panel to the frame (I put one in each corner).
![IMG_2573[1]](https://lifeonvirginiastreet.com/wp-content/uploads/2016/06/IMG_25731-e1465778049504-768x1024.jpg)
Lay both frames back to back with plywood and braces facing outward. Using a the drill, secure the hinges to the top side of each frame.
![IMG_2575[1]](https://lifeonvirginiastreet.com/wp-content/uploads/2016/06/IMG_25751-e1465733723598-768x1024.jpg)
My hinge is actually upside down in this picture (oops) but it shows you how to place them between the two frames.
![IMG_2576[1]](https://lifeonvirginiastreet.com/wp-content/uploads/2016/06/IMG_25761-1024x768.jpg)
Once everything was built, I gave all the rough edges a quick sanding. After wiping it all down, I then covered the entire piece in a driftwood stain I had leftover from our back patio makeover a few years back. It basically ended up looking like gray paint.
After the stain had cured, I used Frog Tape (delicate surface, in the widest width they make) to tape off stripes on the front of the board. Rather than measuring perfect stripes, I simply started taping the board with strips butting up to one another (careful not to overlap or leave gaps).
![IMG_2602[1]](https://lifeonvirginiastreet.com/wp-content/uploads/2016/06/IMG_26021-e1465767399468-768x1024.jpg)
I then would tear off every other piece of tape. This allowed the stripes to all be the exact width (and they fit the length of the 3′ board perfectly). In an effort not to waste too much tape, I would get a few rows on, remove the unnecessary, and then move on to a lower section of the board.
![IMG_2607[1]](https://lifeonvirginiastreet.com/wp-content/uploads/2016/06/IMG_26071-e1465767425815-768x1024.jpg)
In an effort to protect the interior of each circle, I actually inserted the wood slices that were cut out previously. Not necessary, but it made things a bit easier.
I opted to go with this navy blue paint for the accenting stripe, to give everything a bit of a nautical feel.
![IMG_2600[1]](https://lifeonvirginiastreet.com/wp-content/uploads/2016/06/IMG_26001-1024x768.jpg)
![IMG_2612[1]](https://lifeonvirginiastreet.com/wp-content/uploads/2016/06/IMG_26121-e1465775821569-768x1024.jpg)
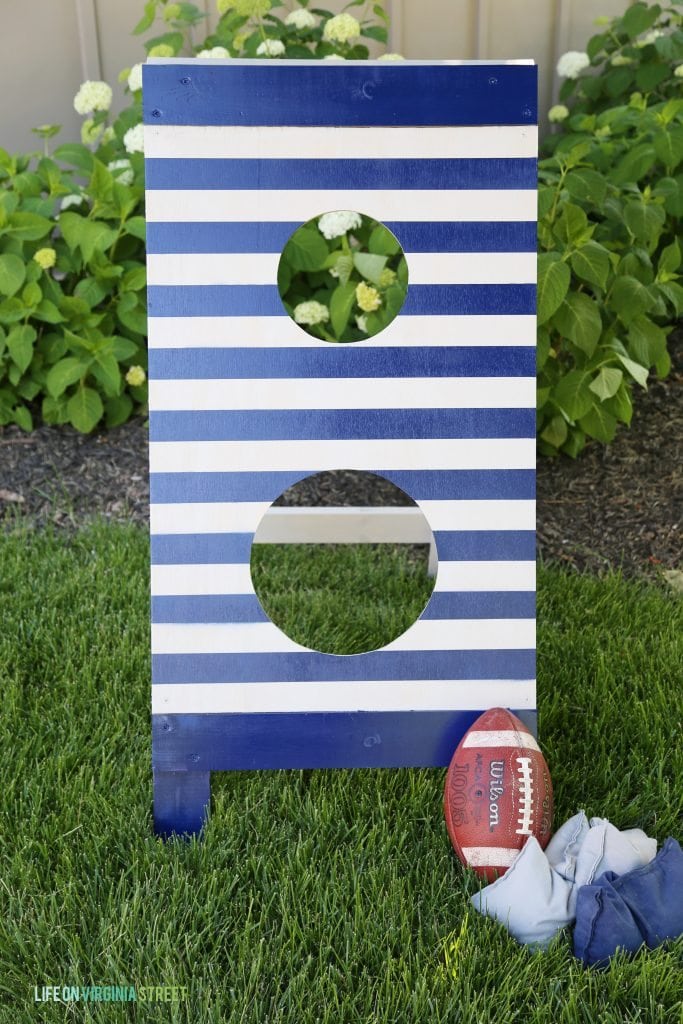
After a quick coat of spray paint, the board had a new and improved life! I removed the tape after about ten minutes of dry time. This was before I popped the wood slices back out. And that’s it!
![IMG_2615[1]](https://lifeonvirginiastreet.com/wp-content/uploads/2016/06/IMG_26151-e1465775944300-768x1024.jpg)
This was such an easy project and I can’t wait to use it with family and friends this summer. If I have to do something with a football, it may as well look coastal and fit in with the decor, right?! We also happen to have coordinating bean bags for another game, so I figure the board can have multiple uses!

Want to make your own?
CLICK HERE TO REGISTER FOR YOUR OWN FREE CLASS!
Do you and your family and/or friends play outdoor games?
Be sure to register to attend the DIY Workshop (or any of their other classes) and your local store!
Want to see the other takes on this fun project? Be sure to check out how these other talented bloggers decked out their DIY Football Toss game!
Fix This Build That | Field Treasure Designs | John Malecki | The Handmade Home | Rogue Engineer | Mom 4 Real | House by Hoff
Her Toolbelt | Life On Virginia Street | Infarrantly Creative | Cherished Bliss | Pneumatic Addict | Here Comes Sun | Remodelando La Casa | Build Basic
House of Wood | Confessions of a Serial Do It Yourself Blog | Our Pinteresting Family | Salvage Sister and Mister | H2O Bungalow
That’s My Letter | Finding Home Farms | I am a Homemaker | Reality Daydream
If you would like to follow along on more of my home decor, DIY, lifestyle, travel and other posts, I’d love to have you follow me on any of the following:
Pinterest / Instagram / Facebook / Twitter / Bloglovin’ / Google
Love the simplicity of the stripes! Very fun summery vibe!
So cute Sarah! Love the stripes!!
Love the navy blue and white stripes, they kind of give it a summer-nautical feel! <3
I love how this came out Sarah! The stripes are so fun. I wonder if I can whip this out before Father’s Day 🙂
Hi! This seems so simple that I’m at home depot right now getting material. However I don’t see where you used the 3/4 inch screws in the directions. I wonder if I need to get 3/4 inch screws?
Thanks for this awesome tutorial!