This easy to make creepy felt ruffle wreath will add the wow factor to your Halloween decor!
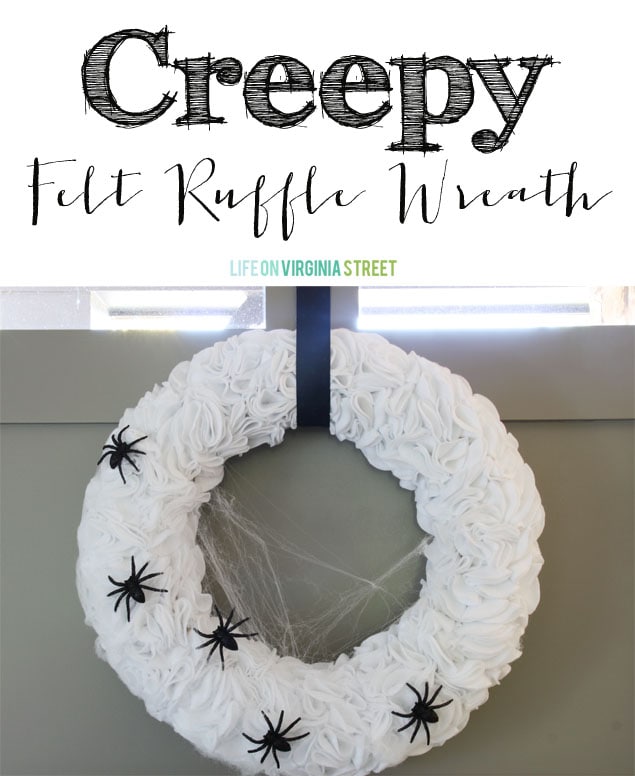
A few weeks back, I mentioned a fun DIY Halloween craft I made for the lovely gals over at Eighteen 25. I’m not always the craftiest person, but every once in awhile I can come up with something! I created this stunning creepy felt ruffle wreath project and today I wanted to share it with all of you in case you were looking for a fun weekend project.
Felt Ruffle Wreaths
In the past I have made several of these felt ruffle wreaths and they have always been a huge hit (you can see my red felt ruffle wreath in this post). I love that you can select different colors of felt to totally change up the project to go with each holiday seasonal decor!
This year, I thought it would be fun to put a Halloween spin on the wreath. The great part is, I can easily remove the Halloween cobwebs and spiders to use the white wreath for other seasons!
The Halloween Wreath Tutorial
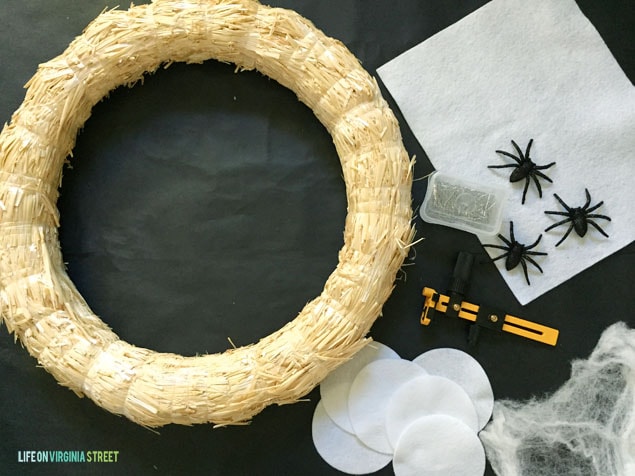
Supplies needed (linked for your shopping convenience):
- Felt – amount varies depending on size of wreath and density of ruffles, but 2 yards is more than enough if you buy the kind that is 70+ inches wide
- Stick Pins – 250 to 400 depending upon wreath size and density of ruffles
- Rotary Circle Cutter – I highly recommend not attempting this project if you don’t own this tool (I learned the hard way)
- Straw Wreath Form in your preferred size – I used an 18″ wreath
- Decorative Cobwebs
- Decorative Spiders (sounds like an oxymoron, right?!)
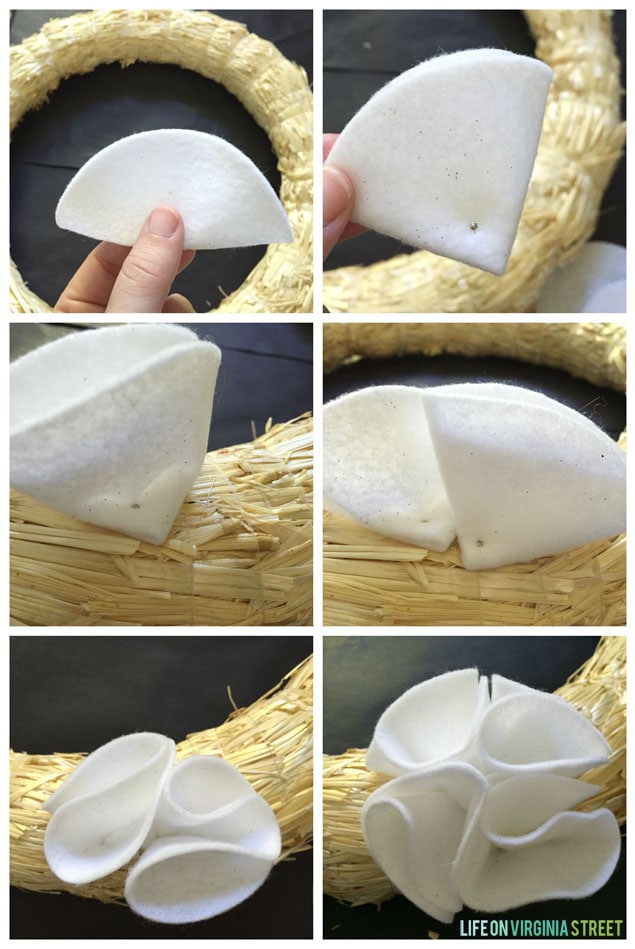
Use the rotary circle cutter to begin cutting your circles. I made my circles 2″ wide in radius for this project (a 4″ wide circle). I cut approximately 30-50 at a time and then would apply them to the wreath before moving on an cutting more circles.
To affix to the wreath, simply fold the circle in half, and then in half again (your piece should look like a 1/4 piece of pie). Use one stick pin and pierce just up from the “pie piece” bottom and then push the felt into the wreath. Repeat this process, somewhat overlapping your ruffles so that the straw does not show through. Start to fluff and open your ruffles as you go along. See the images below as I continue to add additional pieces to the wreath.
Keep in mind, you don’t have to cover the wreath with felt on all sides (unless you’re hanging it on a window or somewhere you will actually see the back side). Simply continue adding felt circles until you are happy with the look and overall coverage. I’ve been wreath with very dense ruffles and some with much looser ruffles and both are really cute. It’s simply a matter of preference.
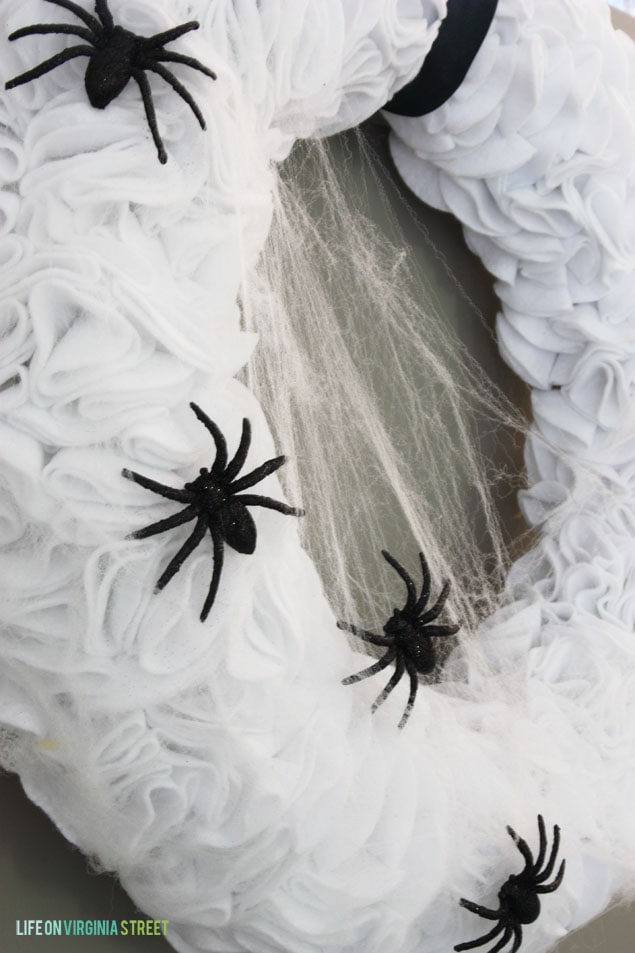
Once the wreath is complete, simply string some decorative cobwebs over the wreath and add your spiders! I was able to find some black glitter spiders at Walmart (hence the reason there is black glitter on my felt) and I thought they added the perfect “cute” creepy touch to the wreath.
I love that as soon as Halloween is over, I can remove the cobwebs and spiders and dress the wreath up for Thanksgiving, Christmas or whichever holiday I want. It’s such a versatile and unique wreath!

I really hope you enjoyed this DIY project! Do you decorate for Halloween?
If you would like to follow along on more of my home decor, DIY, lifestyle, travel and other posts, I’d love to have you follow me on any of the following:
Pinterest | Instagram | Facebook | Twitter
disclosure: some affiliate links used
This is the cutest creepy wreath I’ve ever seen! Nice job 🙂
What a gorgeous wreath!