I am making over my master bedroom in the Frogtape painter challenge and I can’t wait to show you all my progress!
This post is sponsored by FrogTape and contains affiliate links for your shopping convenience. As always, all thoughts and opinions are my own. Click here to read my full disclosure policy.
Today’s the day I’m finally revealing the secret project I’ve been alluding to over the past few months!
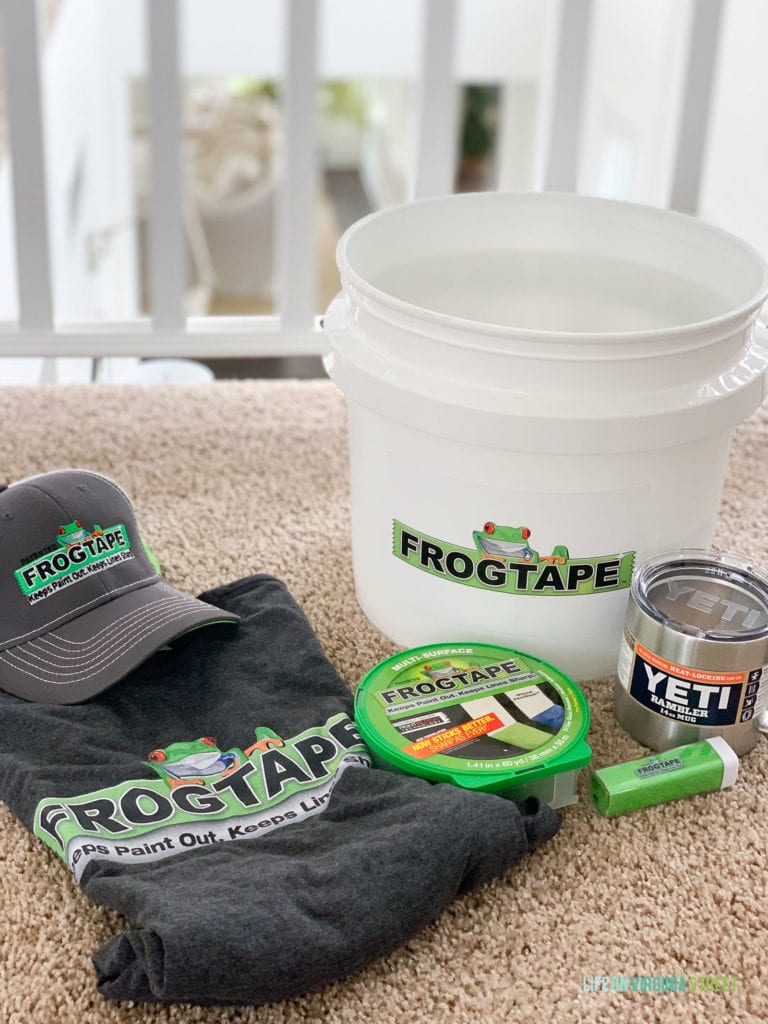
I’m excited to announce I was selected to be a participant in this year’s 2019 FrogTape® Paintover Challenge! So, what does that mean exactly? I, along with four other bloggers and designers, will be making over one room in our home and sharing the progress and reveal with you over the next two weeks. We’re each assigned a design trend to use in our makeover.
After the reveal, you’ll have the chance to vote on your favorite project, and the winner will receive $10,000 to donate to the charity of their choice. WHAT?!? I have selected to compete for Orphan Grain Train, a Christian volunteer network that ships much needed donated food, clothing, medical and other needed items to people in 68 different countries including the USA. We’ve supported them for years and know just how much great work they are doing worldwide!
Each competitor has been given a $1,000 makeover budget and I can’t wait to share the elevated space I’ve created with all of you!
But first, this week I’m going to focus on a little “before” tour of the space I’m making over. As you can guess by the title of the post, I FINALLY updated our master bedroom! Guys, this has been years in the making as many of you know.
As I mentioned, there are five participants and each of us was designed a different design trend. You can see them all here. I was assigned “Natural and Organic” which was a perfect fit for the direction I wanted to take the space! The Natural and Organic décor trend celebrates the freedom of expression and artistic creations all while showing the complexity of life. This trend is about rich textures and tones with a earthy palette that is derived from nature. Think lots of texture, neutrals, and inspiration from nature. Basically how I decorate most of the time 😉 I’m also planning to add a touch of my beachy vibe into the design plans as well, as the two pair so well together!
Before we get into the design board, let’s take a look at the space when we first moved in. The original wall color was flat and very dark.
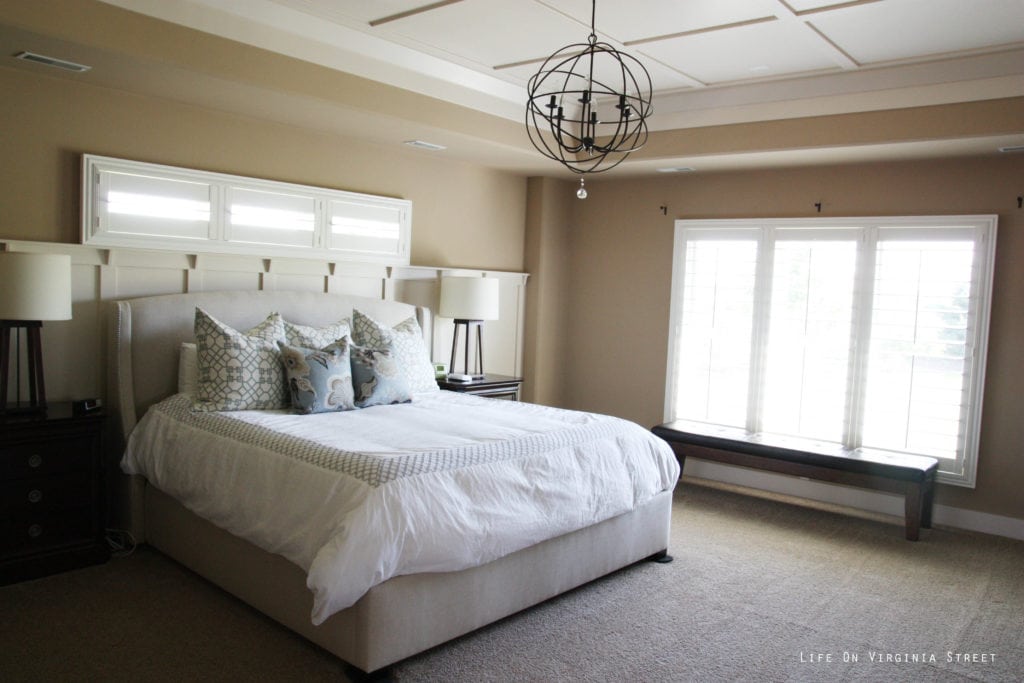
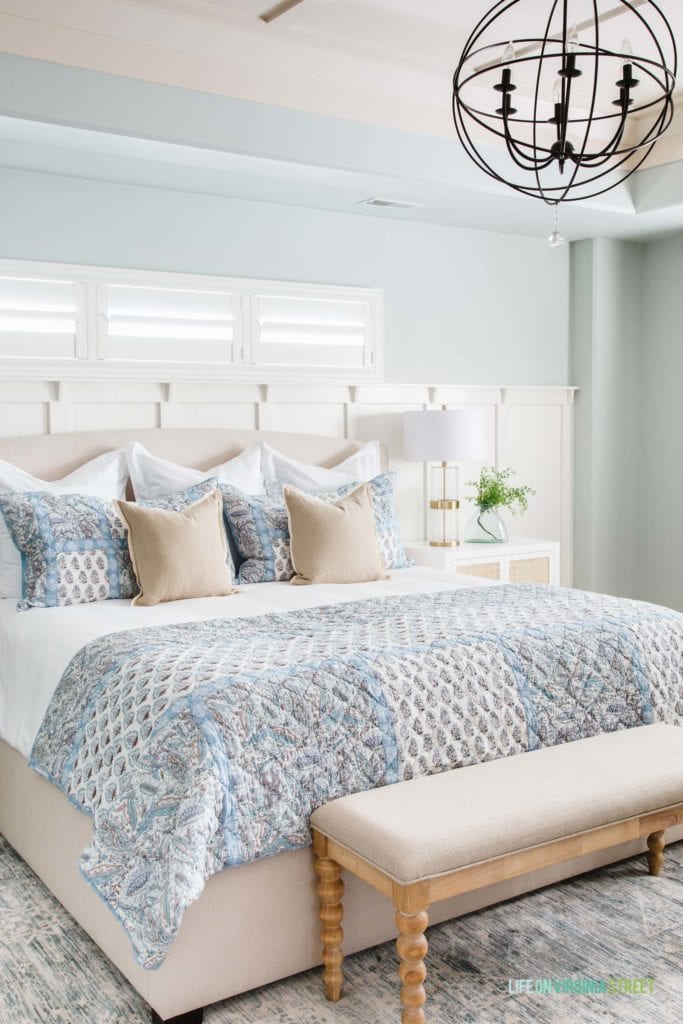
And here is how you likely last remember our bedroom. It is by no stretch of the imagination a bad “before” shot. The room was perfectly fine and beautiful but it never felt like it fit with the rest of our house. Not only that, the ceiling and trim (with the exception of the board and batten behind the bed) were all our original almond trim color. Since the paint was semi-gloss, it reflected light well and never looked as bad in photos as it did in real life. I’ve wanted to get rid of the Sea Salt walls for years now, after realizing I prefer blue in my home decor, not on my walls. It’s always felt cold, impersonal, and just not “us”.
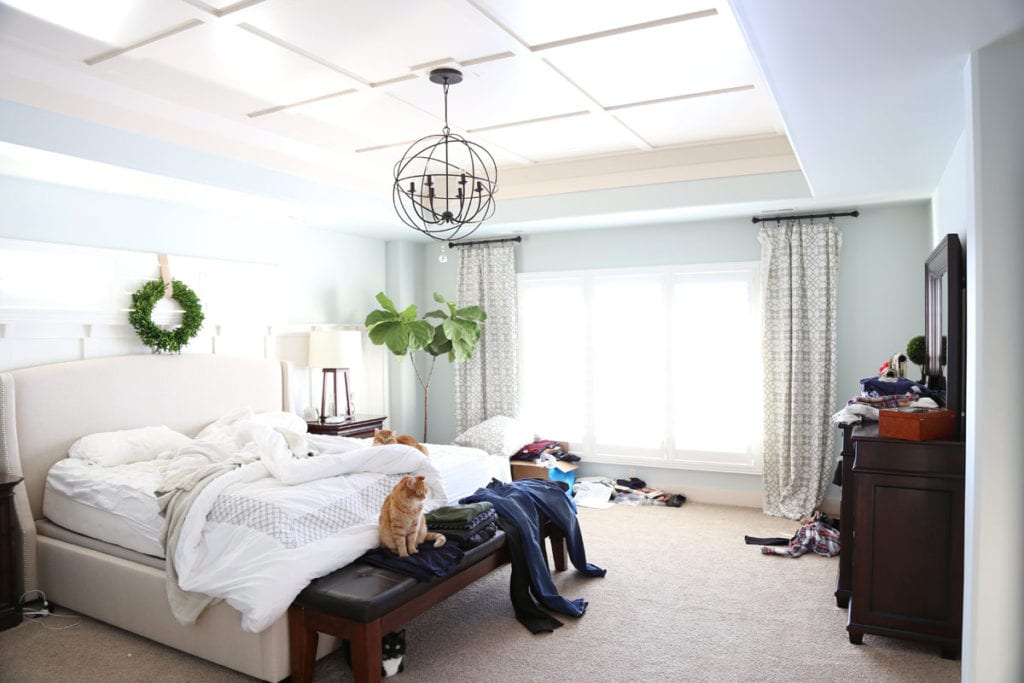
But the reality is, most days it looked like this. Just keeping it real, folks! To this day, I had still only hemmed one of the drapery panels.
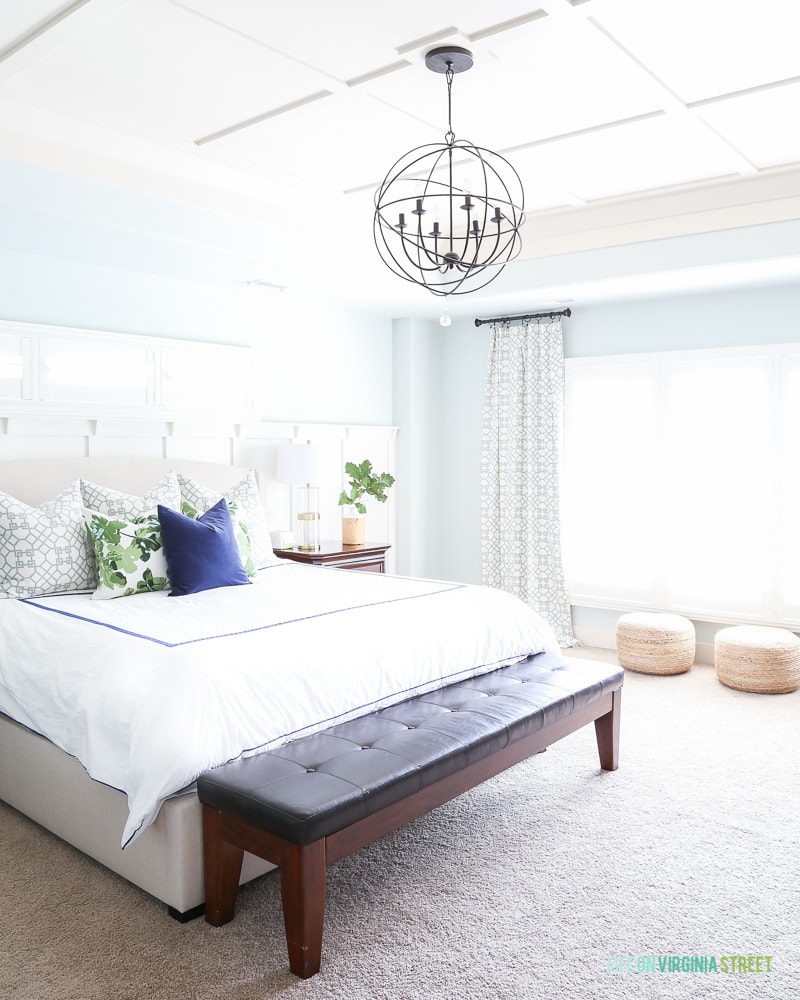
At the beginning of the year, our new nightstands arrived and that definitely helped to remove the dark vibe from the nightstands we’d had for over a decade. Paired with some new soft bedding, it felt like we were making progress. The lighting in the photo below shows you a bit better how off the ceiling color was.
The orb chandelier was a Craigslist find shortly after we moved in because I wanted the existing ceiling fan gone right away. It was a good deal and felt fancy at the time, but I never really loved the finish or the overall look in our bedroom. But, it was definitely better than the fan! Replacing the light was also high on my list for the makeover.
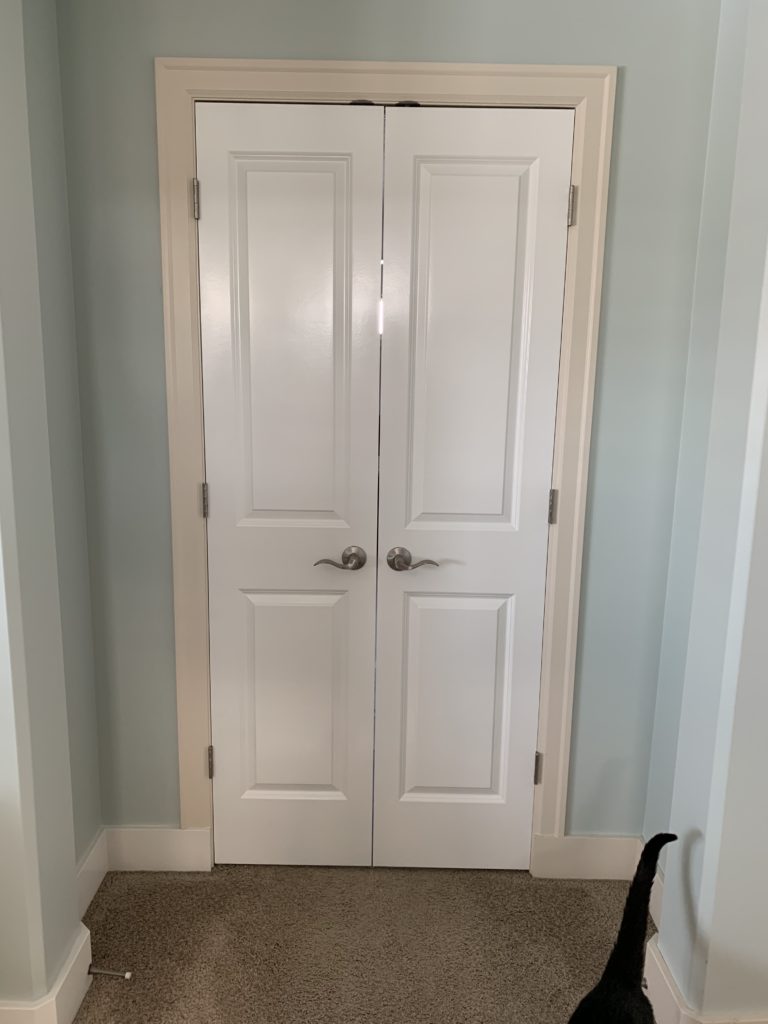
I knew that our bedroom could never live up to its potential until I painted the ceiling, trim, and walls. A task I had been avoiding for the six and a half years we’ve lived here! But, with most of the trim updated in the rest of our house, I knew it was time. I’ll let the photo below speak for itself 😉 Doors – painted early this year. Trim – clearly not.
I started working on a our master bedroom design plans a few months back. I had a general idea of the overall vibe I was going for and came up with the following design board. I was looking for a bit more of a sophisticated space with timeless base elements that will work for years to come. To stay with the Natural and Organic trend, I wanted a mix of natural elements like cane, jute, wood and warm tones brought in from the brass fixtures. I basically added items I loved to the board, regardless of price, simply to get a cohesive plan in place. Also, Kurtis put in a request to not paint the walls white. And since he got a say on nothing else, I decided to oblige his request.
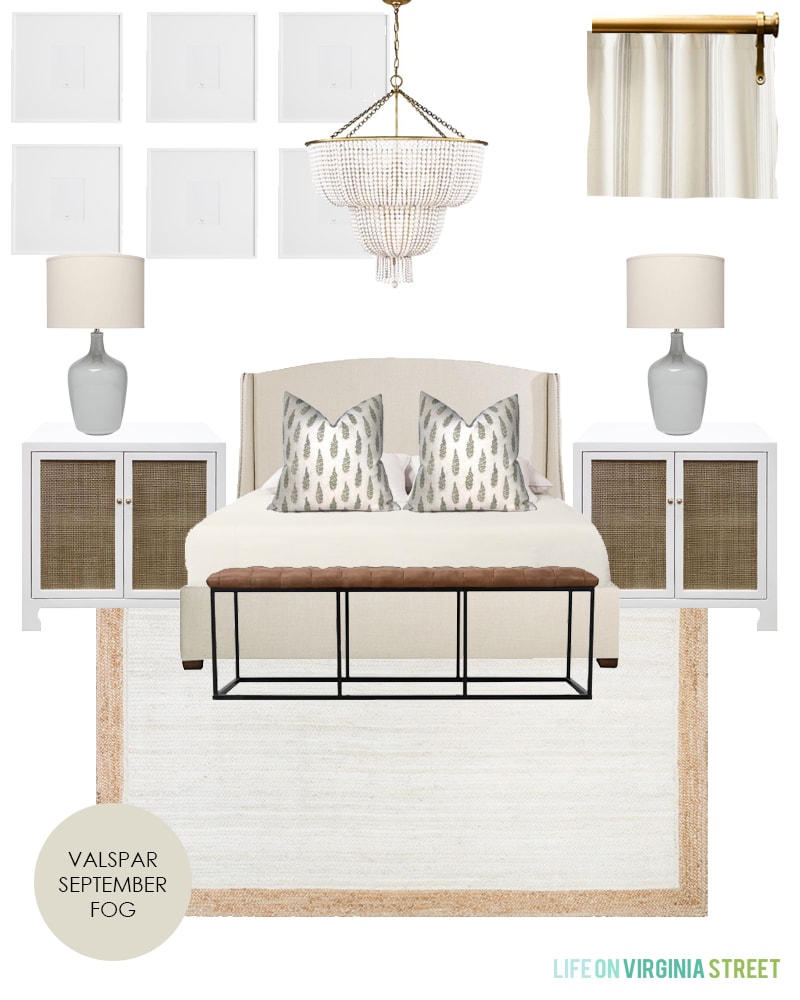
Bed (similar here) | Nightstand | Chandelier | Rug | Pillows | Lamps | Bench | Frames | Curtains | Curtain Rod
But, with little things like “budget” and the fact that I’d probably no longer be married if I bought that dreamy chandelier, I went on the hunt for more budget-friendly options. Following is the updated design board that got me where I needed to be! It certainly helped that I had a few months to shop for decor items when I could find them on their best sales! I already owned the rug (our friends gave it to us when they moved), I had the curtains from a room previously used on our lower level, and I added the lamps we already had in the space. We had a bench that was perfectly fine, and I wasn’t sure I wanted to go as dark as the version in the board above. The rug in the stock photo looks basically about 10% like it does in real life, so don’t let that distract you too much 😉
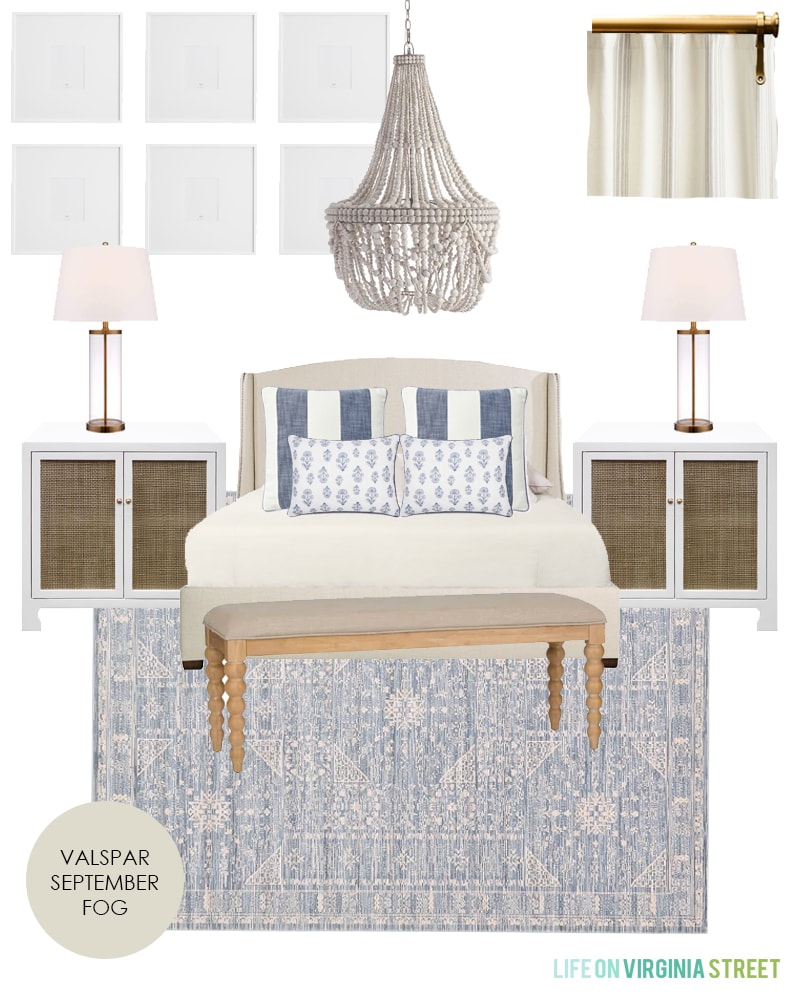
Bed (similar here) | Nightstand | Chandelier | Rug | Lamps | Striped Pillows | Block Print Pillows | Bench | Frames | Curtains | Curtain Rod
We’ll ultimately need to get a new dresser, as well, but I haven’t found anything I’m totally in love with. So that will stay for now! I’ve made a few changes since the “final” design board as I saw how things played out in real-life, so I can’t wait so show you the other picks in my reveal post!
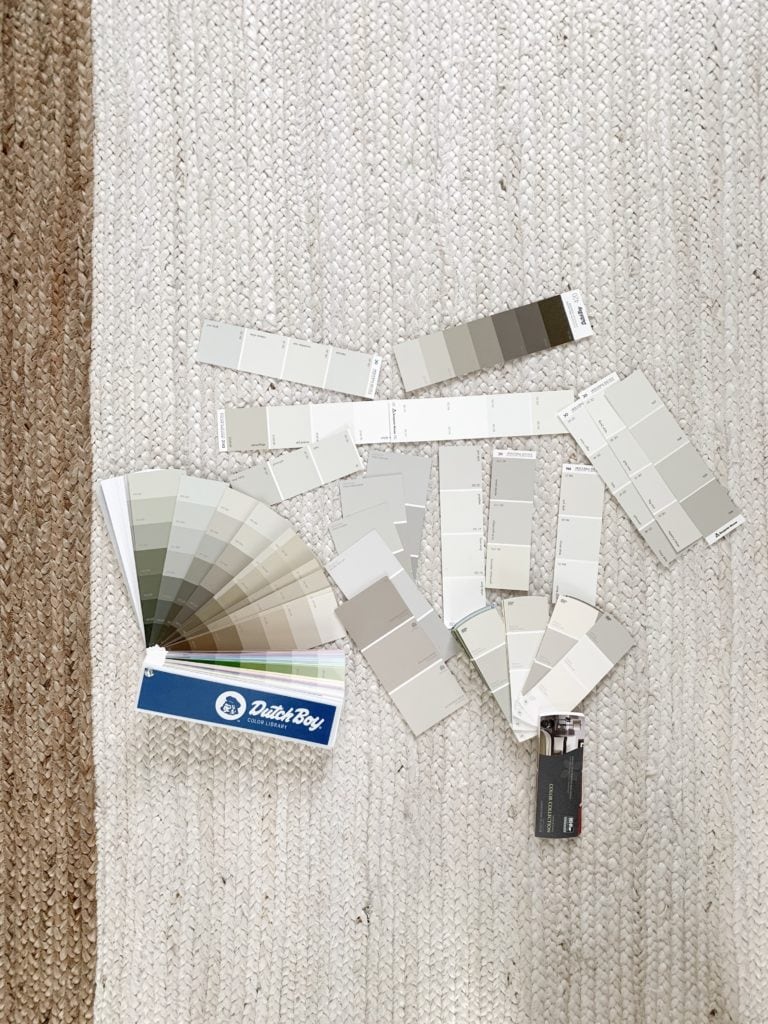
I went through hundreds of samples of paint colors from every brand, looking for a perfect neutral. Something that was beige and gray in different light and not too dark. I ultimately landed on Valspar September Fog. I’ll be doing the ceiling and trim in Benjamin Moore Simply White, like most of the rest of our home.
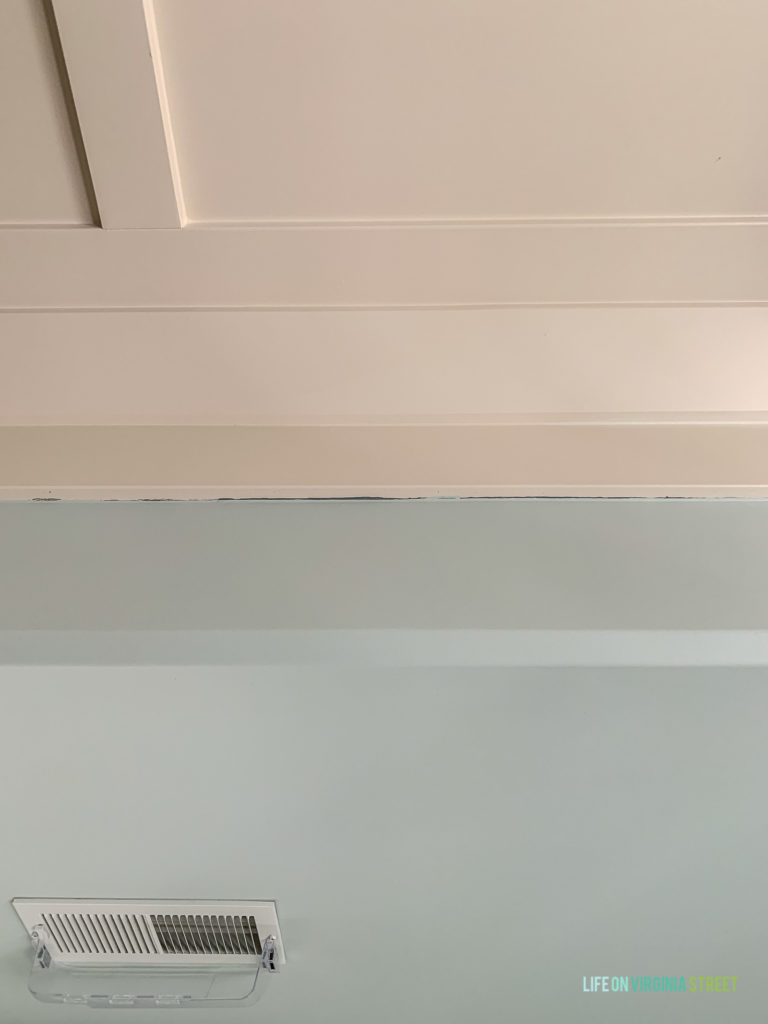
Because of the amount of painting that needs to be done in the space, I will be using multiple rolls of FrogTape® Multi-Surface and FrogTape® Delicate Surface for my project. I’ll go into more detail in my next post on when to use each version. You can see in this gorgeous “before” photo what happens when you don’t use FrogTape®. Multiple colors bleeding and really bad paint lines. I had both the old dark blue color and the Sea Salt all over the trim. Eek!
And since this project isn’t in real-time, you’ll get to see the updated space so much more quickly than my typical projects! I think you’ll love how it turned out! Next week I plan to share my progress and some major sneak peeks, along with a detailed tutorial on how to paint baseboards and trim. Then, in two weeks, I’ll be sharing the reveal with all of you!
I’m so excited for you to see how this project turned out – and to finally have it checked off my to-do list!
If you would like to follow along on more of my home decor, DIY, lifestyle, travel and other posts, I’d love to have you follow me on any of the following:
Pinterest | Instagram | Facebook | Twitter
disclosure: some affiliate links used
That blue is beautiful…much better! Fresher and natural….
Nancy
wildoakdesigns.blogspot.com
Pretty cool! I like the elements you’ve chosen….I’m excited to see the finished project! 💜