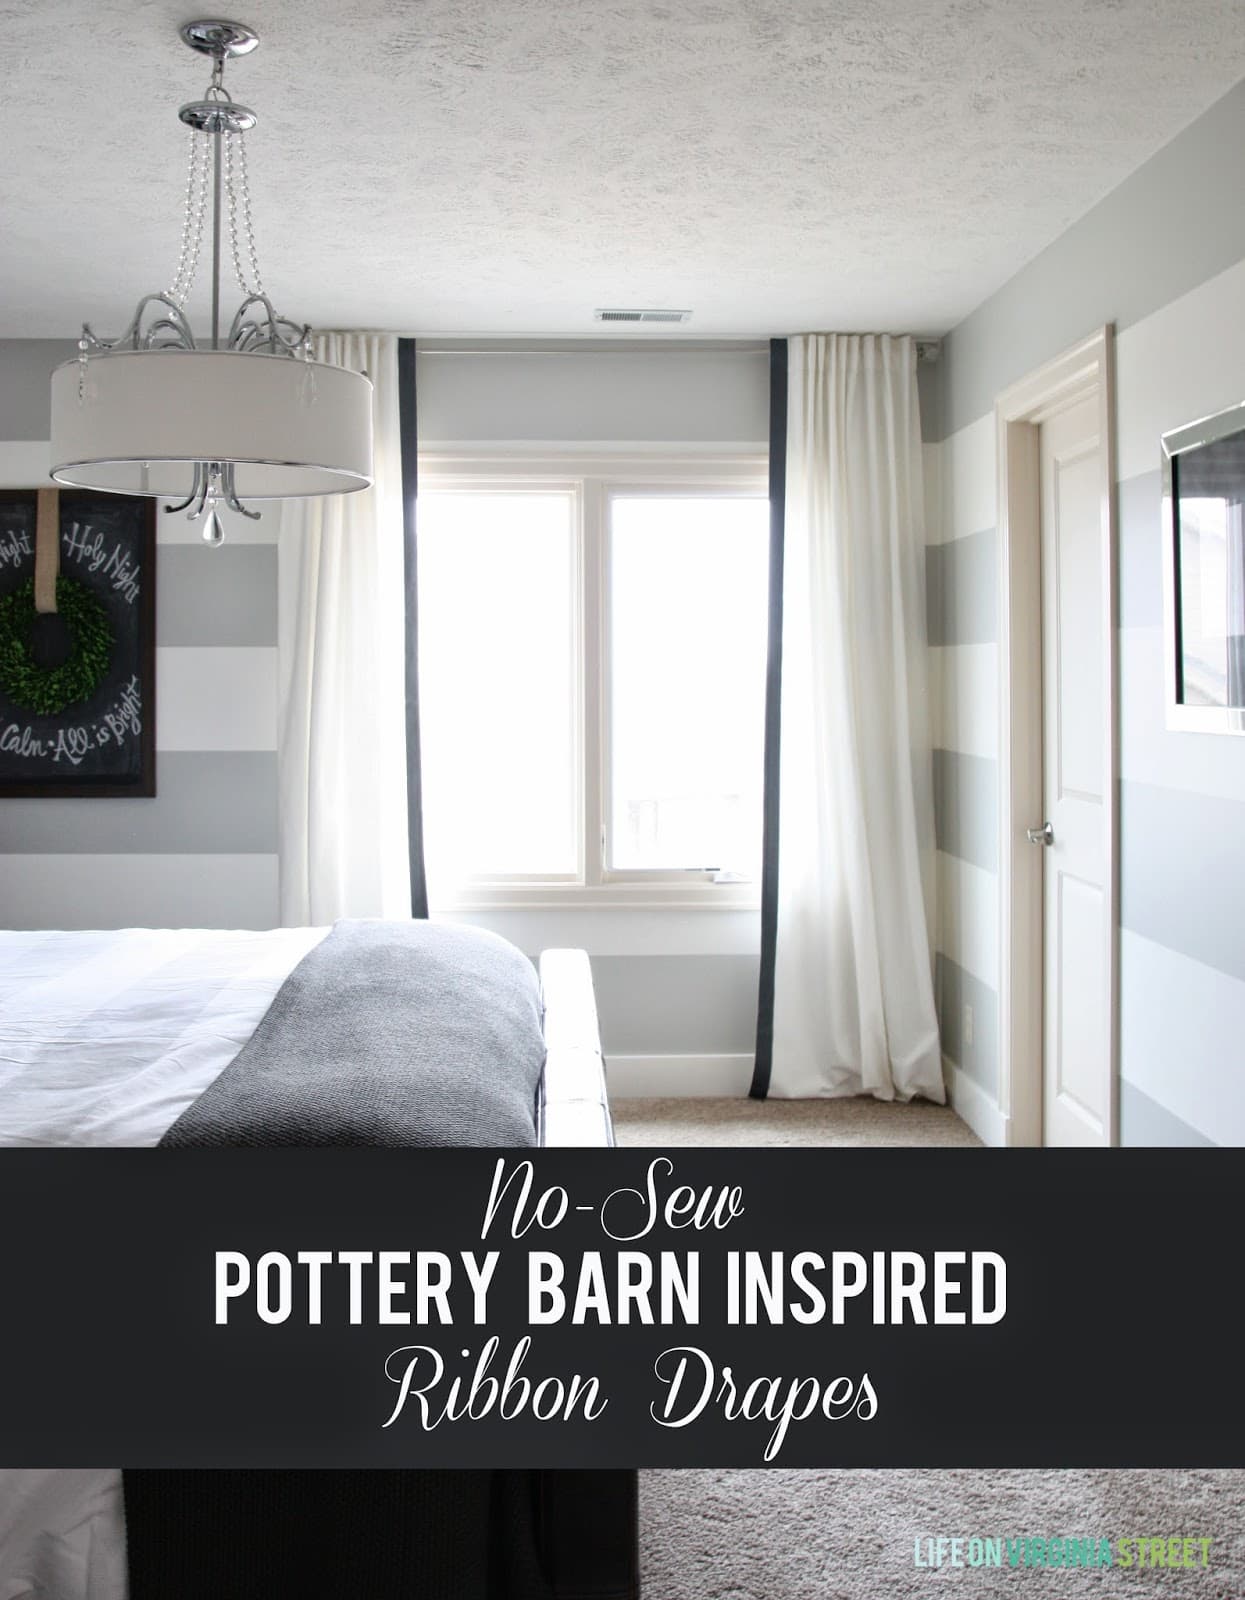
Sharing the full tutorial on how to make beautiful, no-sew Pottery Barn inspired ribbon drapes!
It’s hard to believe, but the next quarter of our Look-For-Less Design Challenge is here! You may remember my 
I’ve had the design for the drapes in my mind for some time and have had them mocked-up in the room for several months with stick pins. #Classy. This design challenge prompted me to get my butt in gear and tackle this curtain project once and for all!
My inspiration: The Pottery Barn Morgan Drape – ringing in at $129 per panel for the length I needed.
 |
| {via Pottery Barn} |
Last Thanksgiving when I was in Utah, I picked up some IKEA Ritva panels. Super cheap but solidly made – exactly what I needed to begin this knock-off. For an excellent post on the right way to hang these panels, check out this post from Autumn at Design*Dump. The pictures do wonders in terms of explanation. I picked up the lovely grosgrain ribbon from Ribbon Retreat – they pretty much have every color and width of grosgrain ribbon you can imagine at a great price. This grosgrain ribbon roll is very similar to what I used.
With the striped walls in the room, I felt like the look was cleaner if I simplified the grey ribbon on the panels I made, in lieu of the Pottery Barn version. I decided to do one strip of ribbon on the inner edges. To visualize if I liked it, I simply pinned the grosgrain ribbon in place – one panel with the ribbon on the edge, and another with the ribbon inset a few images {similar to the Pottery Barn version}. I opted for the edge.
No-Sew Ribbon Trim Curtain Supplies
If you saw my no-sew shower curtain, this DIY process is even easier since I was only affixing ribbon to the top of the drape – not wrapping it on both sides of the panel. However, the main element is the same – Stitch Witchery to the rescue! Following are the supplies needed for this project:
Following are the simple supplies need for this project. Each of the supplies listed below is clickable so you can easily add them to your cart:
- A pre-made curtain panel (I used these)
- Ribbon
- Stitch Witchery
- Scissors
- An iron and an ironing board.
Simple!
No-Sew Ribbon Trim Curtain Tutorial
I started at the top of each curtain panel. I laid out some of the 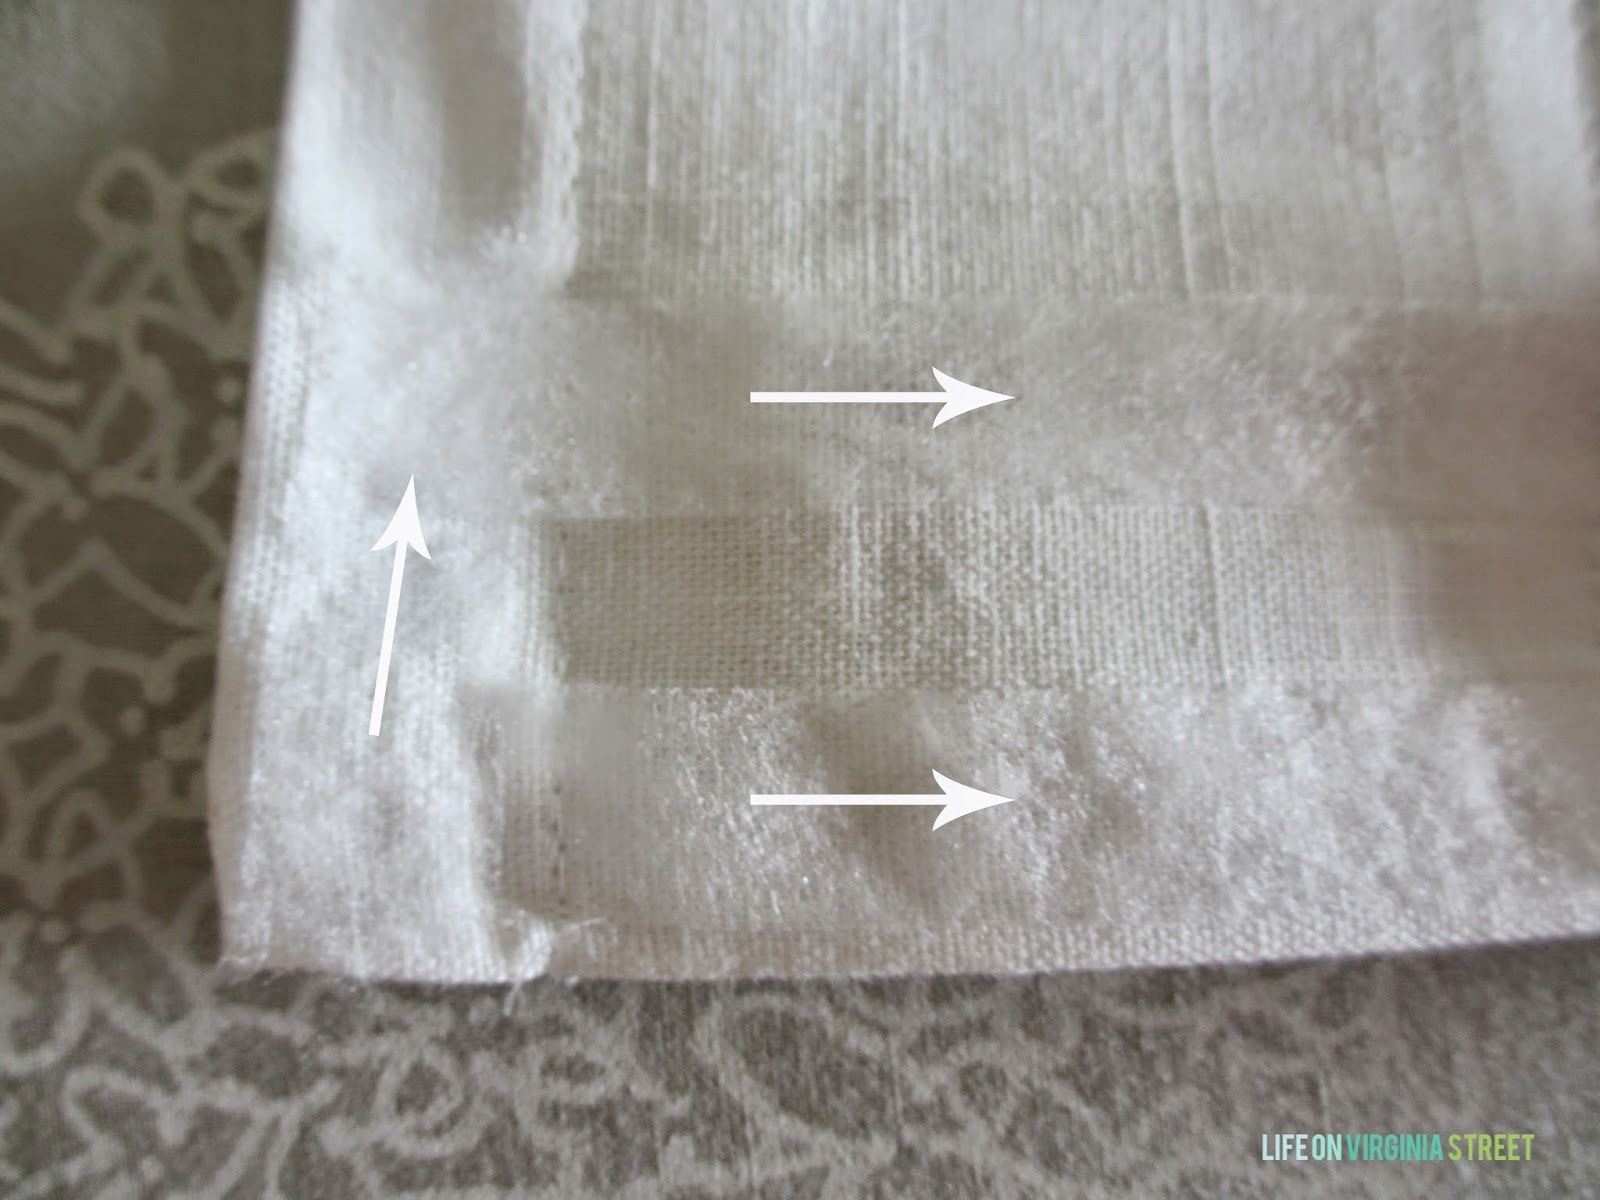 I then carefully laid the ribbon over it, leaving about a two-inch overhand on the top. Once everything is lined up and you ensure none of the
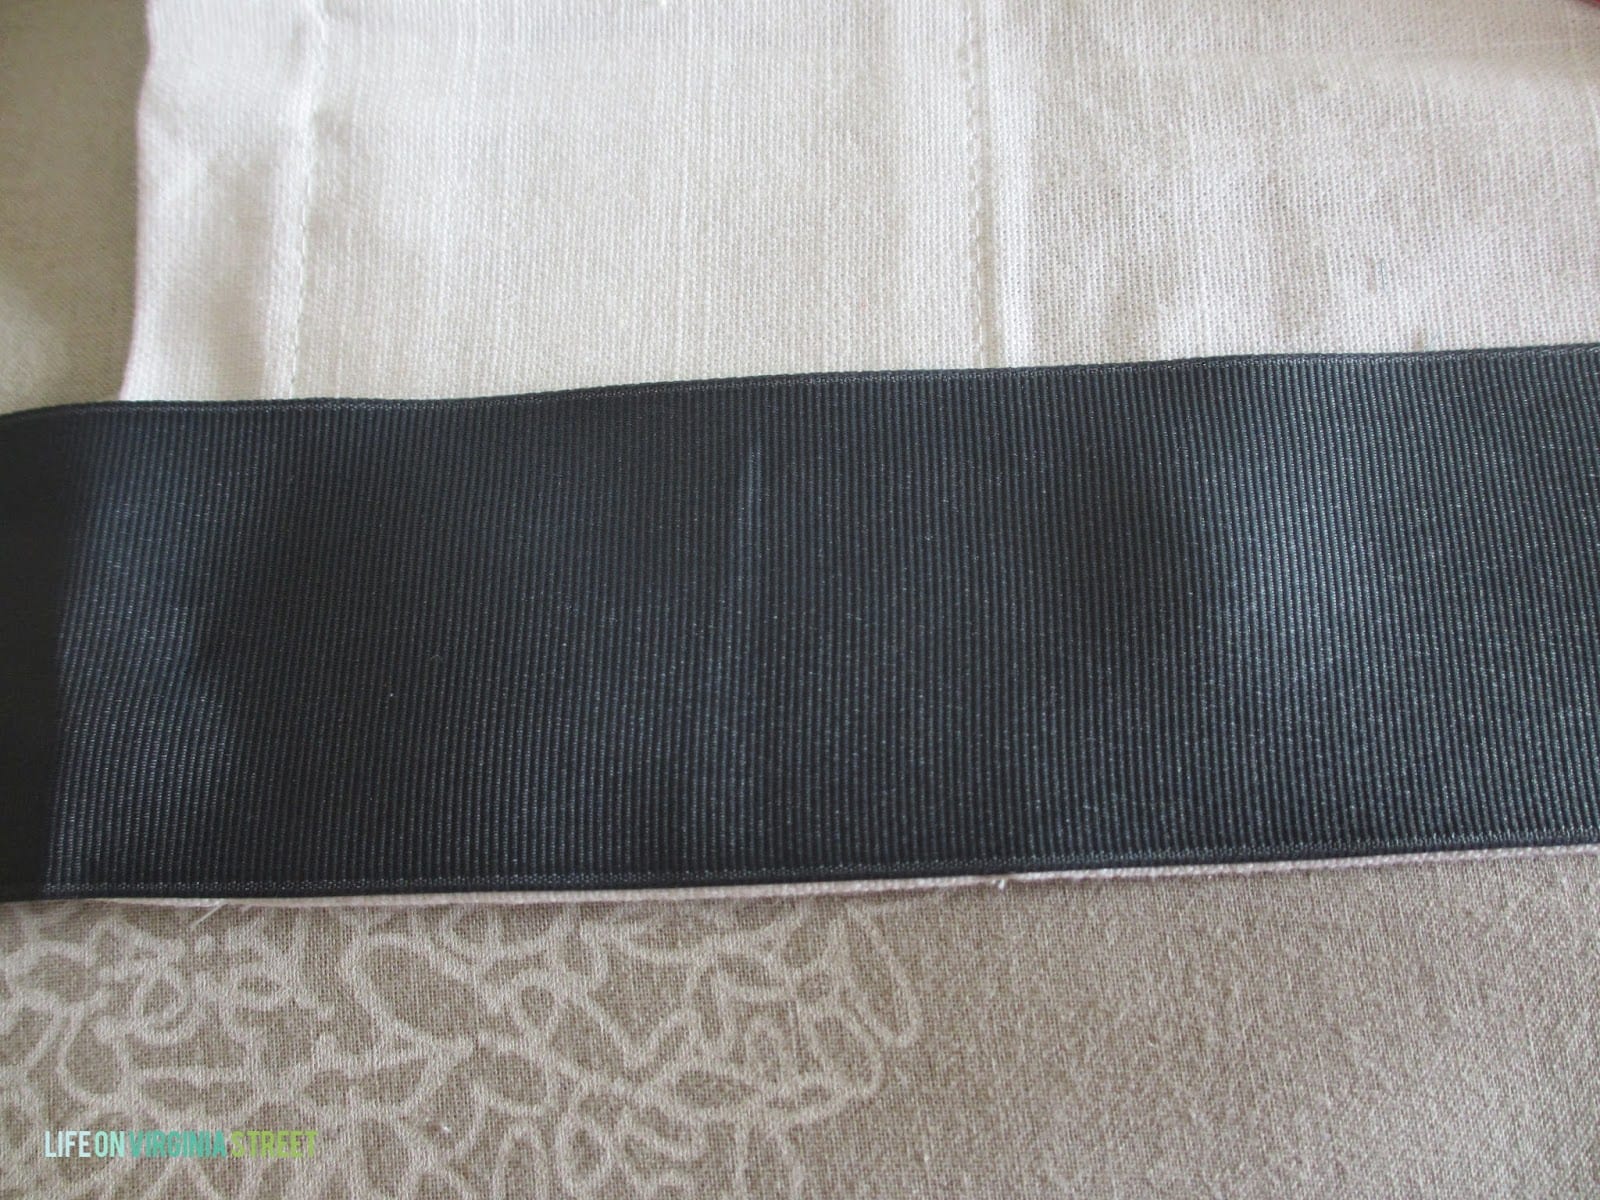
I then flipped over that top corner, applied some stitch witchery for the two-inch overhang, wrapped the ribbon over the top, and then repeated with the iron.
Next I gradually worked down the front of the stylish drape, continuing in two-foot sections, adding Stitch Witchery behind the ribbon on each of its sides.
As I got to the end of each two-foot section, I would peel the ribbon up slightly and tuck under the SW to start the next section. Worked like a charm!
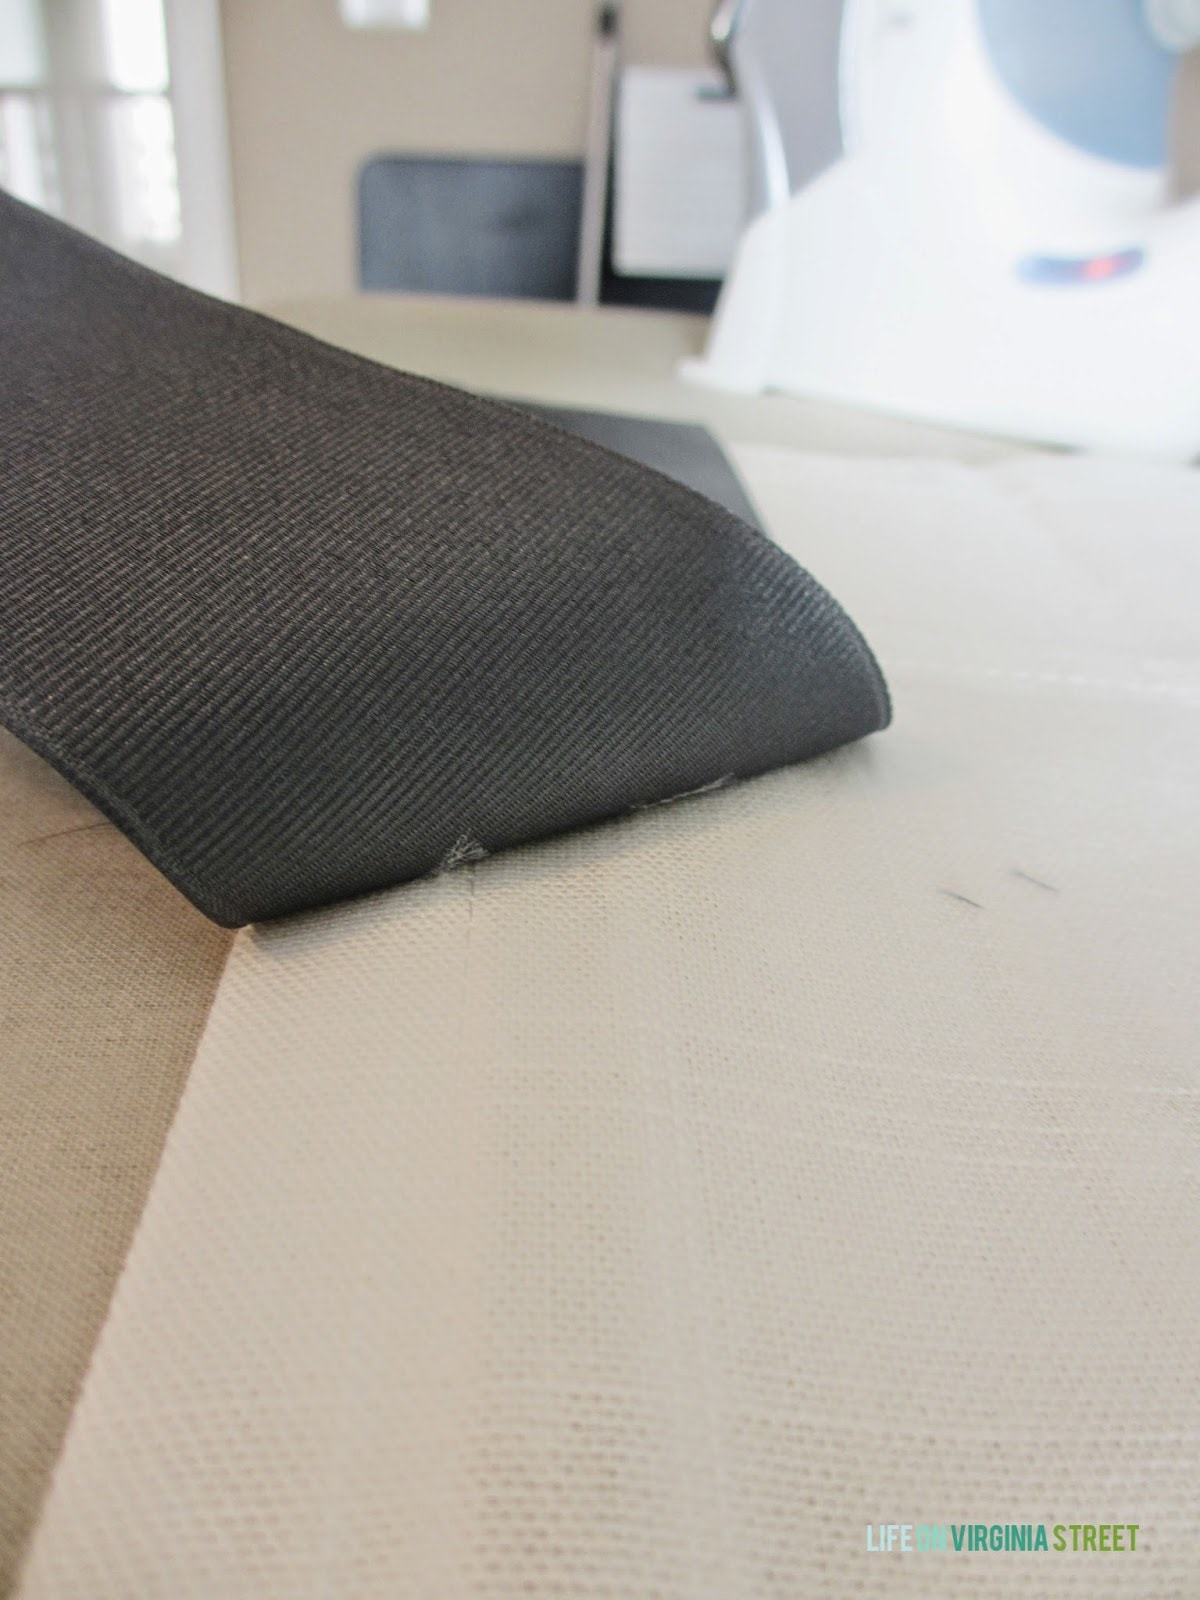
Each panel took just under 30 minutes to complete. And 25 minutes of that was spent ironing each panel because I had never done so after I took them out of the package in November. This is an EASY project that even the most beginner DIYer can tackle. Give it a try! I haven’t actually hemmed the bottom of the drapes yet, but if/when I do, you can be sure it will be with the Stitch Witchery in lieu of using my sewing machine!
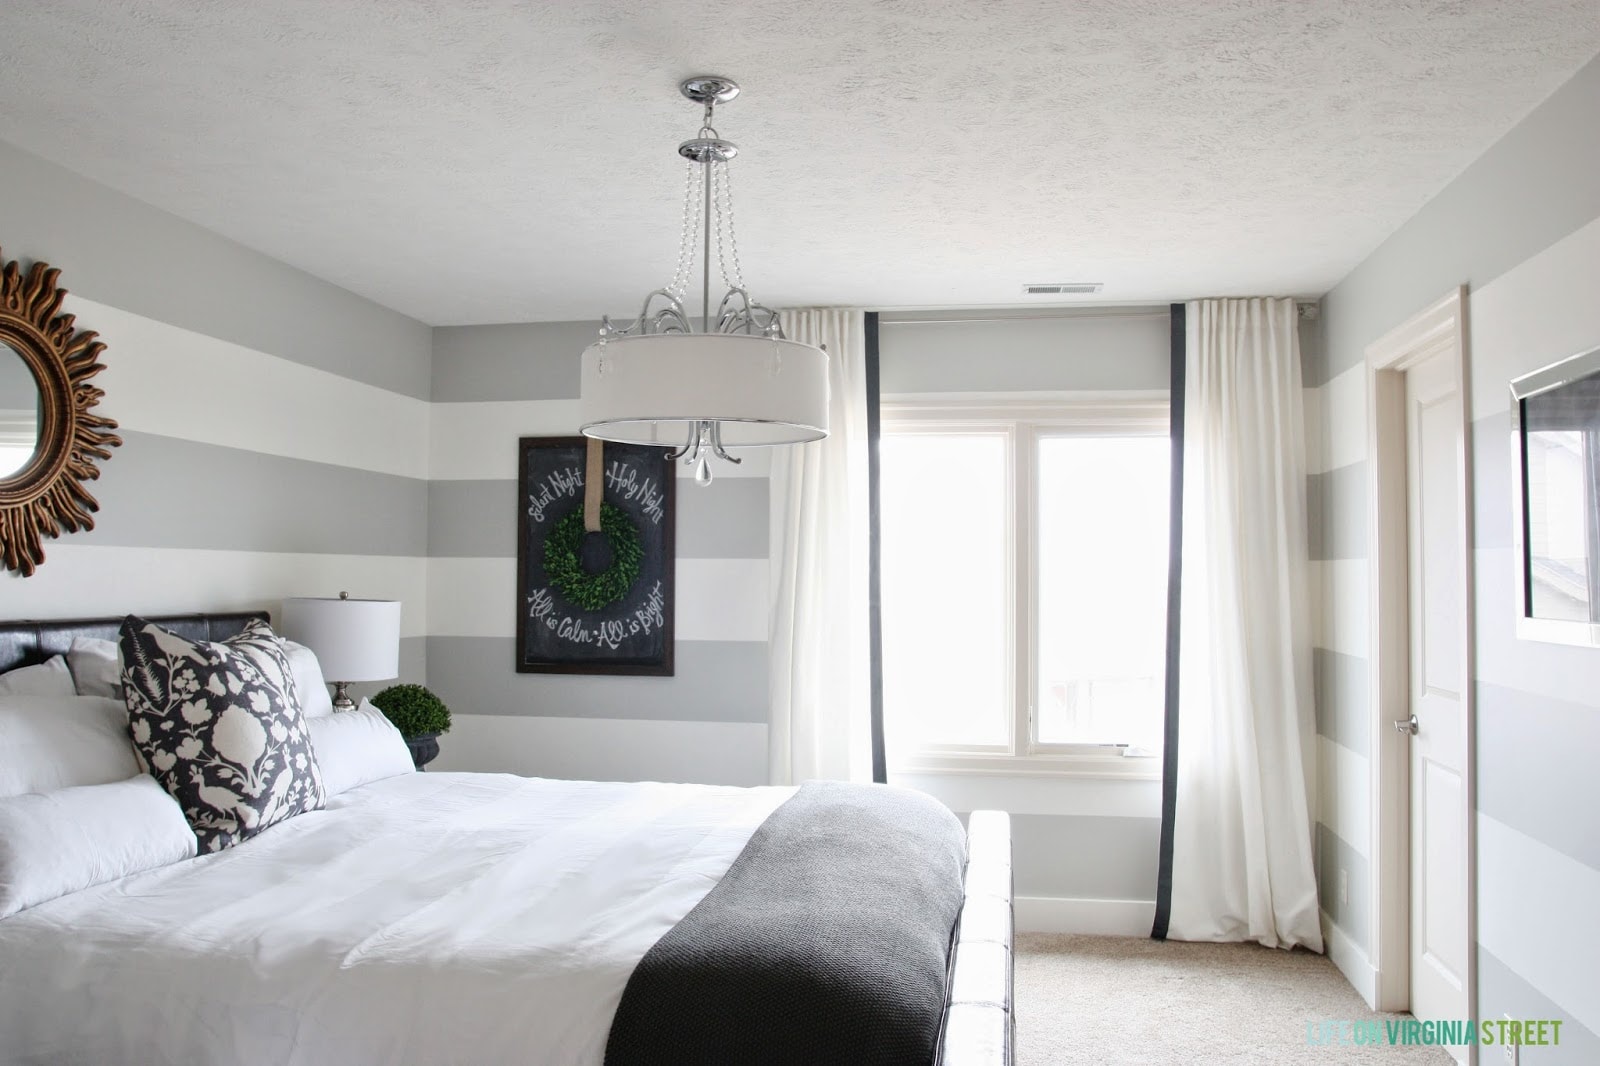
These drapes help complete and transform the room. Such an easy update to some plain white drapes!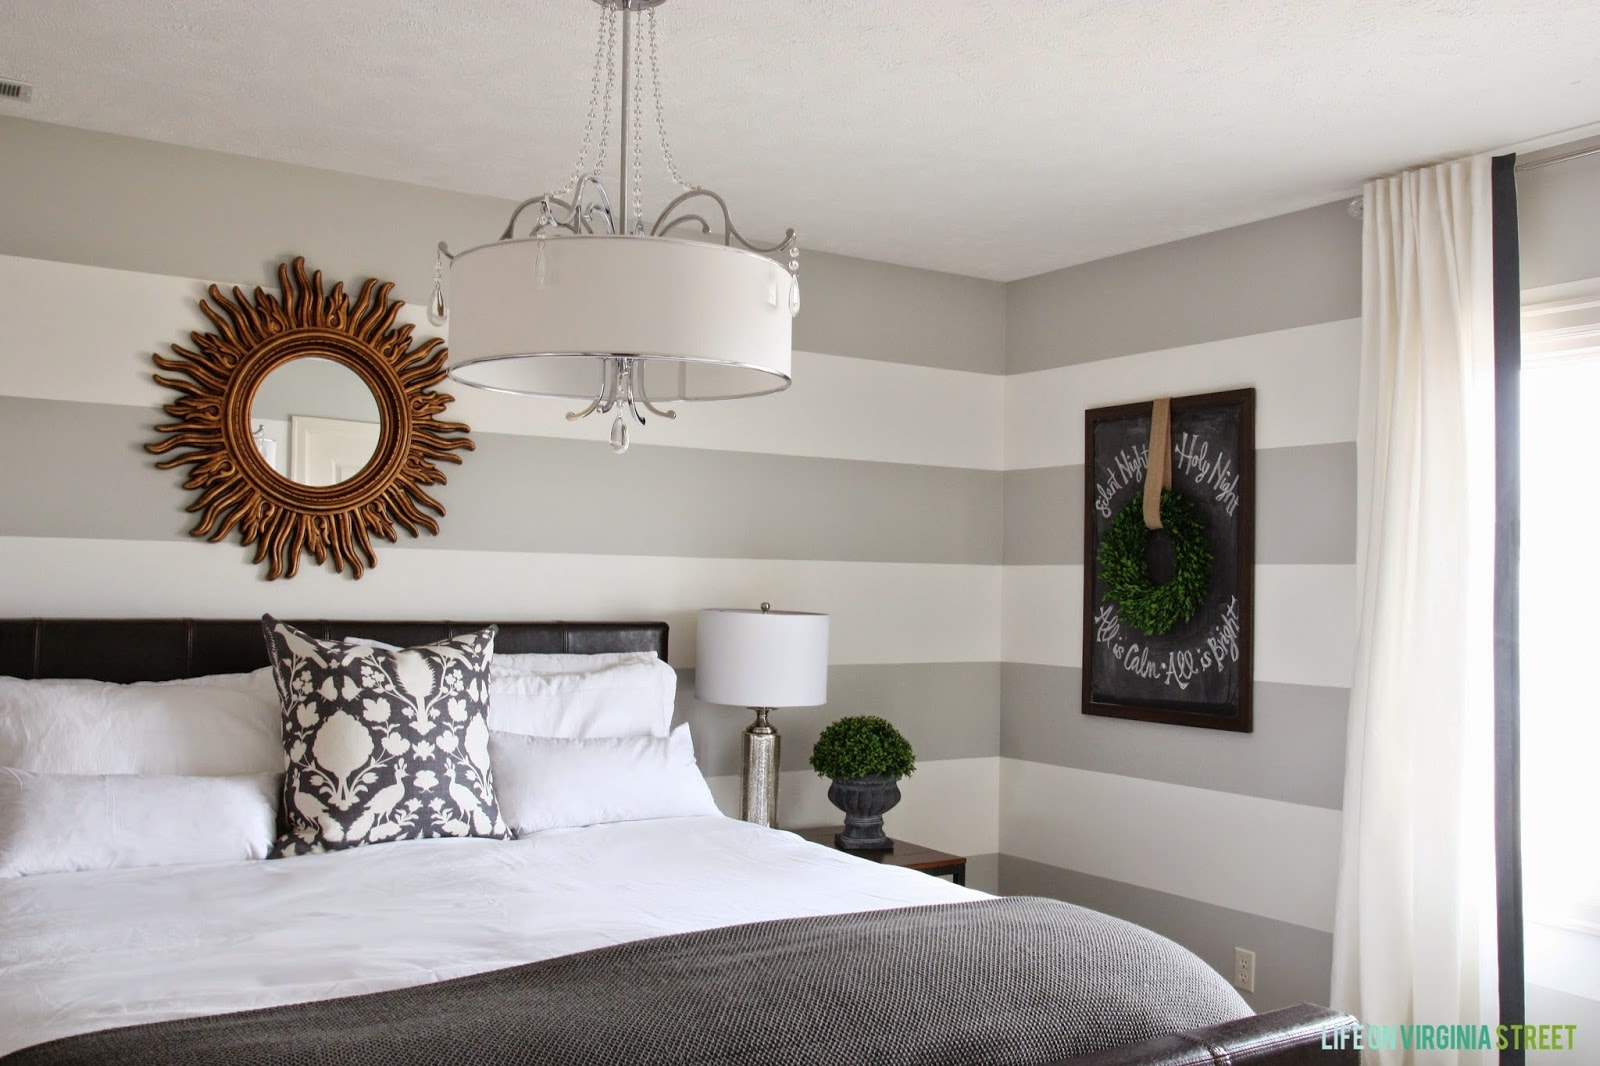
You can also find me on Instagram, Facebook, and Twitter.
Remember, the fun doesn’t stop here! Stop by these other six blogs for more amazing look for less projects!

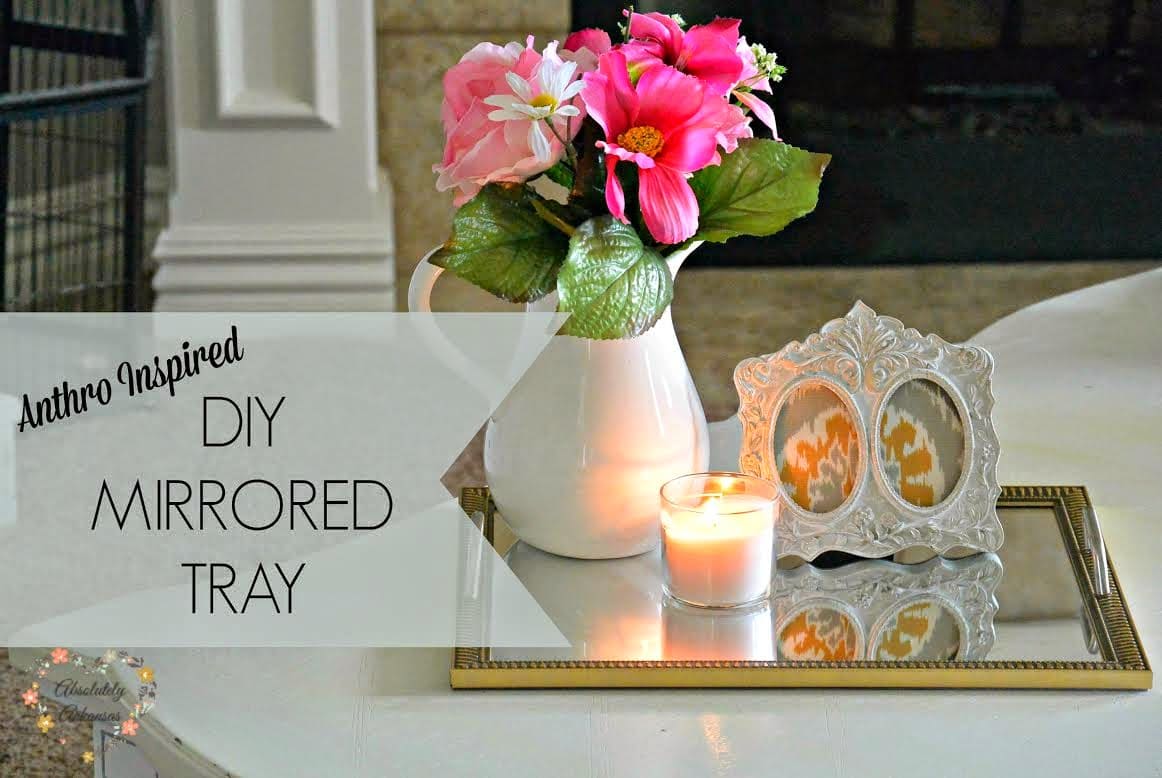
Like A Saturday – Anthropologie Inspired Cake Stand

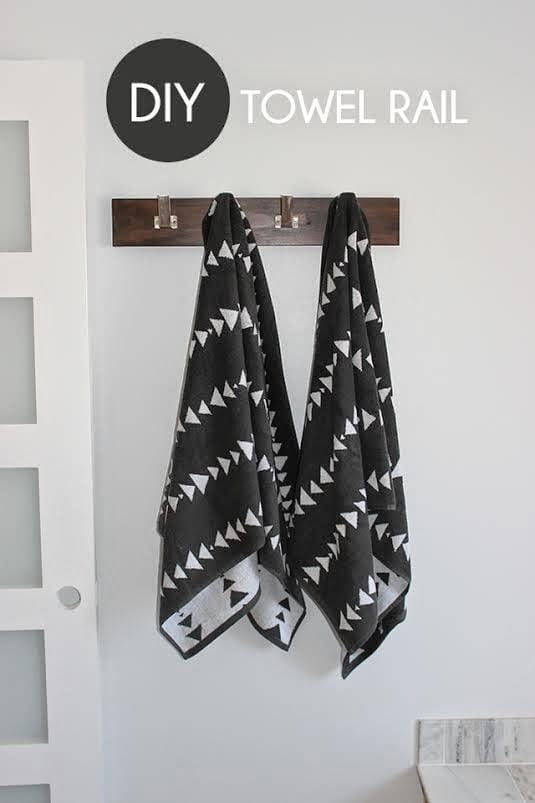
Home Coming – DIY Towel Rail
Kitchen Table Art – West Elm Inspired Hanging Planters

Life.Love.Larson – DIY Succulent & Cactus Terrarium

*disclosure: affiliate links used
This comment has been removed by the author.
I LOVE stitch witchery. This girl does NOT sew, so my iron and that tape are my best friends 🙂 It truly does complete the room, I need to come stay at your house! I’d never leave! 😉
xo,
Kylie
These are beautiful! I bought the same Ikea drapes for our living room and have been brainstorming ideas to spruce them up a bit. Thanks for the tutorial! 🙂
These turned out beautifully! They’re so classic and elegant looking. Great job!
I have had this project on my master bedroom “to-do” list for what seems like 2 years. Okay, it has been 2 years because I can’t ever seem to start and finish a project!! Love the simplicity and classic look it brings to a space, and I love me so stitch witchery!
Looks like the original Sarah! Thanks for sharing your trick!
Your curtains look great! I’ve been wanting to do something similar with our living room drapes, thank you for the tutorial! 🙂
Stitch Witchery is amazing! Love that stuff! xo Kristin
Such a beautiful room, Sarah! I can’t believe this is a “guest” bedroom! Love the stripes on the walls. Your drapes turned out great and I love how you got the look you wanted without paying the price.
Adorable! Please tell us about the rod you used. I always have sagging issues when I have to span a double window. I need to find a seriously sturdy rod.
Thanks Janice! The rod actually came with the house. I usually find that as long as the rod is around 1″ in diameter it will help to avoid any of the sagging issues when spanning wide widths. On really wide windows, I always install the center bracket that is usually provided as well to add additional support. I hope this helps!
I love the way yours turned out!! I just did this to my kitchen bay window curtains…they were plain white so I just added a Greek key ribbon to the top and BAM, what a difference!
Oh my that room is gorgeous with gray/white stripes, love it. Too lazy to do it myself but love it when somebody else does the work, lol. The drapes are so nice, that ribbon really completes them. How wide was the grosgrain you used? In first photo it looked like satin ribbon but then lighting was different in next photos so could tell it was grosgrain. Don’t imagine satin would be easy to work with, even with the stitch witchery. That is some great stuff isn’t it? I sew but not when I don’t have to like on a project like that.
Got some panels at T.J.Maxx few weeks ago but think they would look better with ribbon on inner edges. Needs little something extra. I’ll have to measure to see how much ribbon I’d need. Wish we had an IKEA here, hate paying S&H for everything. Grand Junction is a dud for stores. Takes them longer to get new craft merchandise in long after other areas have had it. No Home goods, no IKEA. sigh. lol. Happy days
I think you have everybody at “no-sew”! These are beautiful! Thanks so much for sharing at our knock off themed party!!