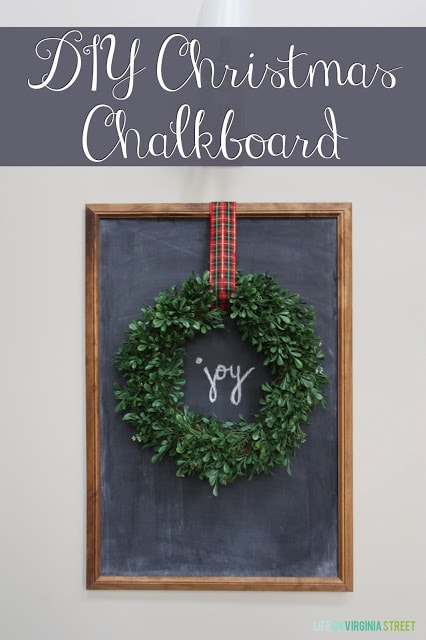
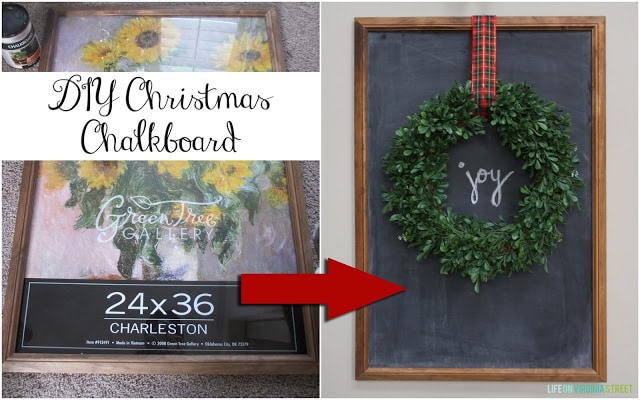
I’m not sure what got into me, but I was feeling extra crafty this weekend. The first project I completed was this easy DIY Christmas Chalkboard with Wreath artwork for our entryway hall. Other than the paint drying time I had to allow for {about two hours} this project took me less than an hour to complete. This fact alone motivated me to do a second one that I’ll share later this week!
I was inspired by pins I had seen recently {like this, this and this} but decided to just wing the process since I had worked with chalkboard paint in the past.
Supplies Needed (affiliate links are included below for your shopping convenience):
- Chalkboard Paint (I used Valspar because I had it on hand but love the linked version just as much)
- Poster Frame with Glass – I linked one I really like, but pick a frame you love!
- Chalk and Chalk Markers (I am obsessed with my chalkboard markers – so much cleaner!)
- Plaid Ribbon (similar)
- Boxwood Wreath (the linked version is my current favorite and has replaced the plastic one shown in this tutorial)
- Pushpin
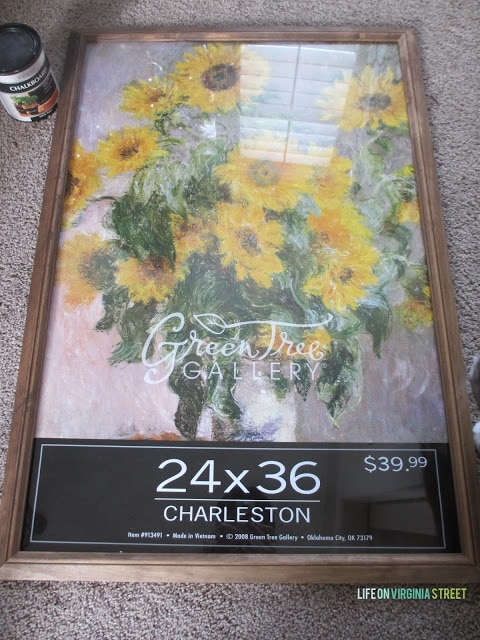
I started with this frame I got from Hobby Lobby. It was regularly $39.99 but they were 50% off, so this project rang in around $20 since I had leftover chalkboard paint on hand {as well as the ribbon and the wreath}. I liked the tone of the wood on this frame – although I do wish it were a bit more substantial.
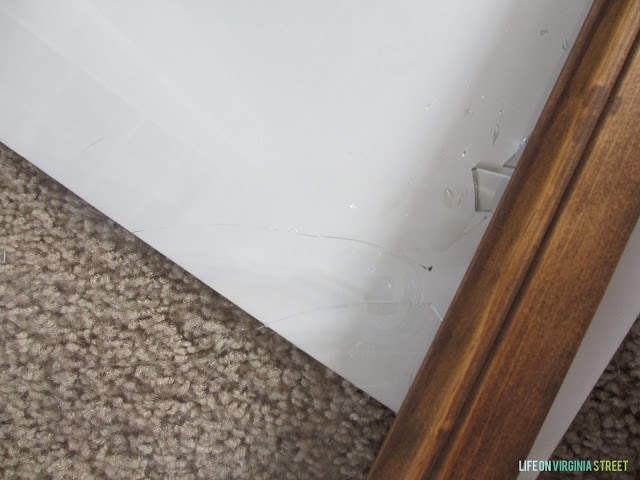
I started by trying to remove the glass so I wouldn’t haven’t to tape off the wood. Seemed like an easy task, but it shattered on me. Yikes. Since the glass was going to originally be the surface for my chalkboard, I had to go to plan B and use the cardboard backing that came with the frame. It isn’t quite as sturdy but I wasn’t looking to go buy another frame.
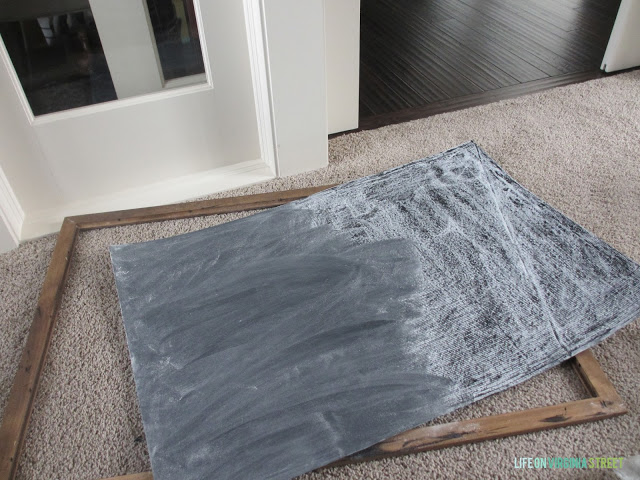
I used a black foam paint brush and I covered the entire cardboard piece in chalkboard paint. After about 20 minutes of drying time, I added a second coat. The dry time would likely take a little longer on the glass surface if you go that route. Be sure to do all your strokes the same direction. The paint can said not to use or recoat for 24 hours, but I’m less than patient. You can tell the paint is fully dry when it goes from shiny navy to matte black. After about another hour and a half of dry time, I “primed” the board. Basically I just used chalk {laid on its side} to cover the entire board.
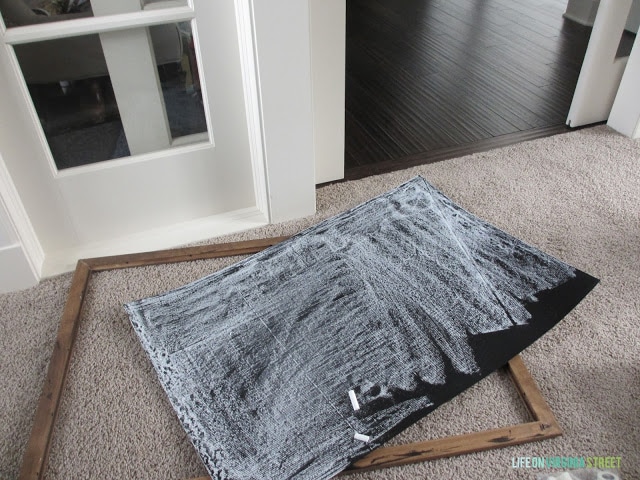
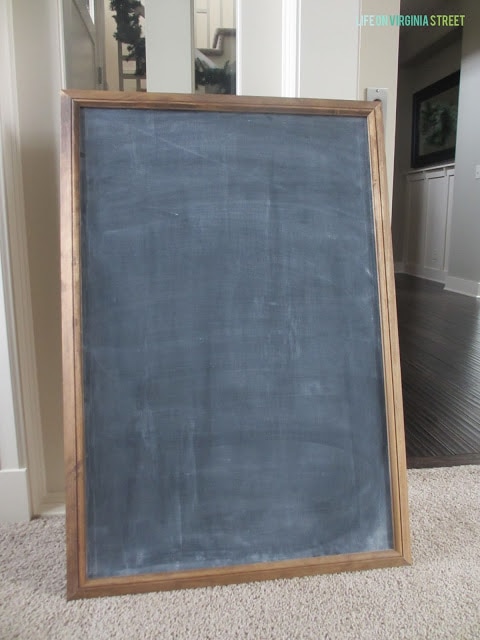
Then, use your eraser to rub it all in. You’re going to have a mess at this point but you don’t not want to skip this step. I used paper towels afterwards to wipe off the excess chalk powder and then went back over it with the eraser to make the background more uniform..
Done! As a side note, if you get fingerprints on the board {they show up like grease spots} simply use your eraser and they’ll be gone in no time.
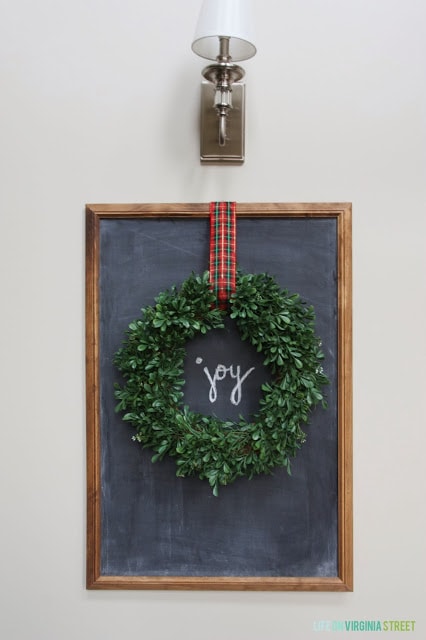
I then used a pushpin to hang the ribbon from the top of the frame to secure the wreath. LOVE!

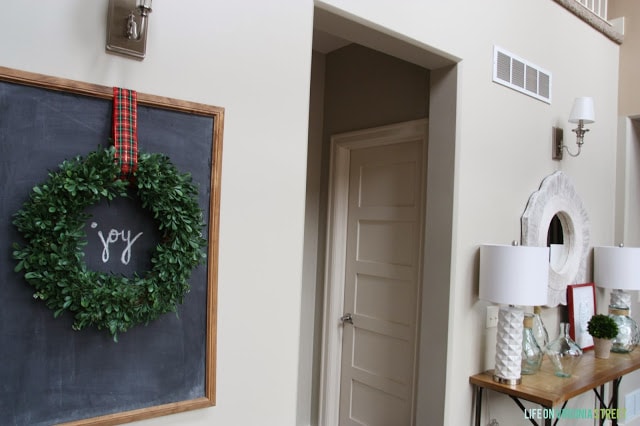
You can see additional views of the entryway in my Christmas Home Tour from last week, but here’s a shot that shows the chalkboard art in relation to the entryway table.
This is such an easy project to turn seasonally as well. Simply change out the saying and the wreath/ribbon and you have a whole new piece of art. I love how this turned out and I can’t wait to share the other, fairly different version with you later this week!
If you would like to follow along on more of my home decor, DIY, lifestyle, travel and other posts, I’d love to have you follow me on any of the following:
Pinterest / Instagram / Facebook / Twitter / Bloglovin’ / Google
disclosure: affiliate links included in this post for your shopping convenience
gorgeous!!! PINNED
Looks gorgeous! The same thing happened to me with a Hob Lob frame. I wonder if it’s a fluke or if it is something with their frames….
Absolutely simple and gorgeous! Thanks for sharing Sarah!
Love this!!
I am loving the wreath’s hung from chalkboards/mirrors/windows look this year. Thanks for the great tutorial! Very cute!
Just wanted you to know that I loved this so much, I’m featuring it on The DIY’ers today! http://homecomingmn.blogspot.com/2013/12/the-diyers-42.html
Your wreath looks stunning against your new chalkboard- isn’t is crazy how simple it is to make a giant one compared to what you would pay in stores?? Thanks for the tutorial Sarah- pinning it!
This is a beautiful project that looks totally doable! I have a huge blank wall in my kitchen and think three of these lined up would be perfect!