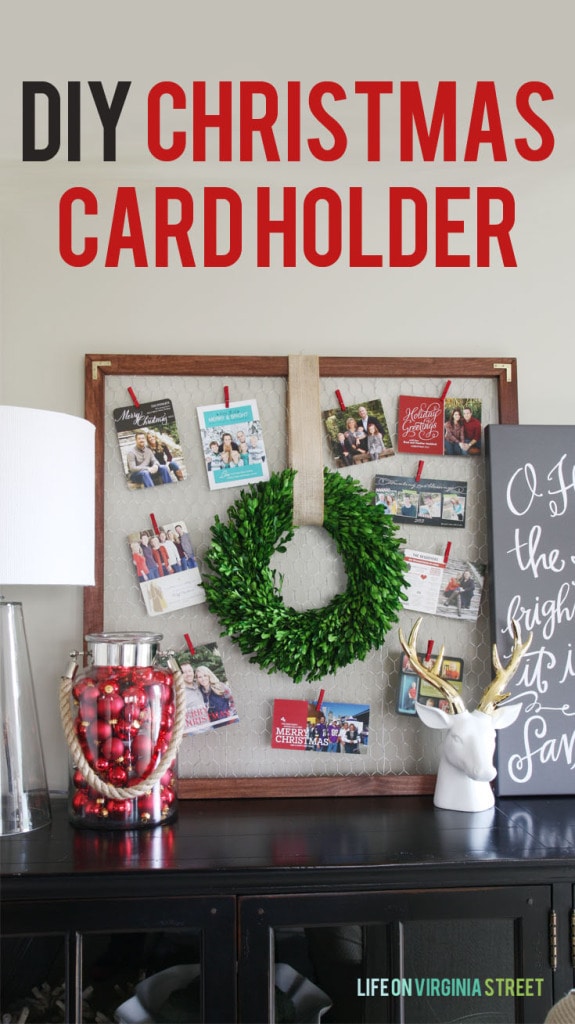
Displaying Christmas cards can be a challenge, but I will show you how to make a cute and functional DIY Christmas card holder!
Last week I shared a preview of my DIY Christmas Card Holder. Over the weekend I found a stash of old Christmas cards from 2012 and wanted to show how much cuter it looks now with some real holiday cards on it {even if they are two years old}!
I got the idea for this DIY project from LollyJane and knew I had to recreate it once I stumbled upon it on Pinterest. I won’t entirely recreate the tutorial, as they provide a full shopping list as well as some basic instructions. But I will, however, clarify where I changed things up slightly.
DIY CHRISTMAS CARD HOLDER SUPPLY LIST AND TOTAL COSTS
- Brass L-Brackets {4-pack}: $1.96 – (You can also get them here for a little more)
- 4 – 1″x2″x4′ Poplar Boards: $15.20
- 1/2 of the Chicken Wire: $9.64 (note that we had a ton left over but my friend and I just split the cost of the full roll)
Total: $26.80
Happiness seeing it when I walk in the room? Obviously priceless 😉
DIY CHRISTMAS CARD HOLDER TUTORIAL
First, I decided to cut my boards at 45 degree angles rather than butt the ends together. Just a personal preference. As a side note, I used unfinished poplar 1″x2″x4′ boards.
Next, I used brass L-brackets {found at Lowe’s} because I thought the gold-tone would be pretty for Christmas. Lastly, my size/shape obviously varies. Mine is nearly 36″x36″ sqaure, which was basically the width of the chicken wire.
This project is really easy, if you have someone to help you. Otherwise I would not attempt it at all. Chicken wire is crazy and mean. It is also helpful to complete with a friend in order to share in the cost of the chicken wire. The rolls typically come with more than enough to complete four or five {or more} of these, so why not save on costs and not go crazy and/or bleed when completing this by asking a friend to help!
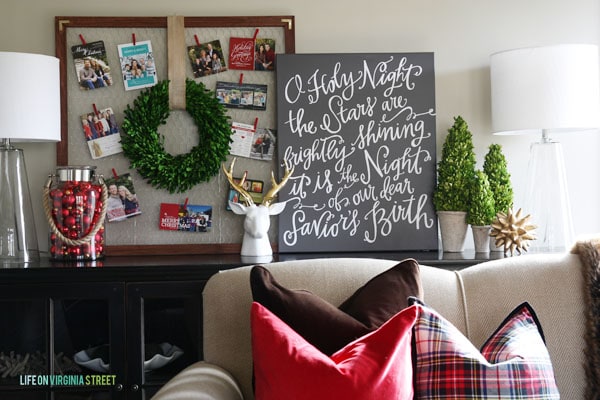
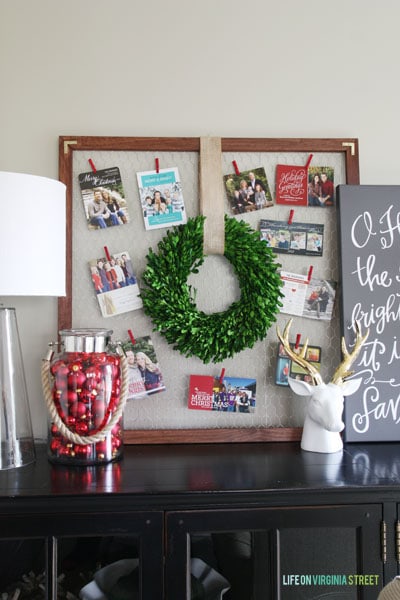
I then hung my favorite boxwood wreath with some burlap ribbon for some added color.
I had some cute mini-clothes pins from the fabric store {that were actually all attached to twine to use for garlands} and I just clipped some off to use. You could easily use regular clothespins or spray paint some {gold would also be really cute}! For the stain, I used a wipe-on Minwax pack I received from Haven so if you don’t have stain on hand, that would add to your cost slightly.
Now I just need some people to send me their cards for this year!
SHOP THE LOOK OF OUR CHRISTMAS LIVING ROOM BY CLICKING ANY OF THE IMAGES BELOW:
If you would like to follow along on more of my home decor, DIY, lifestyle and other posts, I’d love to have you follow me on any of the following:
Pinterest / Instagram / Facebook / Twitter
disclosure: some affiliate links used
I see us ;O)
I LOVE how this turned out!
Great job!
Happy Holiday season to you and Kurtis!
We love you!
Janel
Loooove yours! There’s a reason why we blog in a pair and chicken wire is it! Lol Glad you got yours made, it is so cute in that size and I love your staging! Thanks for the shout out (: XO
Thanks so much for this great idea which we adapted using what we already had at home – a piece of board and chicken wire. Not as nicely framed as yours but not noticeable when hung on the wall and covered with Christmas cards. I even had a spare wreath so it cost us nothing to make and is the best card holder I have seen. Best wishes for 2015!
Did you make or order your O Holy Night sign? If ordered, where did you get it from???
It’s from Lindsay Letters 🙂