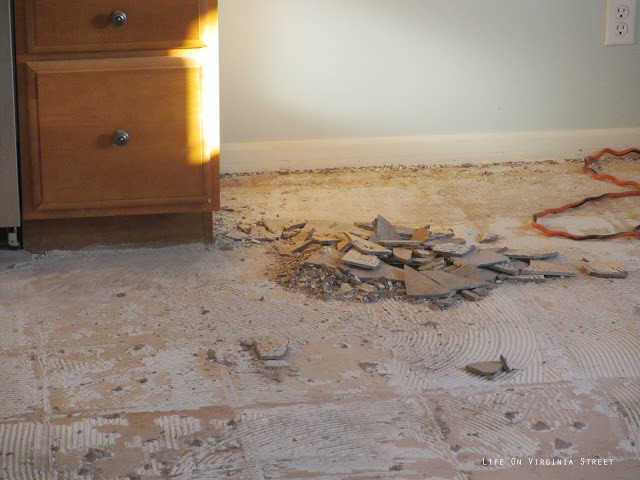
I never got around to posting about our hardwood floor process {almost seven months ago}, because man, it really was a process. In fact, I think this was the only preview I ever truly showed {other than just random pics about our house}. I think I never thought the rooms were truly finished to post about, but now that we’re moving, I guess now is as good a time as any to post. We had over 1500 square feet of engineered hardwood installed on our main level back in May/June. Living in Nebraska, it was recommended that we go with engineered {vs. solid wood} since we wanted the 5″ planks. The solid wood expands and contracts too much in our humidity when the planks are that wide. We chose a hand-scraped, distressed hickory {Armstrong brand thru Nebraska Furniture Mart} – you can see shots here at the store. The only areas on our main floor where we did not add hardwood were in the bathrooms {tile}, laundry room {linoleum}, our master closet {carpet} and master bath linen closet {carpet}. Our entryway and kitchen tile got torn out {which was likely the biggest part of the project}. Not only did the floor have to get pulled/sledgehammered, but they also had to sand our sub-floor to even it out {where glue and grout had stuck}. I believe that ended up being a three day project. And It.Was.A.Mess. Our house was caked in dust this entire project, even after I would come home and dust each night. Imagine 600+ square feet of tile torn out when the pieces the break off are as big as the photos below. And they had garbage can after garbage can full of that stuff.
Our kitchen looked like this one day {after the tile was removed but pre-sanding of the sub-floor}:

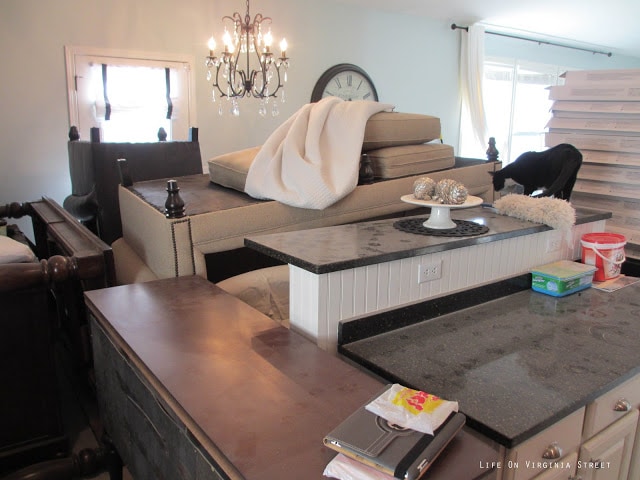
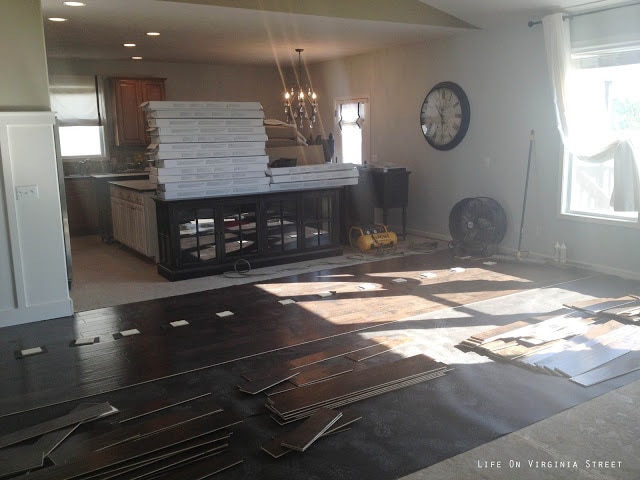
And then this the next day {yes, that was all of our new furniture stacked on its side and/or on top of each other}:
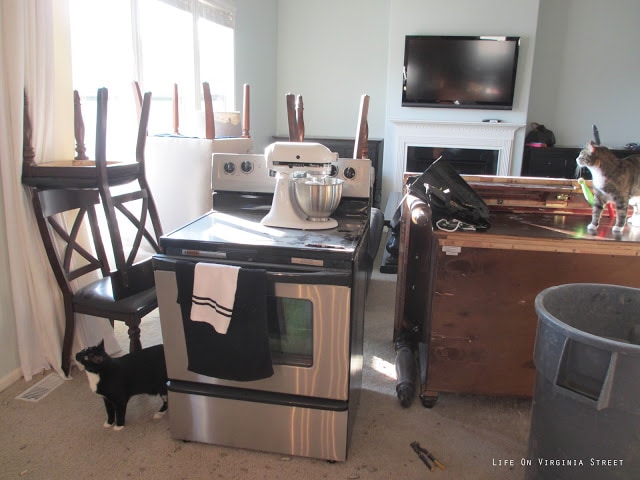
And then the next it would look like this {we lived with our fridge in our living room for almost three weeks}:

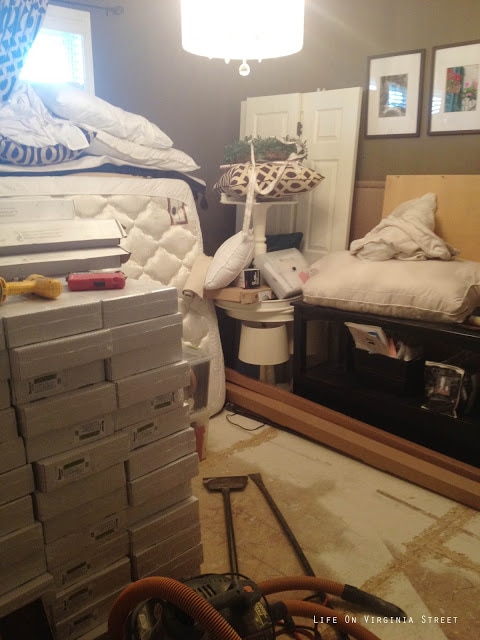
Once the boards were starting to get laid, we felt like they made some good progress! Unfortunately, the dust wasn’t any better. Our installers did an incredible job, but they were a little flaky {hurt one day which turned into three, on vacation, flat tire, etc.}. Here’s the guest bedroom the day everything got moved in there.

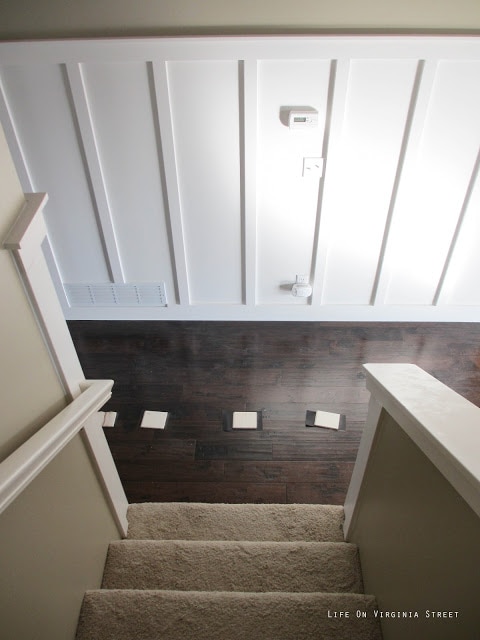
This is the point where I knew I was going to love it. I thought it looked perfect against our board and batten walls {this is actually the best representation of the color of the floors on a daily basis as well}.
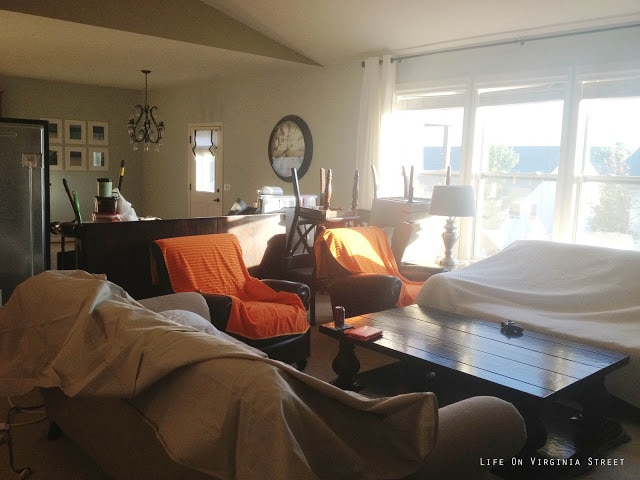
Once it was all finished I took more pictures on the iPhone – it was SO nice to have everything back where it belonged!
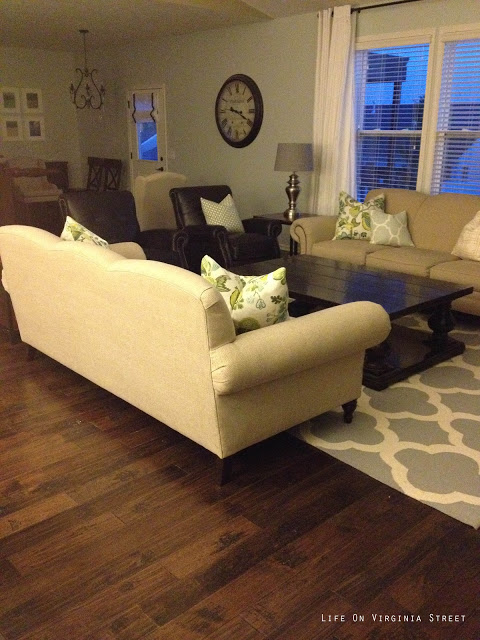
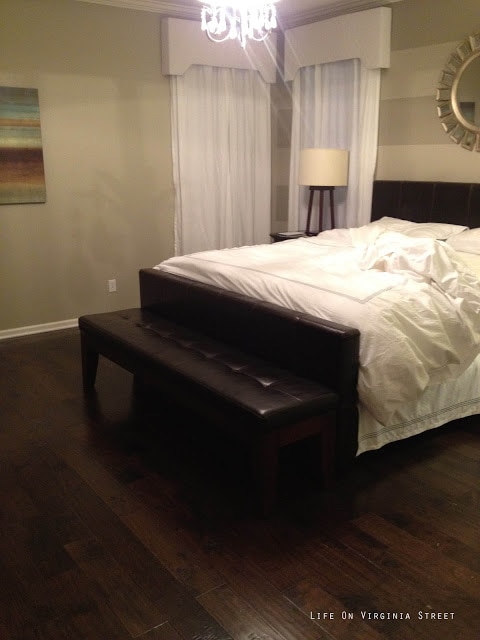
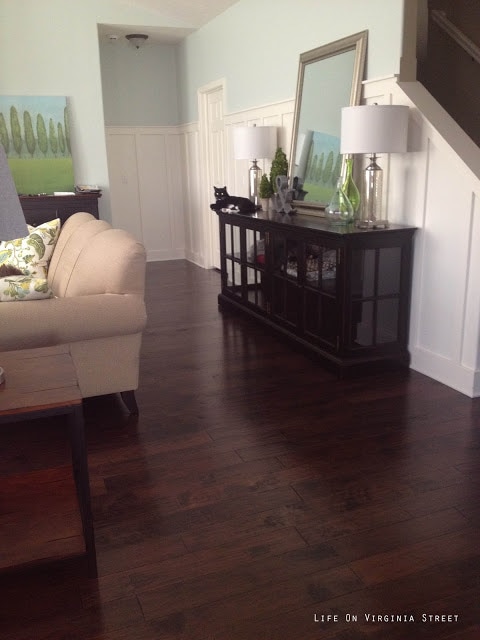
Overall thoughts. We LOVE our floor and it works out perfectly having cats {although we do have to use our Swiffer vacuum frequently to keep up with the fur}. During the installation, we decided we would never live in our house and install floors again. Its best to do this either while building or to move out of the country during the job 🙂 There were points during the buying process that we seriously considered installing it ourselves. Let’s just say, we barely survived the professional installation. I am a billion percent certain we would not have survived installing it on our own. The upkeep has been easy. I was worried about dust, fur, etc. but really we can Swiffer vacuum twice a week and use the Swiffer Wet Jet {for hardwoods} once a week and it looks great. We’ve had some scratches and dings, but given that it’s distressed and handscraped, you would never know – especially with the markers we were given to fill in the cracks. I would never install a completely smooth wood floor for this purpose. You can see more of the floors in the {almost} finished room here. Overall, they are amazing – I love the product we selected – and I really think they helped our home sell as quickly as it did! If anyone has questions on something I didn’t cover, please feel free to let me know!
If you would like to follow along on more of my home decor, DIY, lifestyle, travel and other posts, I’d love to have you follow me on any of the following:
Pinterest / Instagram / Facebook / Twitter / Bloglovin’ / Google
It’s hard to remember how it looked before the new wood floors. Love it – – it looks so great!
I love the new floors. Great job & makes it look so much bigger!